


 Code 3 Lead
 Code 4 Lead
 Code 5 Lead
 Code 6 Lead






Lead Flashing Details Explained – Chimneys, Dormers, Aprons, Step Flashings & More
Lead flashing details are the small but critical weathering details that make roofs, walls, canopies, dormers and masonry interfaces work properly. While people often think of flashing as a single strip of lead inserted into a chase, the reality is much broader. Good lead flashing details can include stepped flashings, aprons, cover flashings, welted panels, clipped perimeter edges, back gutters, upstands, face flashings and many other carefully formed pieces that are designed to control water without damaging the appearance of the building.
This page brings together a wide range of lead flashing details from real Lead Lads projects, showing how lead can be used across traditional roofing, listed buildings, decorative masonry, dormers, canopies, chimneys and specialist heritage work. It is designed to help customers, specifiers and roofers understand what different lead flashing details actually look like in practice and when they are used.
For buying routes, use the Lead Chart. For broader technical support, return to Lead Roofing Guides or explore The Lead Handbook. To see the wider project portfolio behind this page, visit Lead Roofing Projects.
What are lead flashing details?
In simple terms, lead flashing details are the formed pieces of rolled lead sheet used to weather junctions, cover vulnerable masonry, protect timber, create water-shedding interfaces and connect one construction element to another. Some details are obvious, such as chimney step flashings or apron flashings. Others are more subtle, such as clipped stone plinth coverings, canopy interfaces, dormer cheek flashings or lead-protected decorative features.
The best lead flashing details do two things at once: they keep water out and they look as though they belong to the building. That balance matters especially on period properties and listed buildings, where the lead must protect without making the detail appear crude or overworked.
Decorative and specialist lead flashing details
Not every flashing detail sits at a chimney or roof abutment. Lead is often used to protect more decorative features and awkward transitions where water ingress would otherwise damage masonry, timber or stonework.

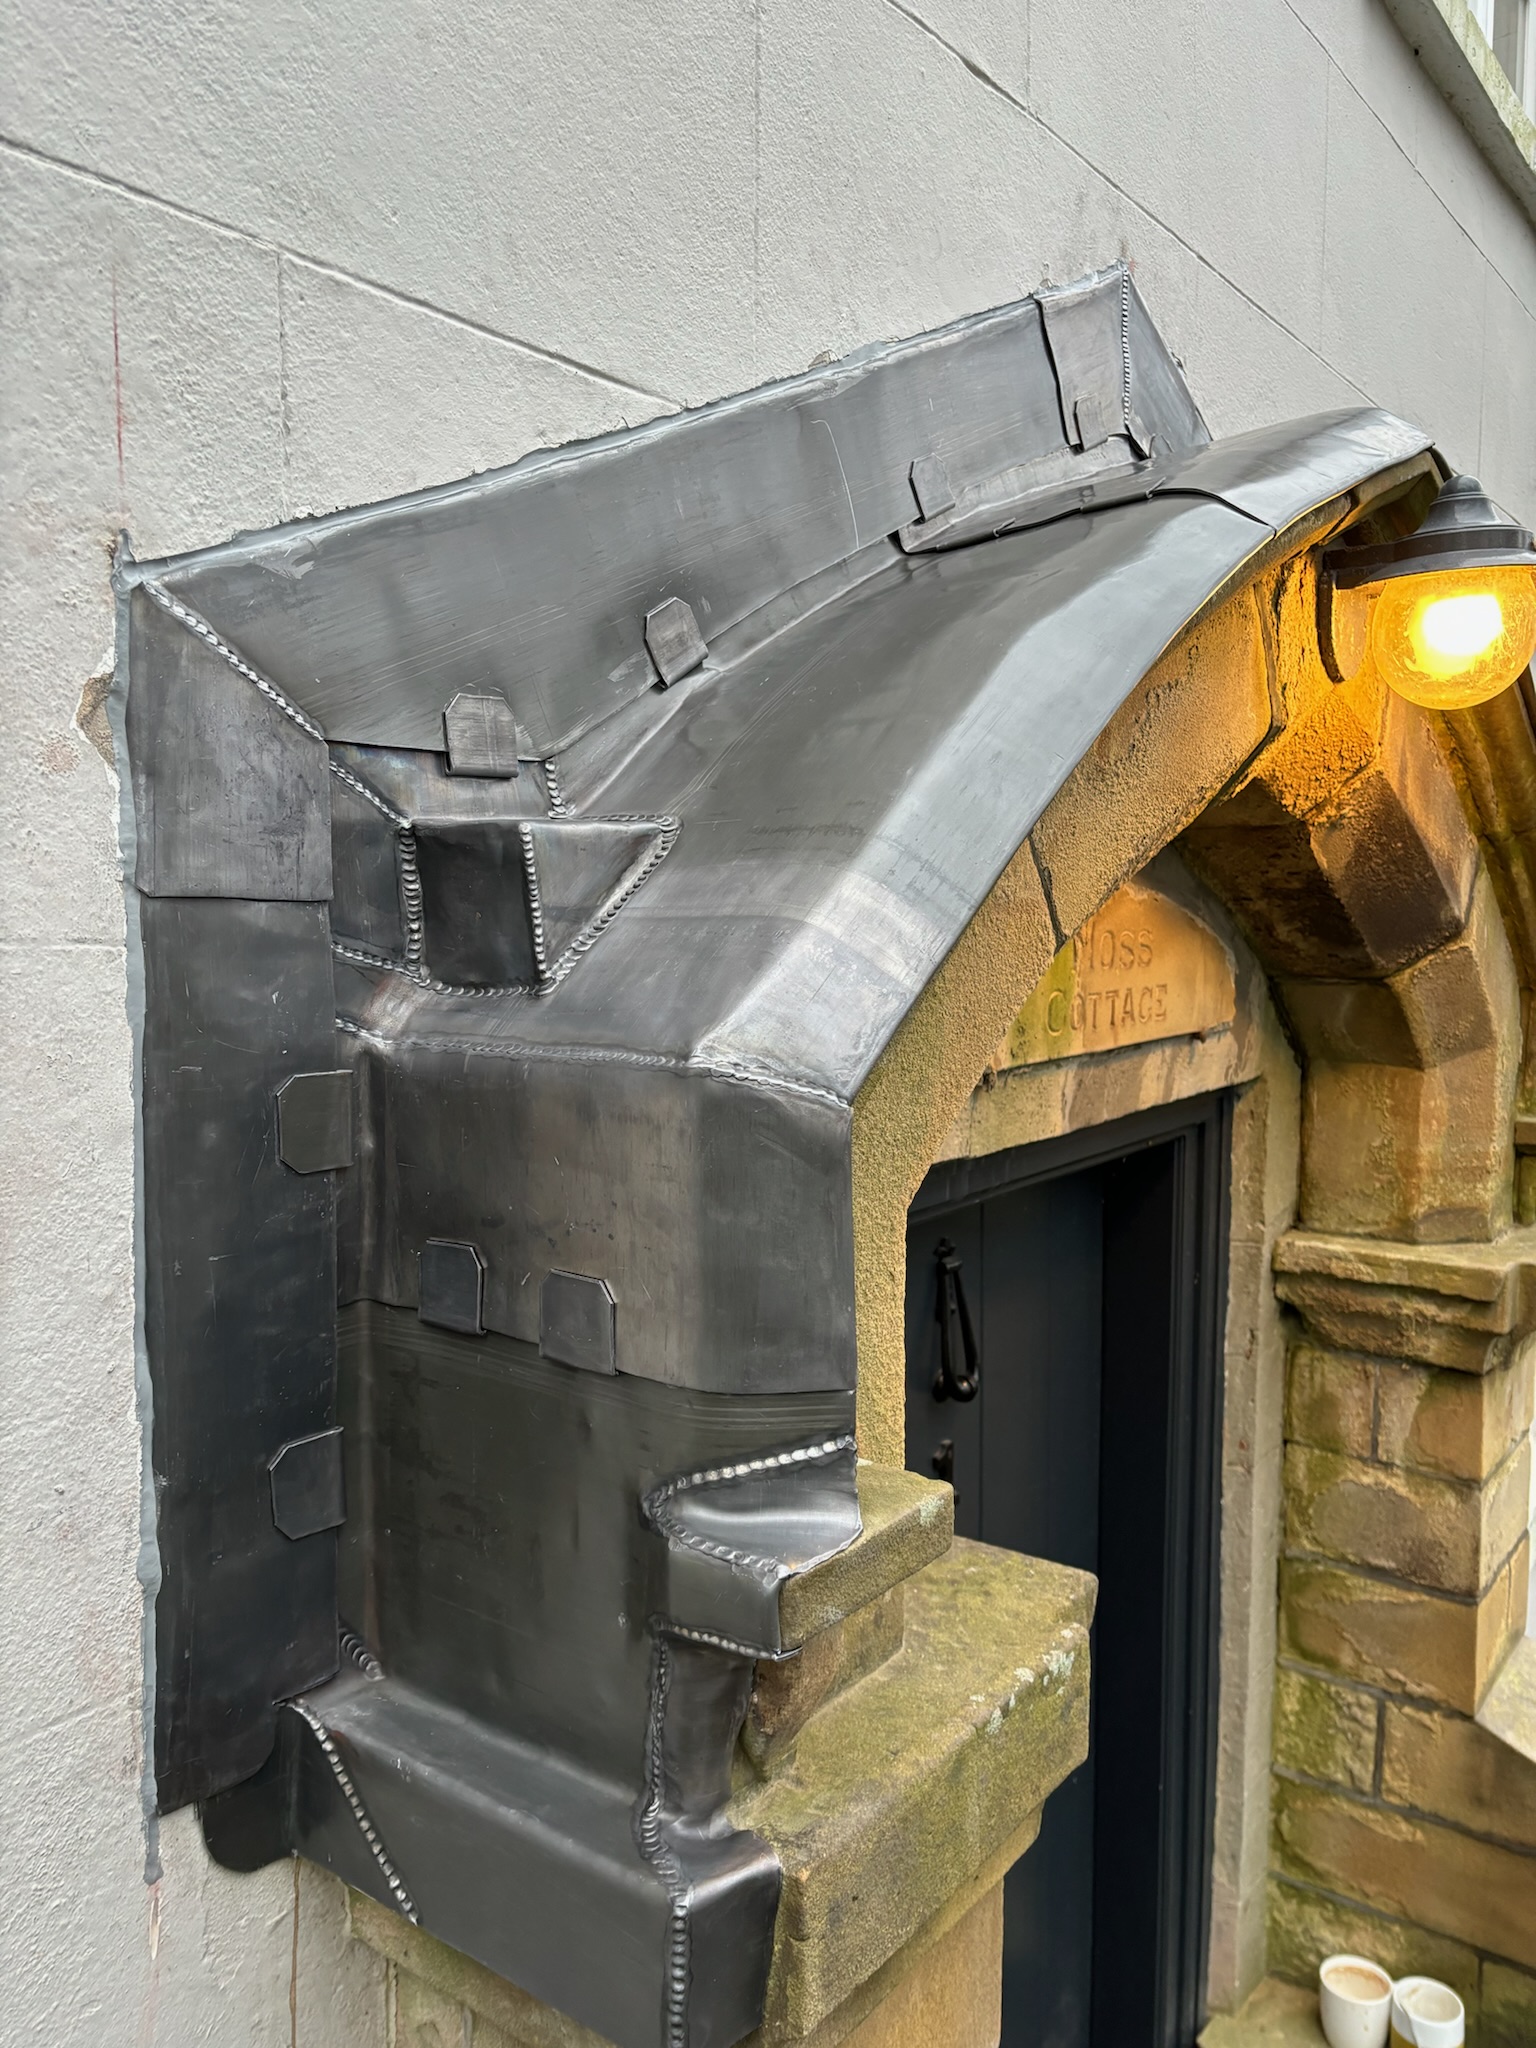
These kinds of lead flashing details are often bespoke. They require careful setting out, accurate bossing and, in many cases, neat welding around intricate forms. The objective is not simply to cover something in lead, but to create a durable weathering detail that respects the design of the building.
Lead flashing details to canopies, walls and plinths
Canopies, wall heads and stone plinths are all areas where lead can add substantial protection while remaining visually appropriate. In these positions, lead flashing details often involve clipped edges, welted panels, shaped cover flashings and carefully formed returns into masonry.

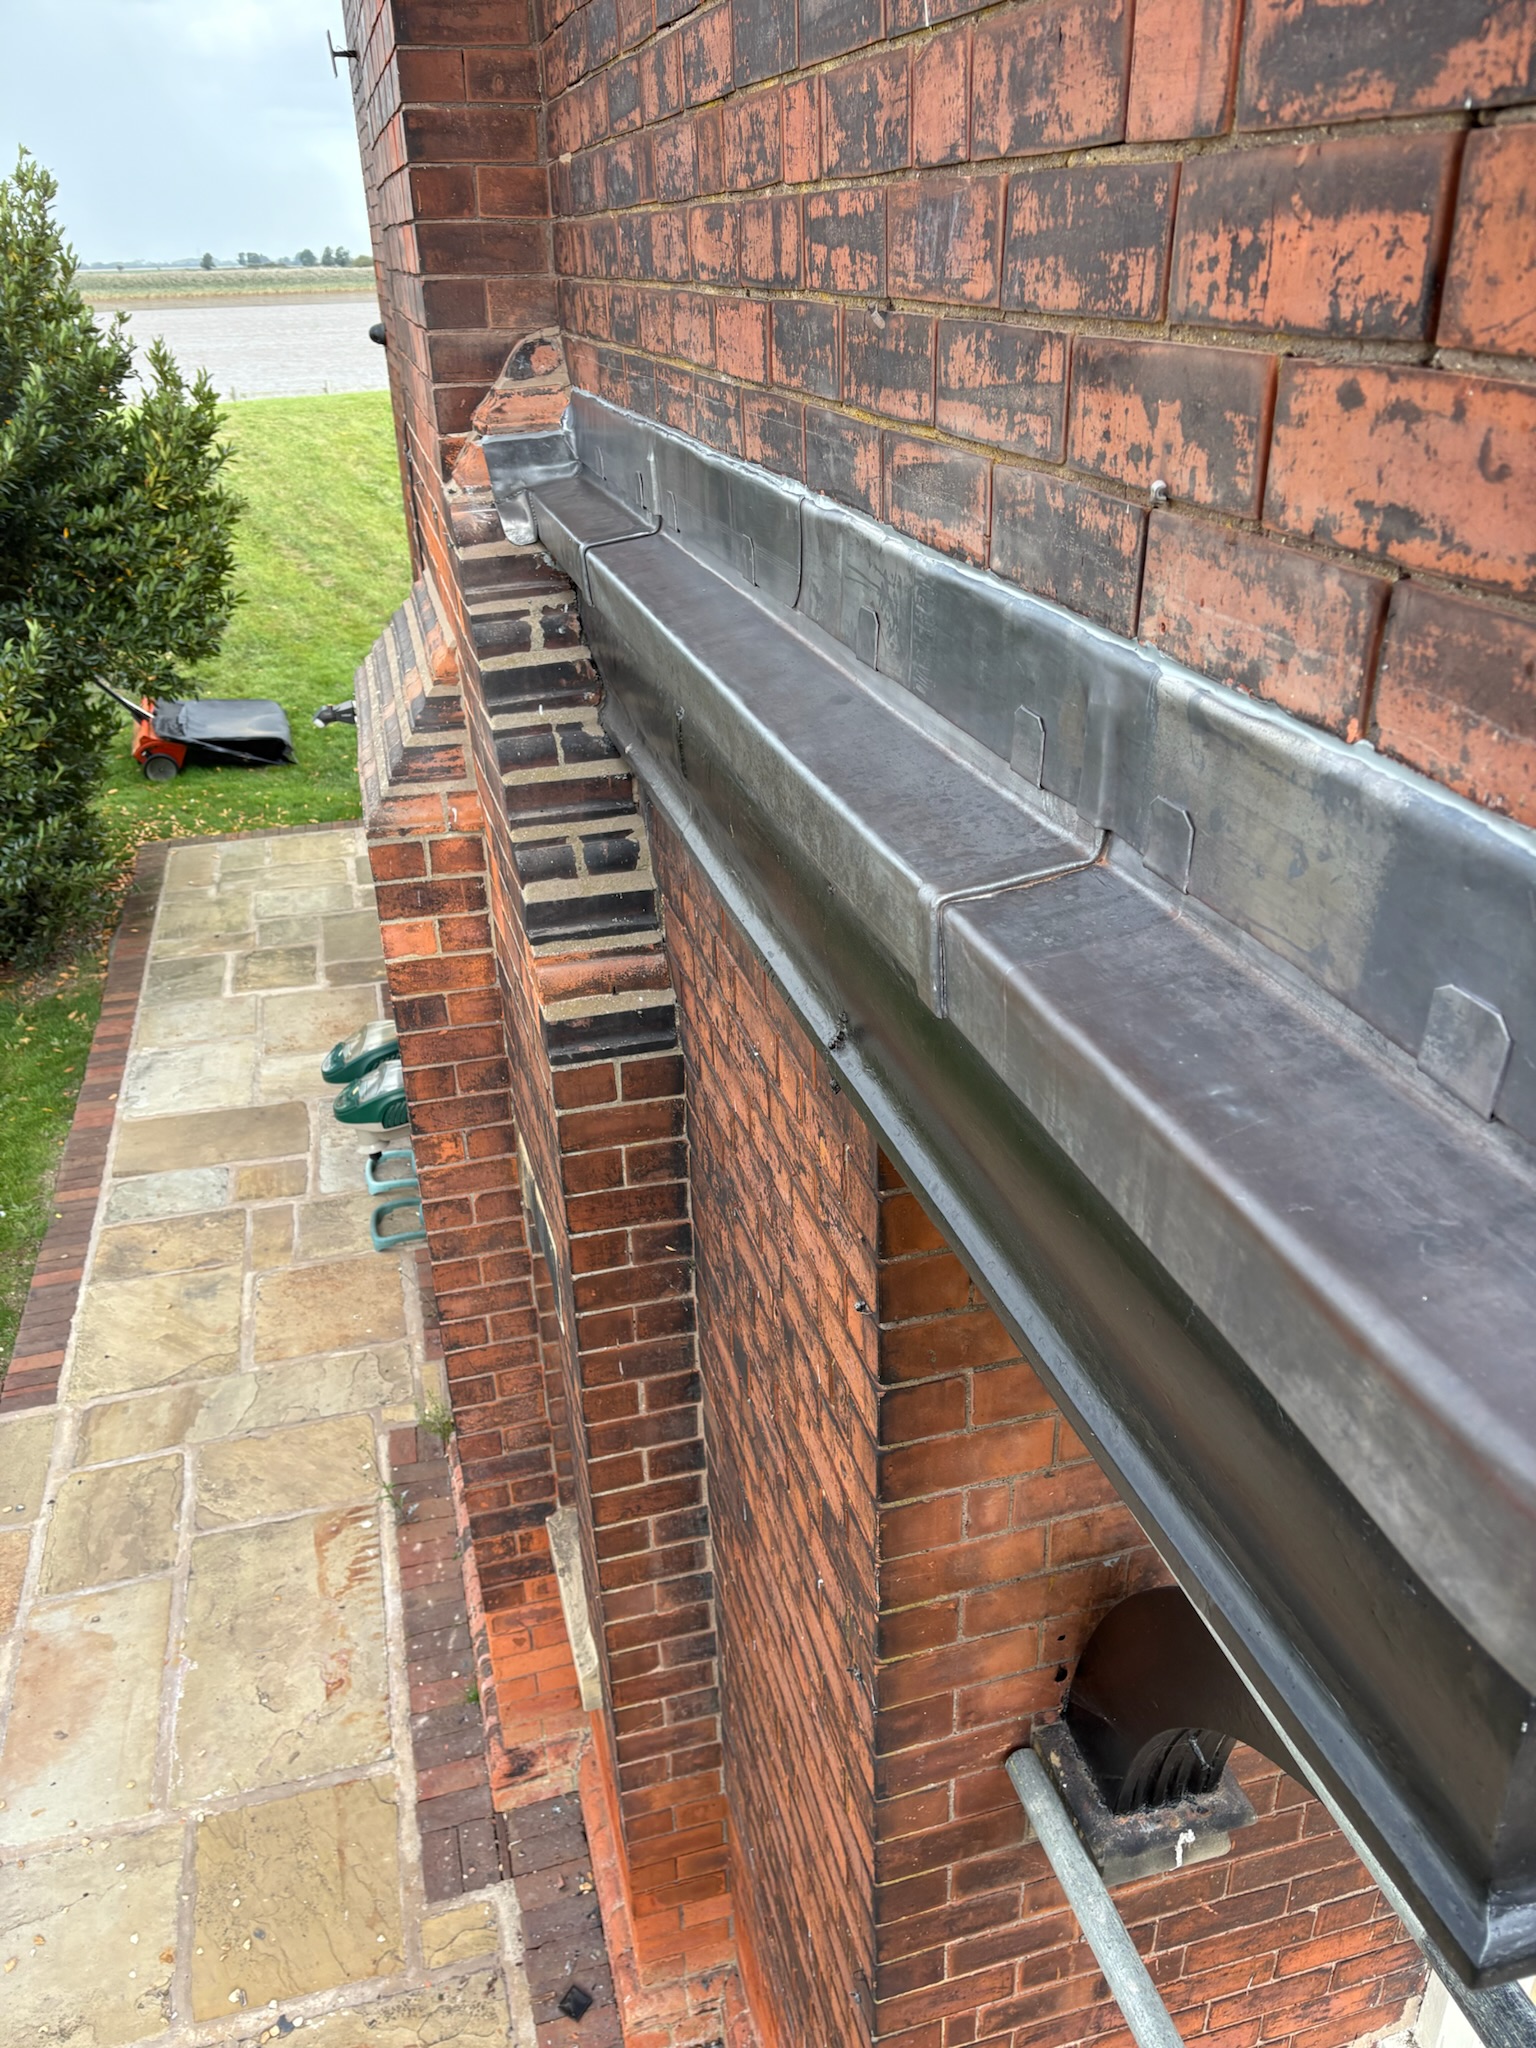
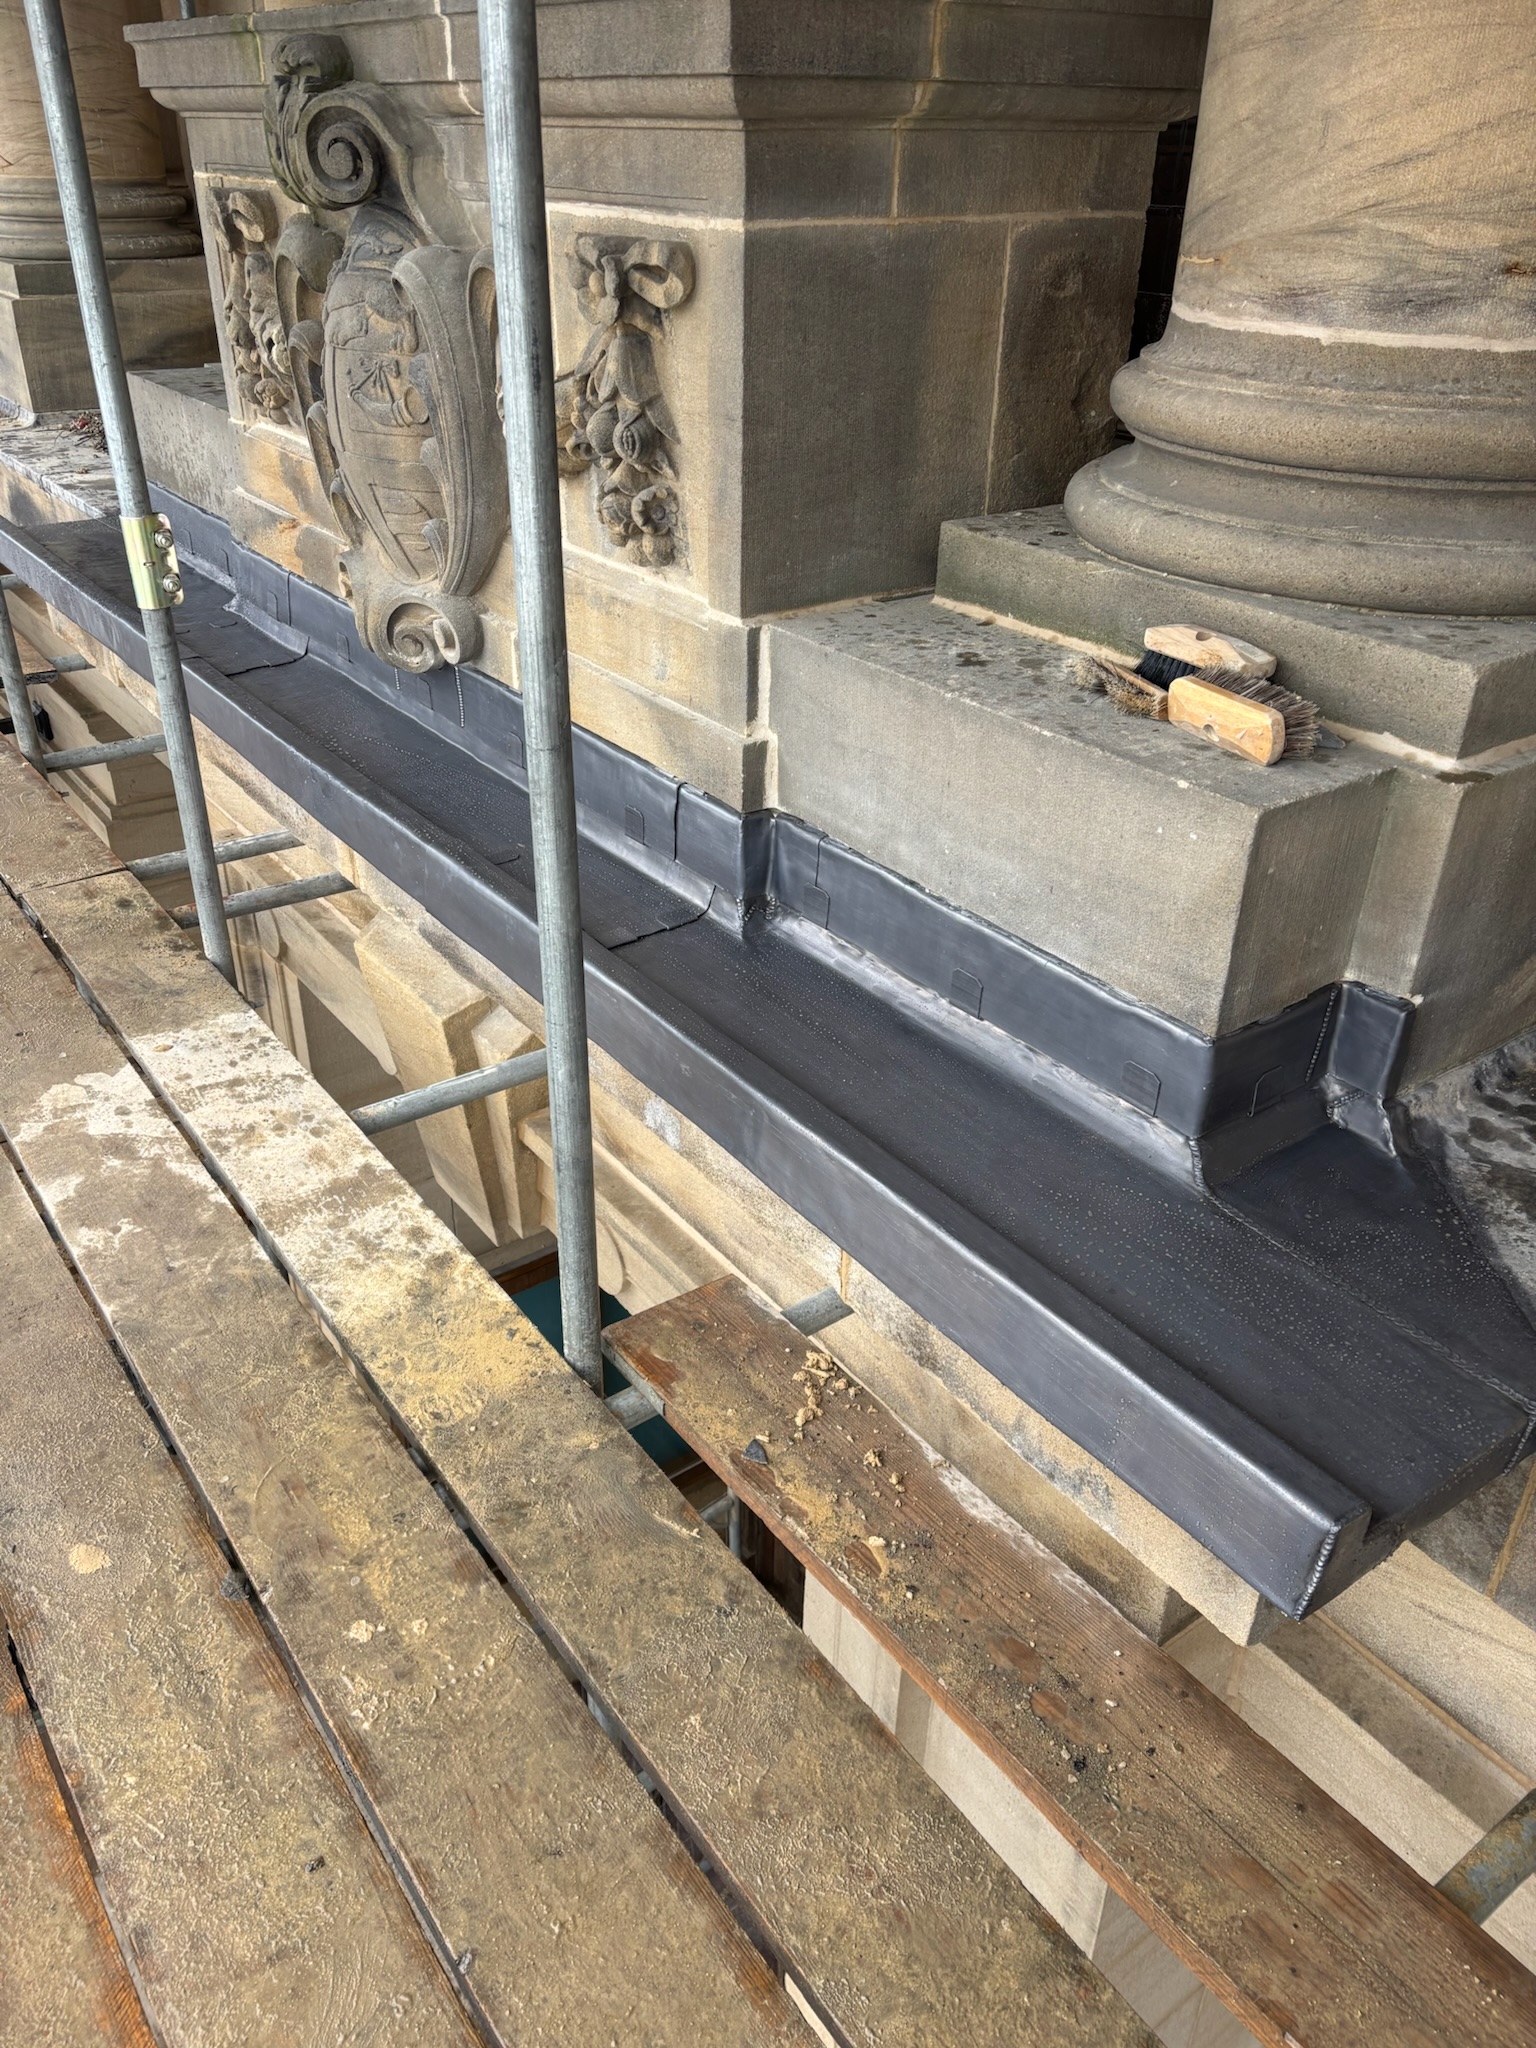
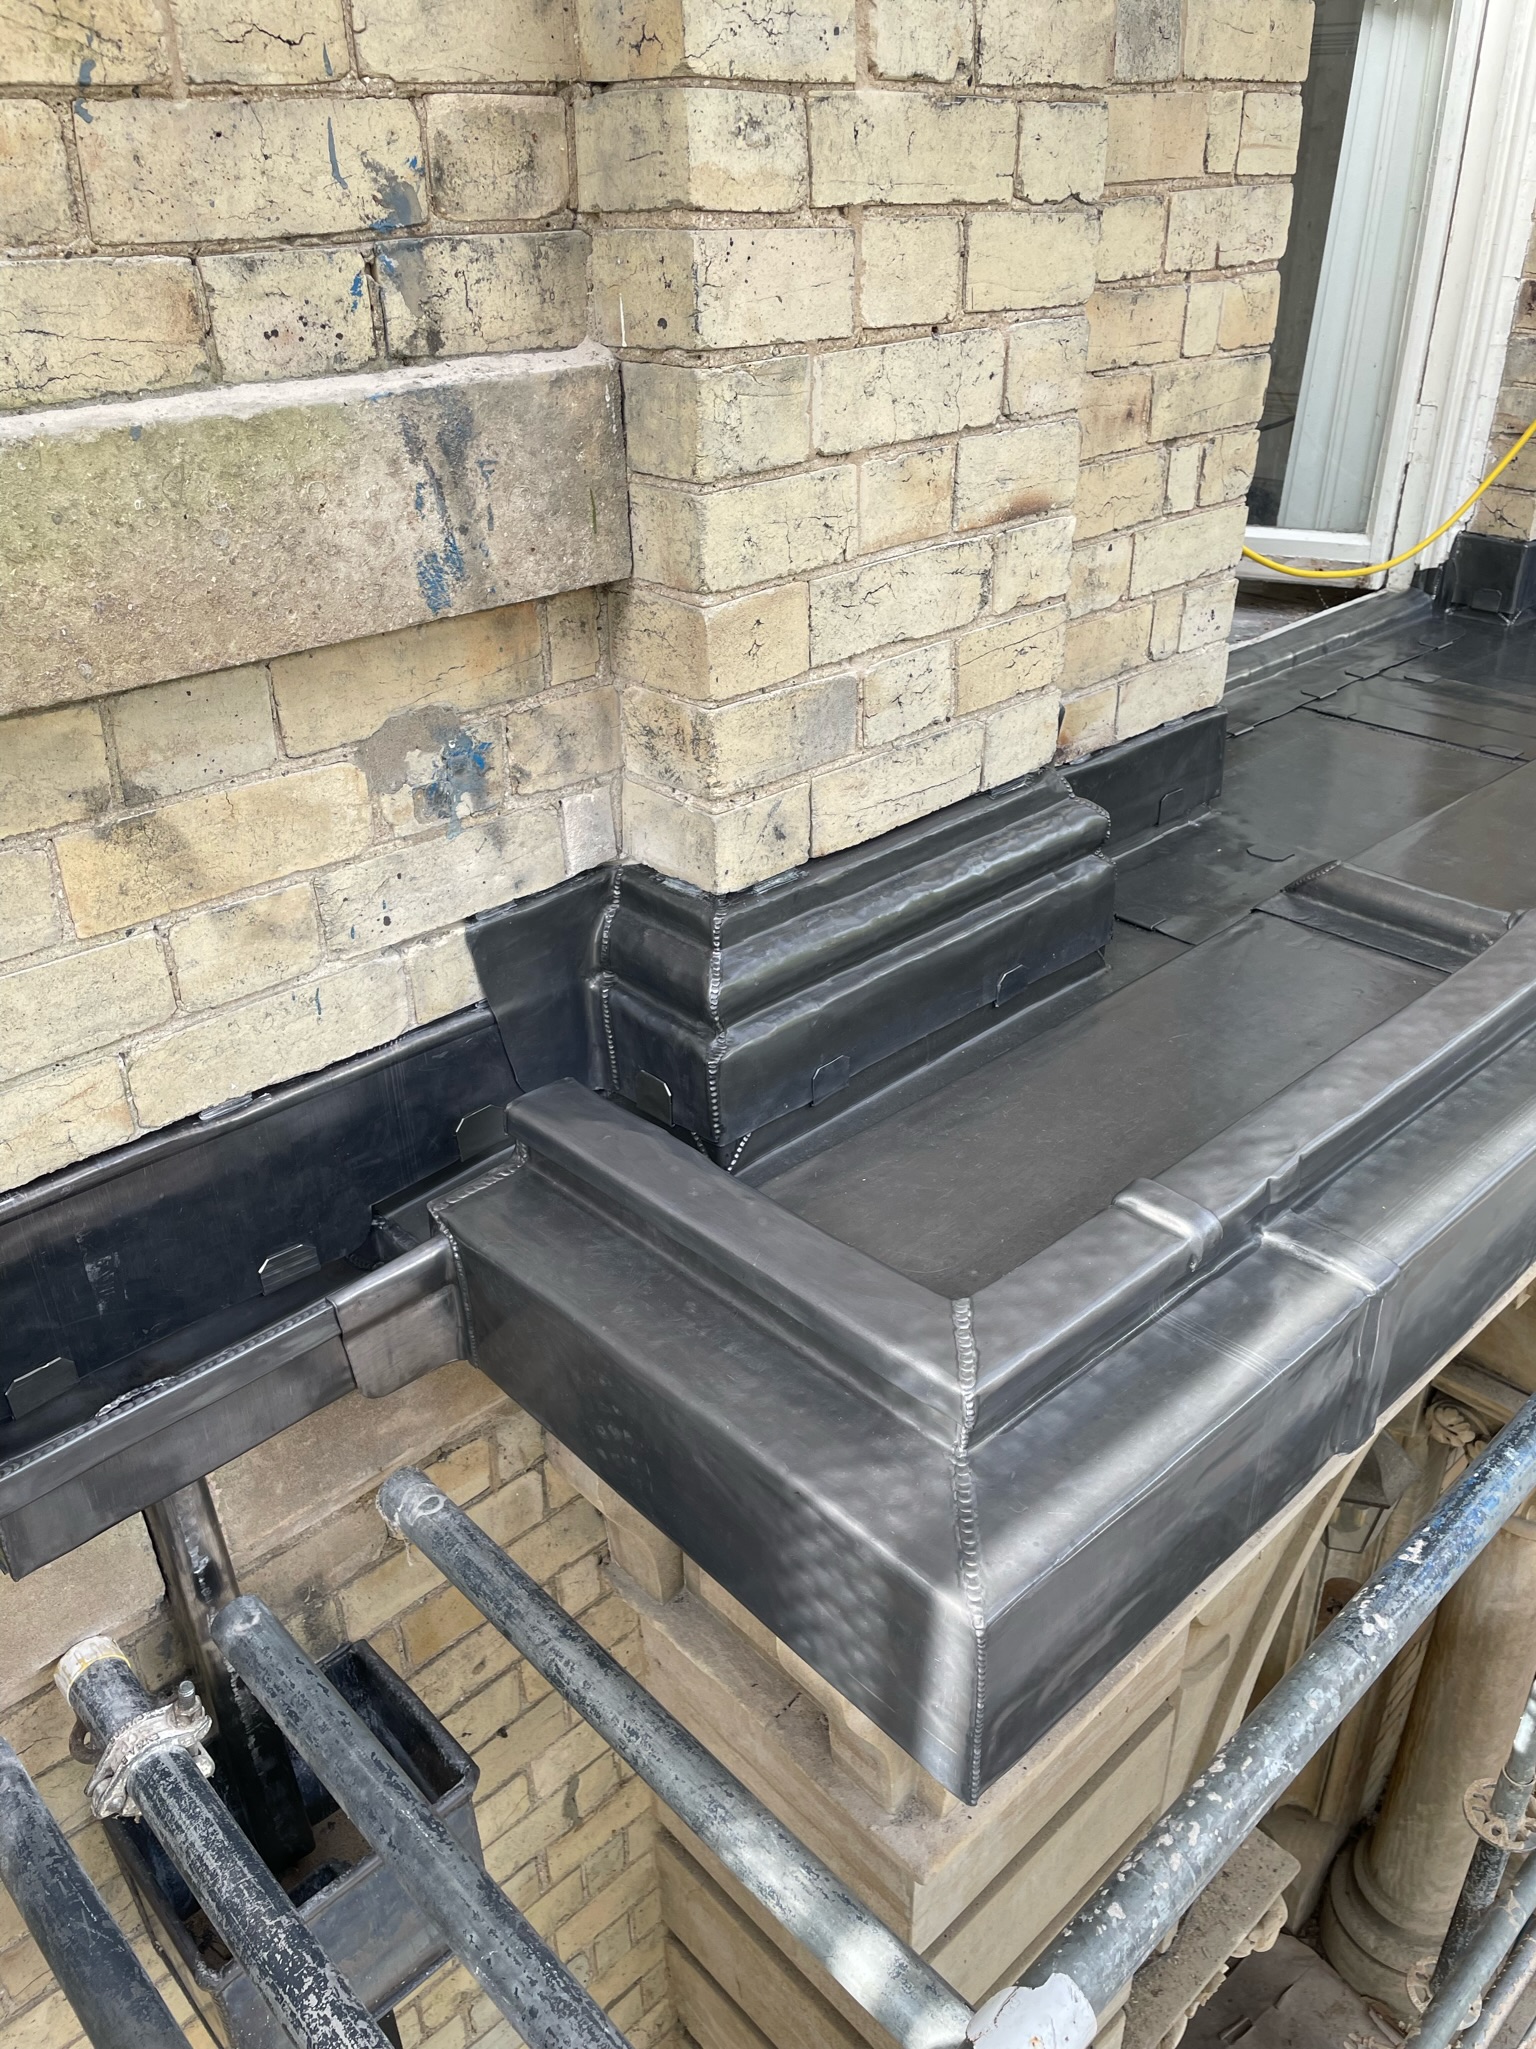
These examples show that lead flashing details are not limited to roof coverings alone. They also play an important role in preserving stone and timber features that would otherwise absorb or trap water.
Lead flashing details to roof interfaces and conservatories
Some of the most useful lead flashing details are those that connect new elements into existing roofs or glazed structures. These details demand careful thought because different materials move differently and often meet at awkward angles.
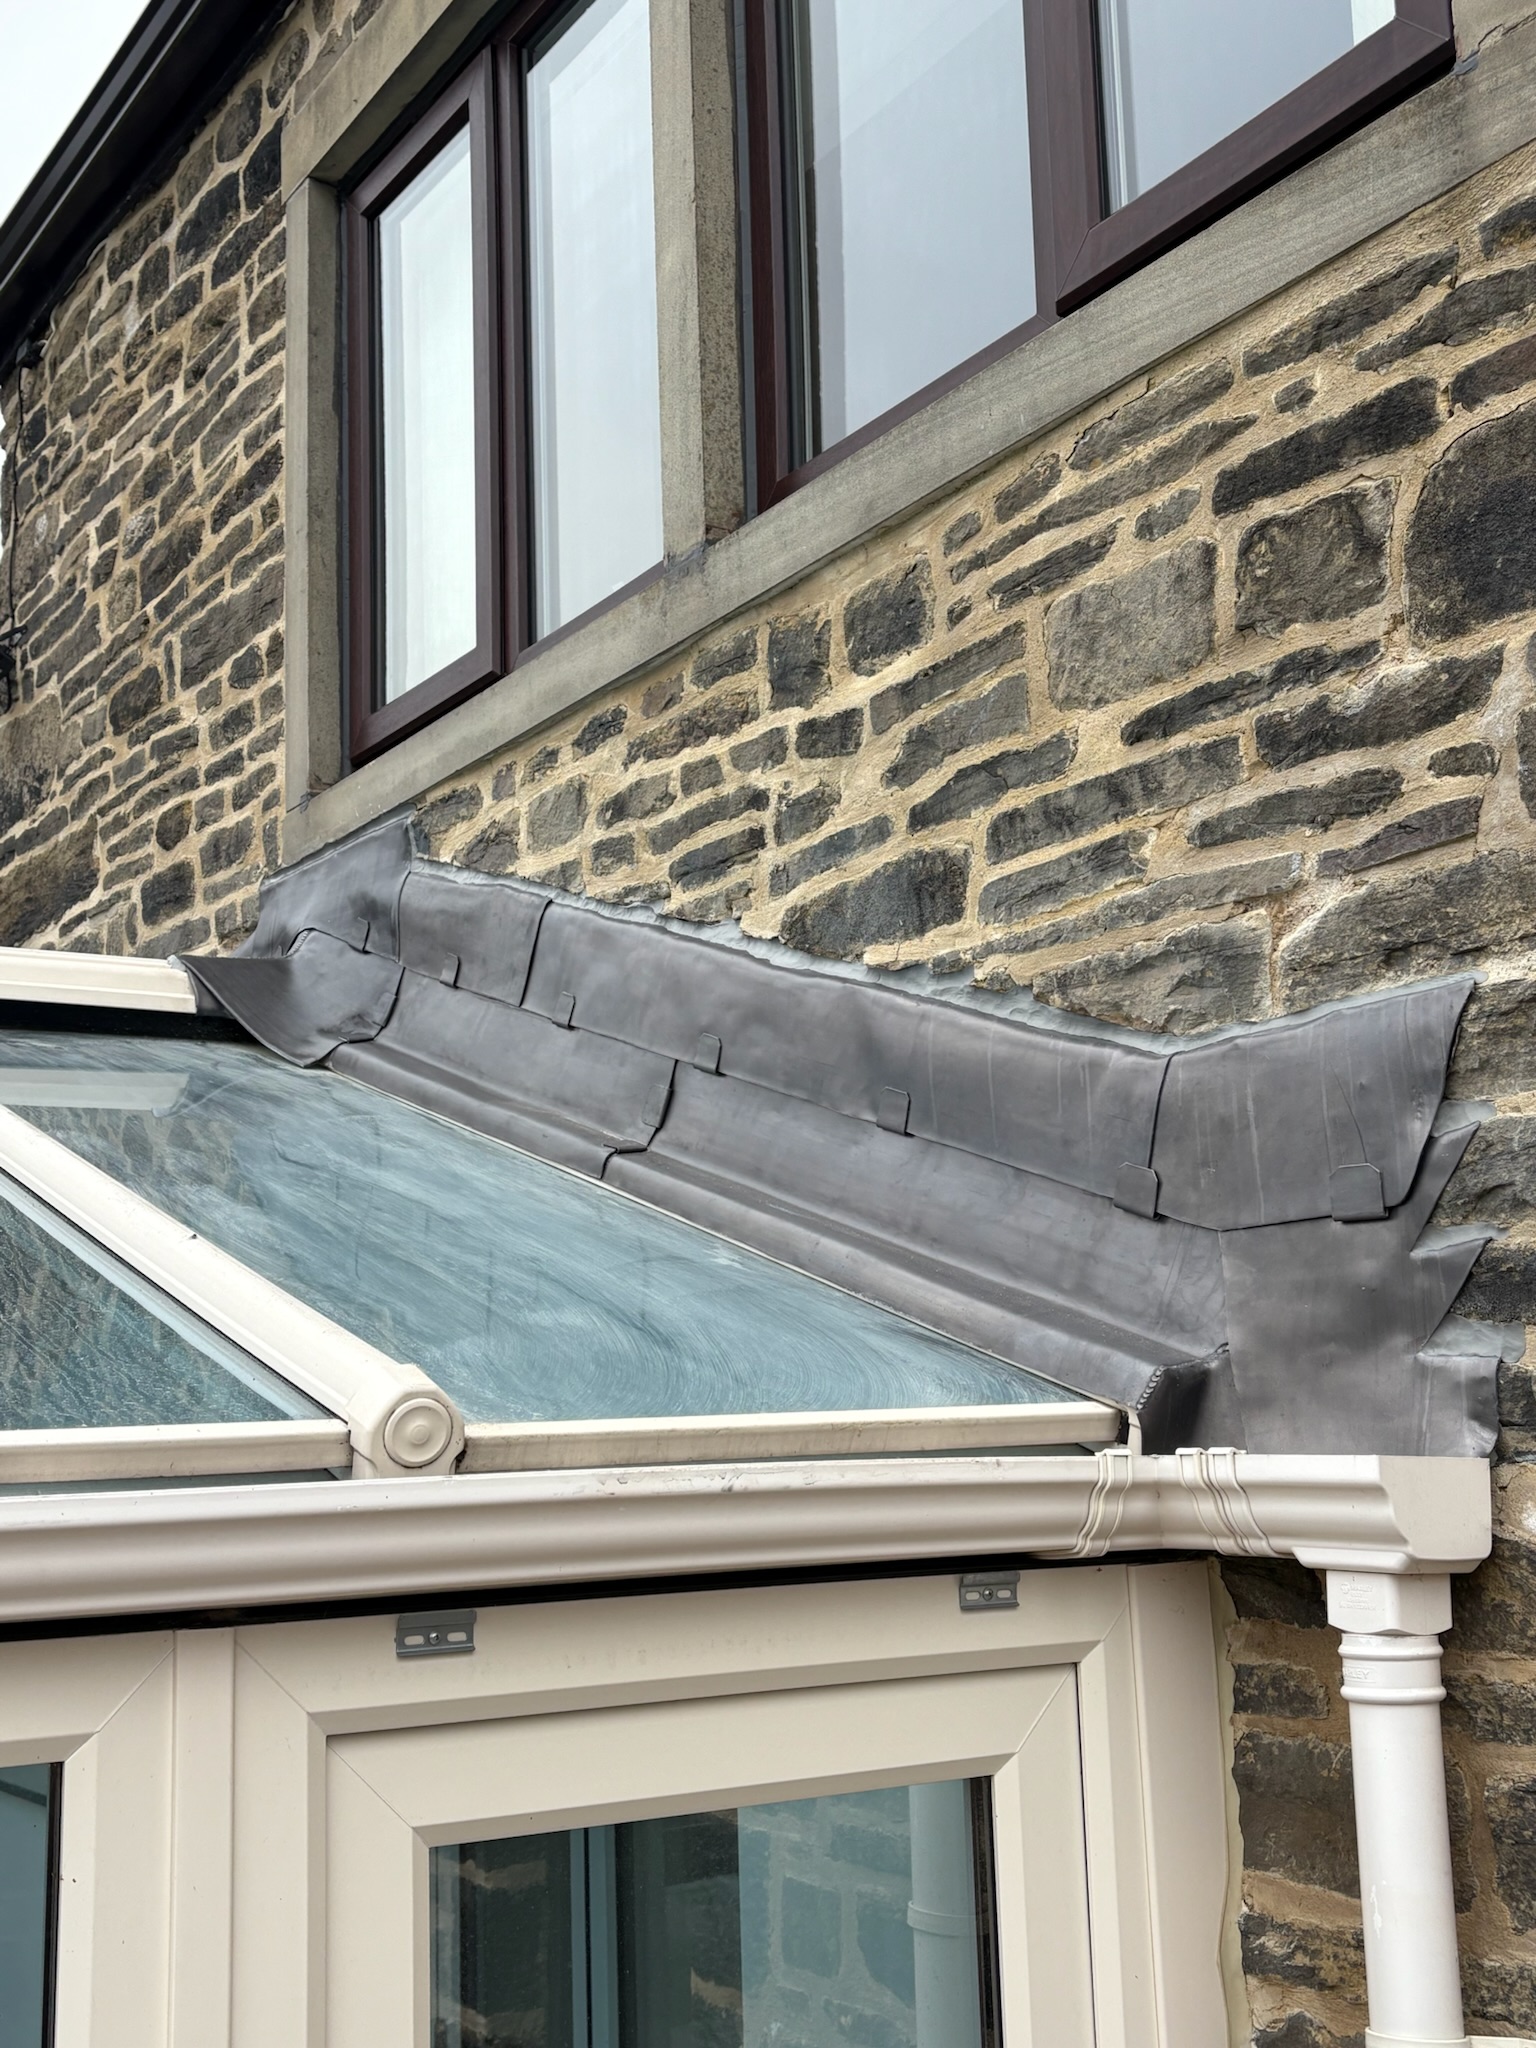
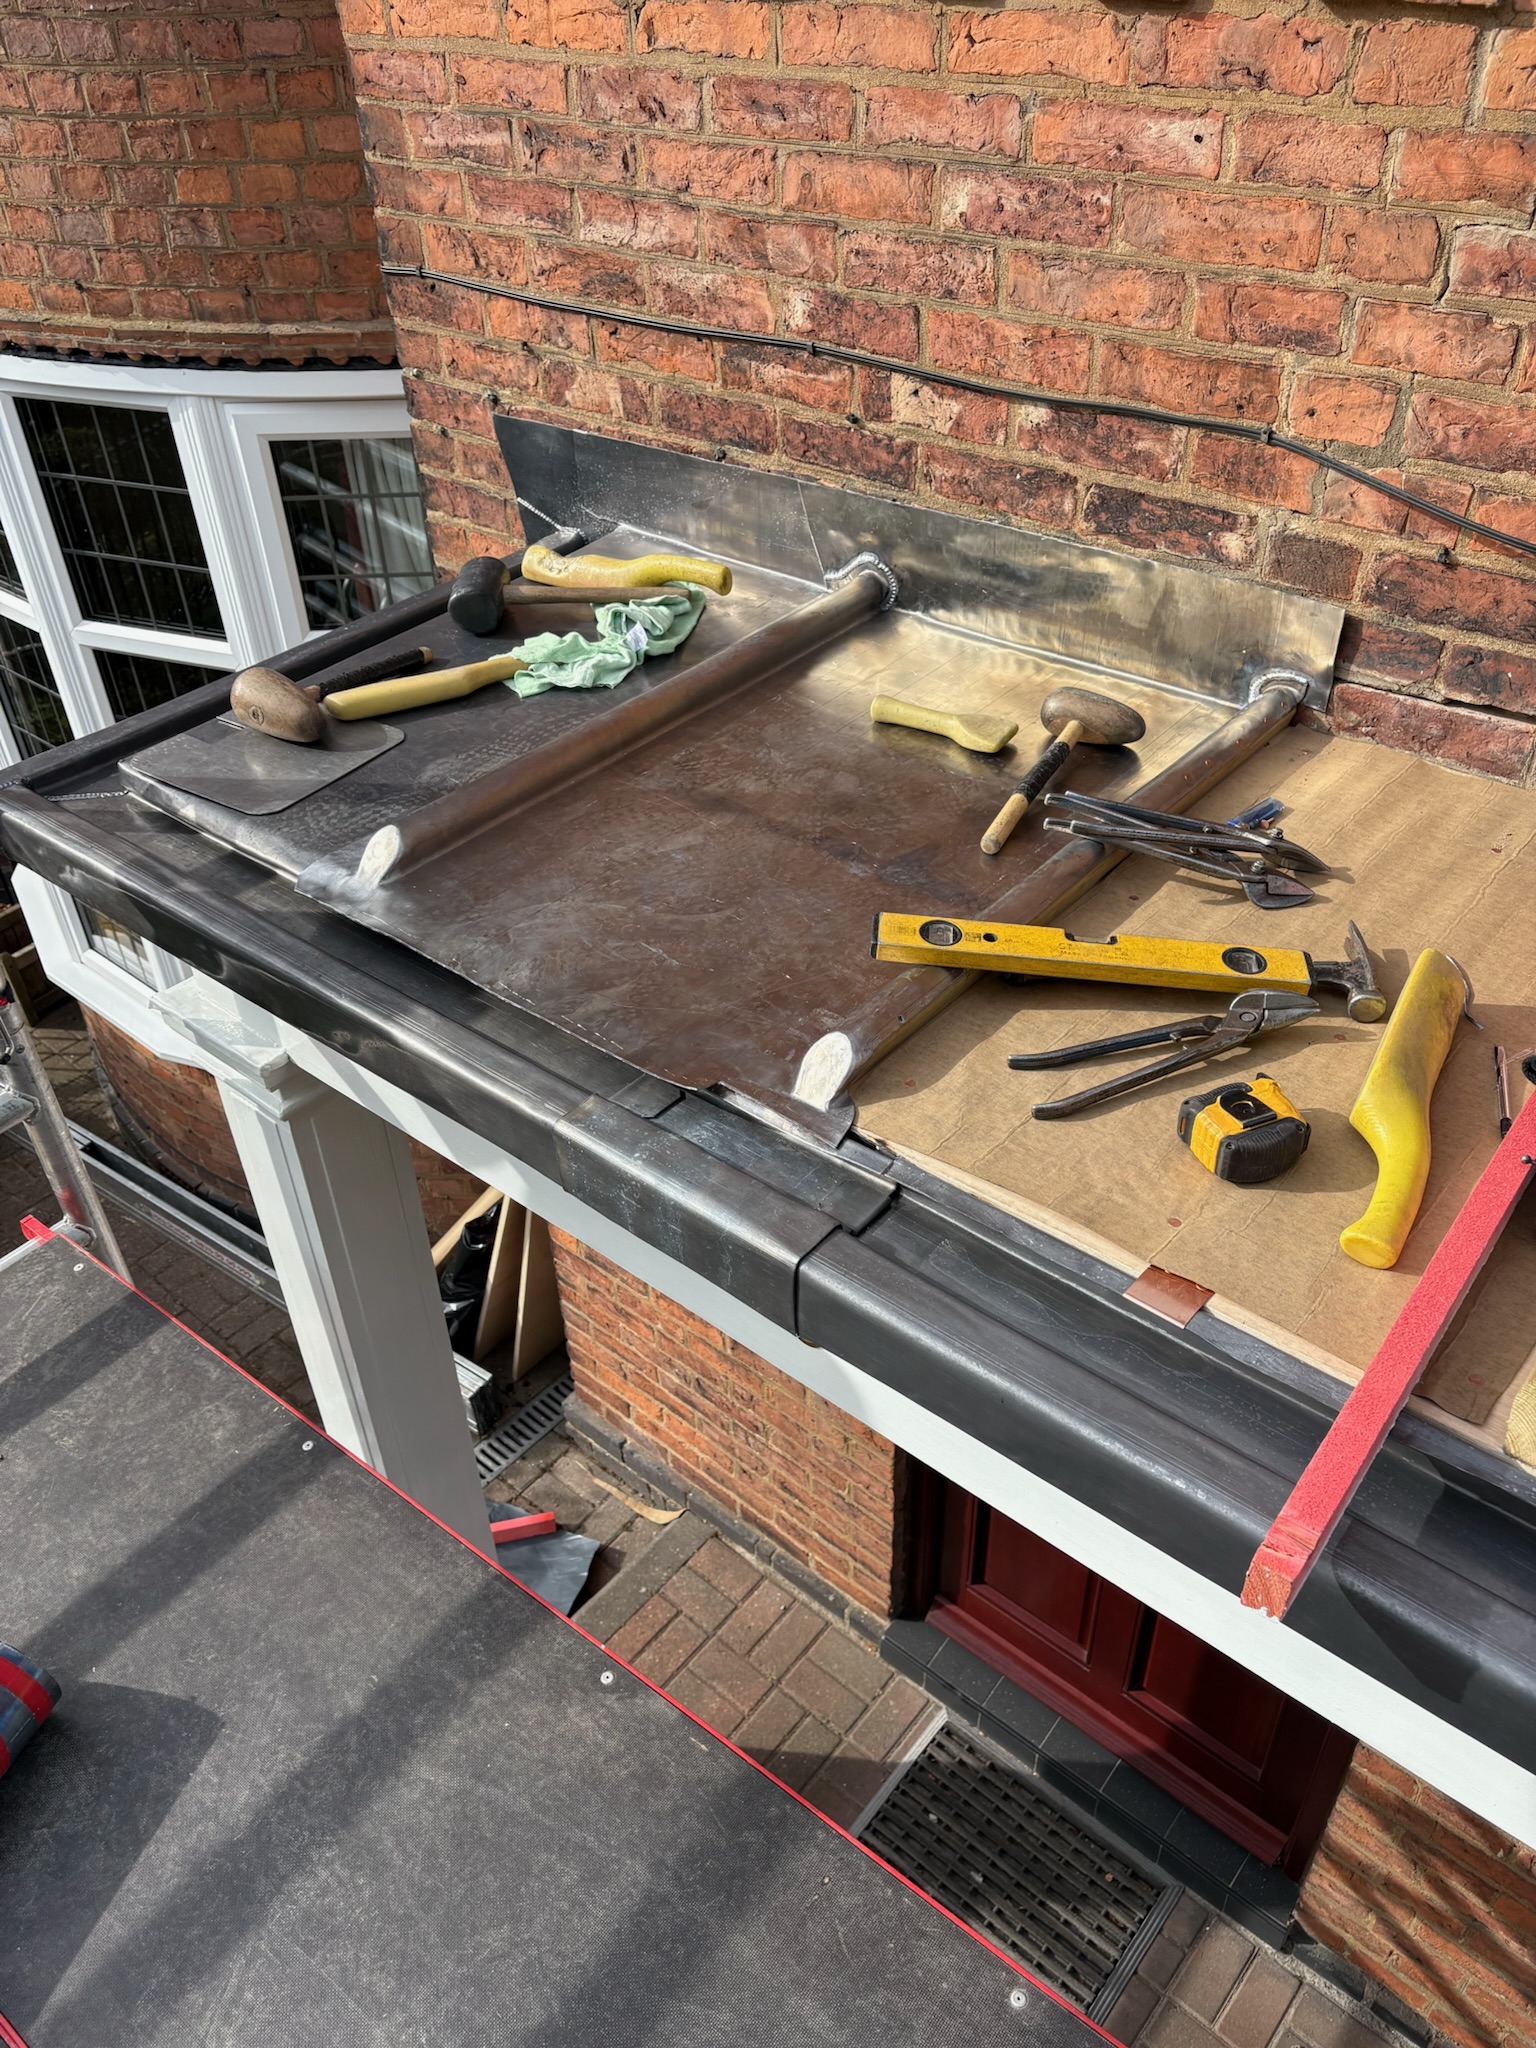
At this level, the success of lead flashing details often depends on sequencing as much as material choice. The lead may need to be installed in stages so that later elements can be fixed without damaging finished surfaces.
Dormer lead flashing details
Dormers contain multiple weathering junctions in a very small area, which is why they are such a good test of leadworking skill. A dormer may include apron flashings, cheek flashings, perimeter drips, fascia cover details and concealed gutters, all within one compact roof form.


Good lead flashing details on a dormer can transform both performance and appearance. The lead protects exposed timber, manages runoff around openings and helps reduce the frequency of future decoration and maintenance.
Stepped lead flashing details
One of the most recognisable lead details is the stepped flashing, where individual pieces follow the course of brickwork or masonry joints to create a durable cover flashing. These lead flashing details are widely used at chimneys, dormers, curved bays and many other wall interfaces.
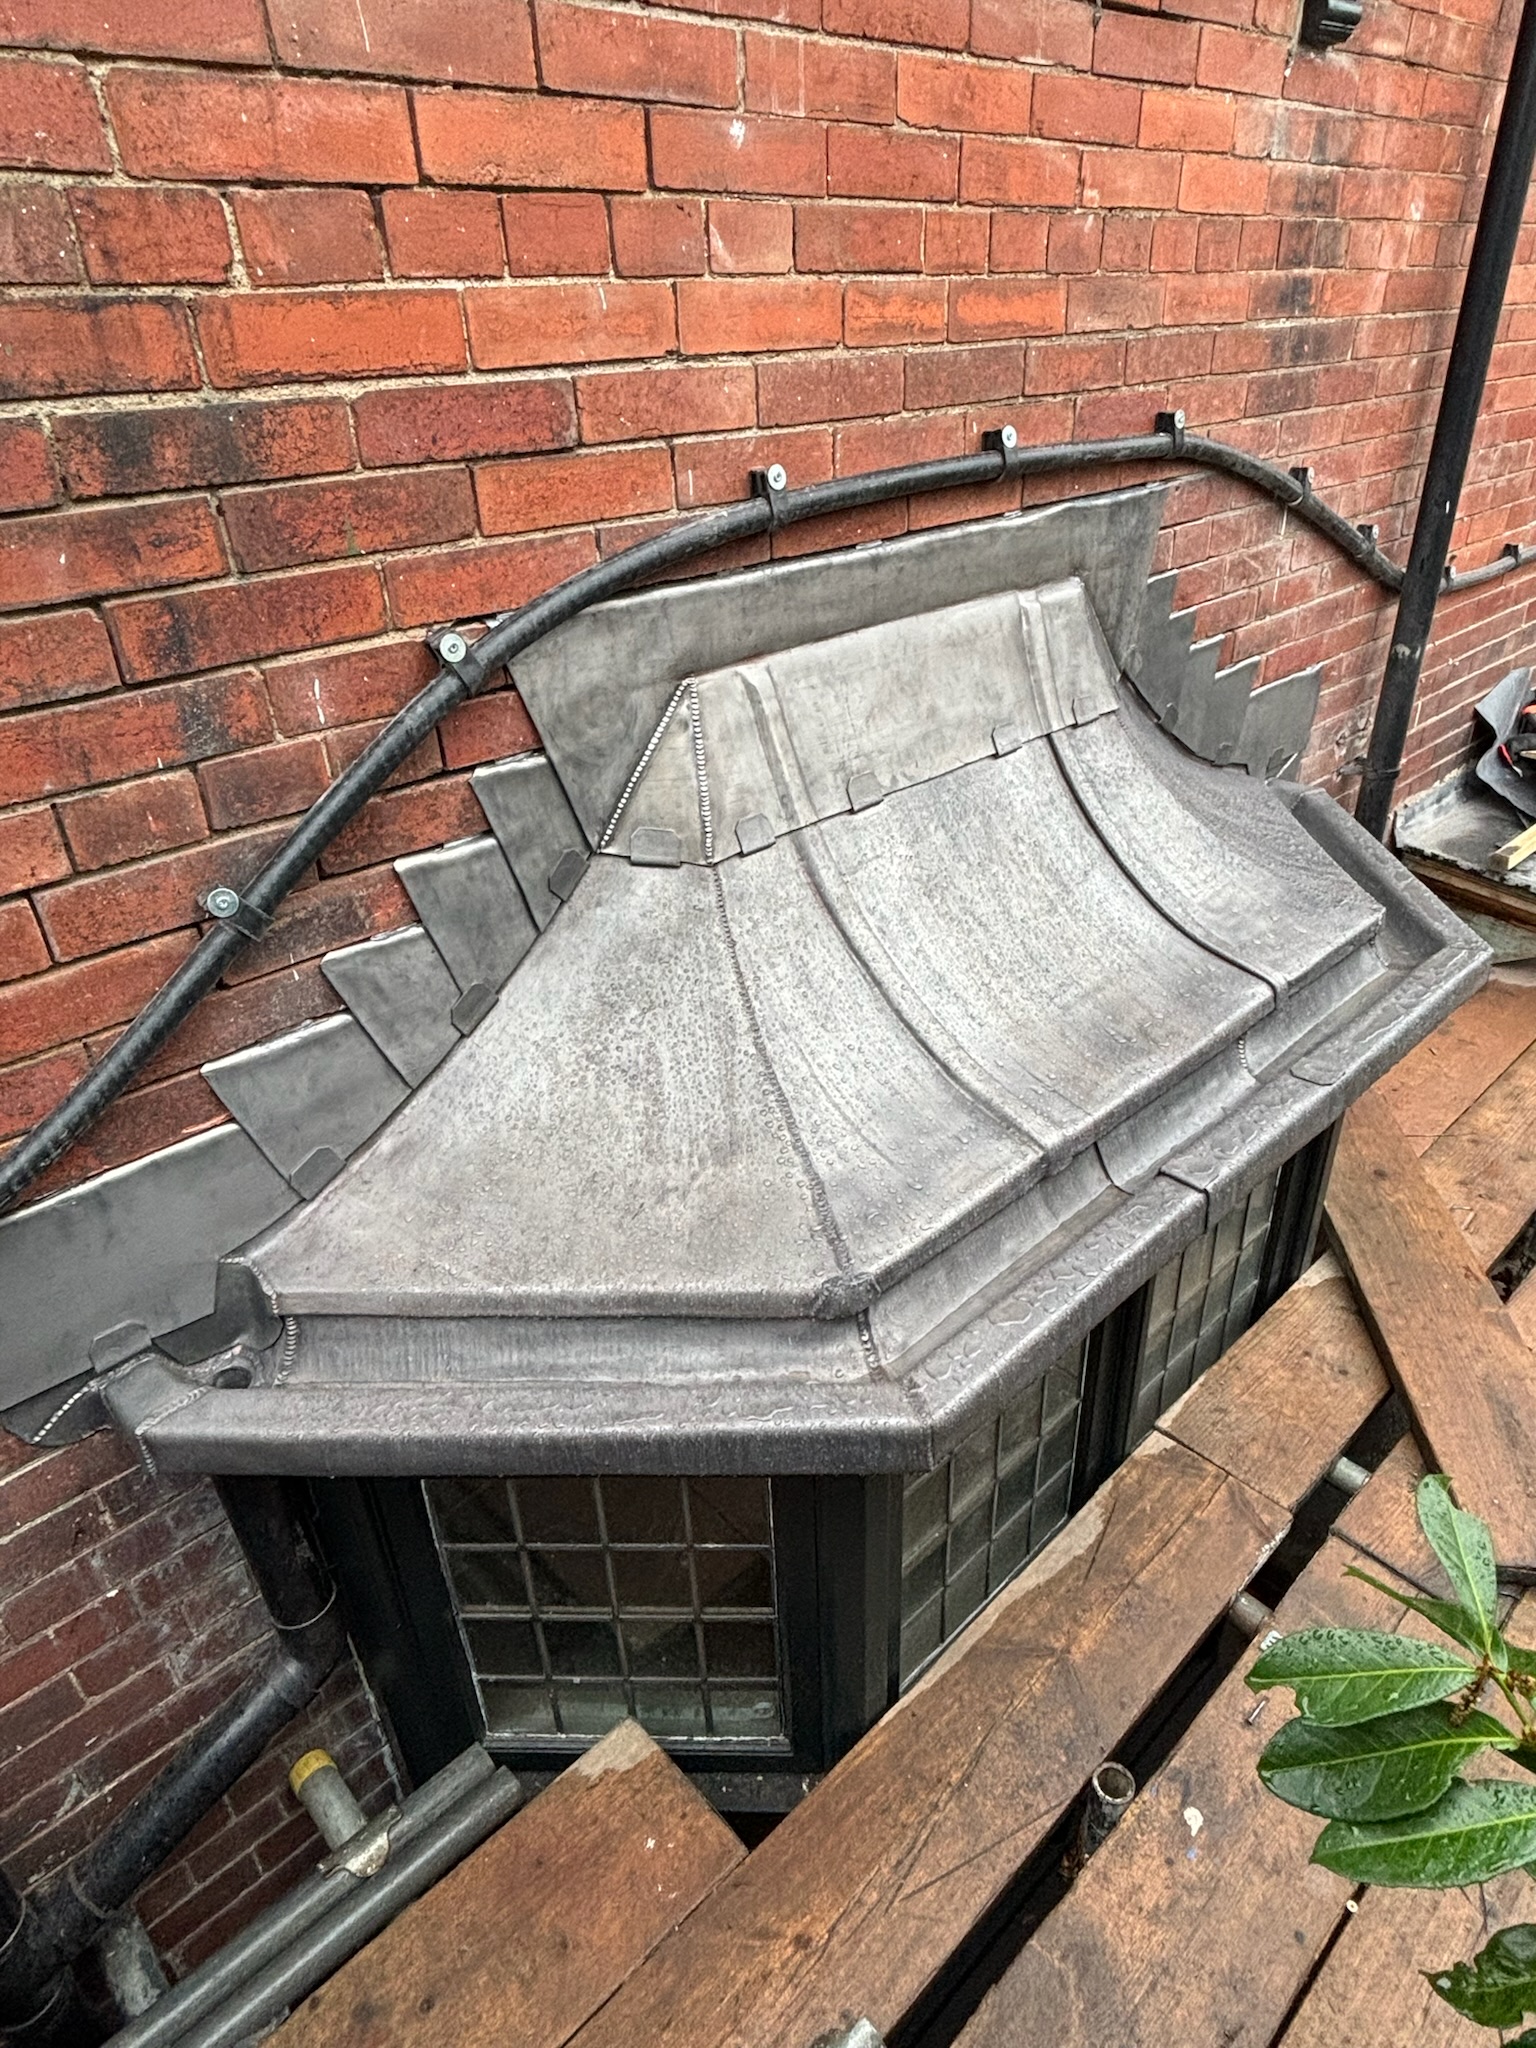
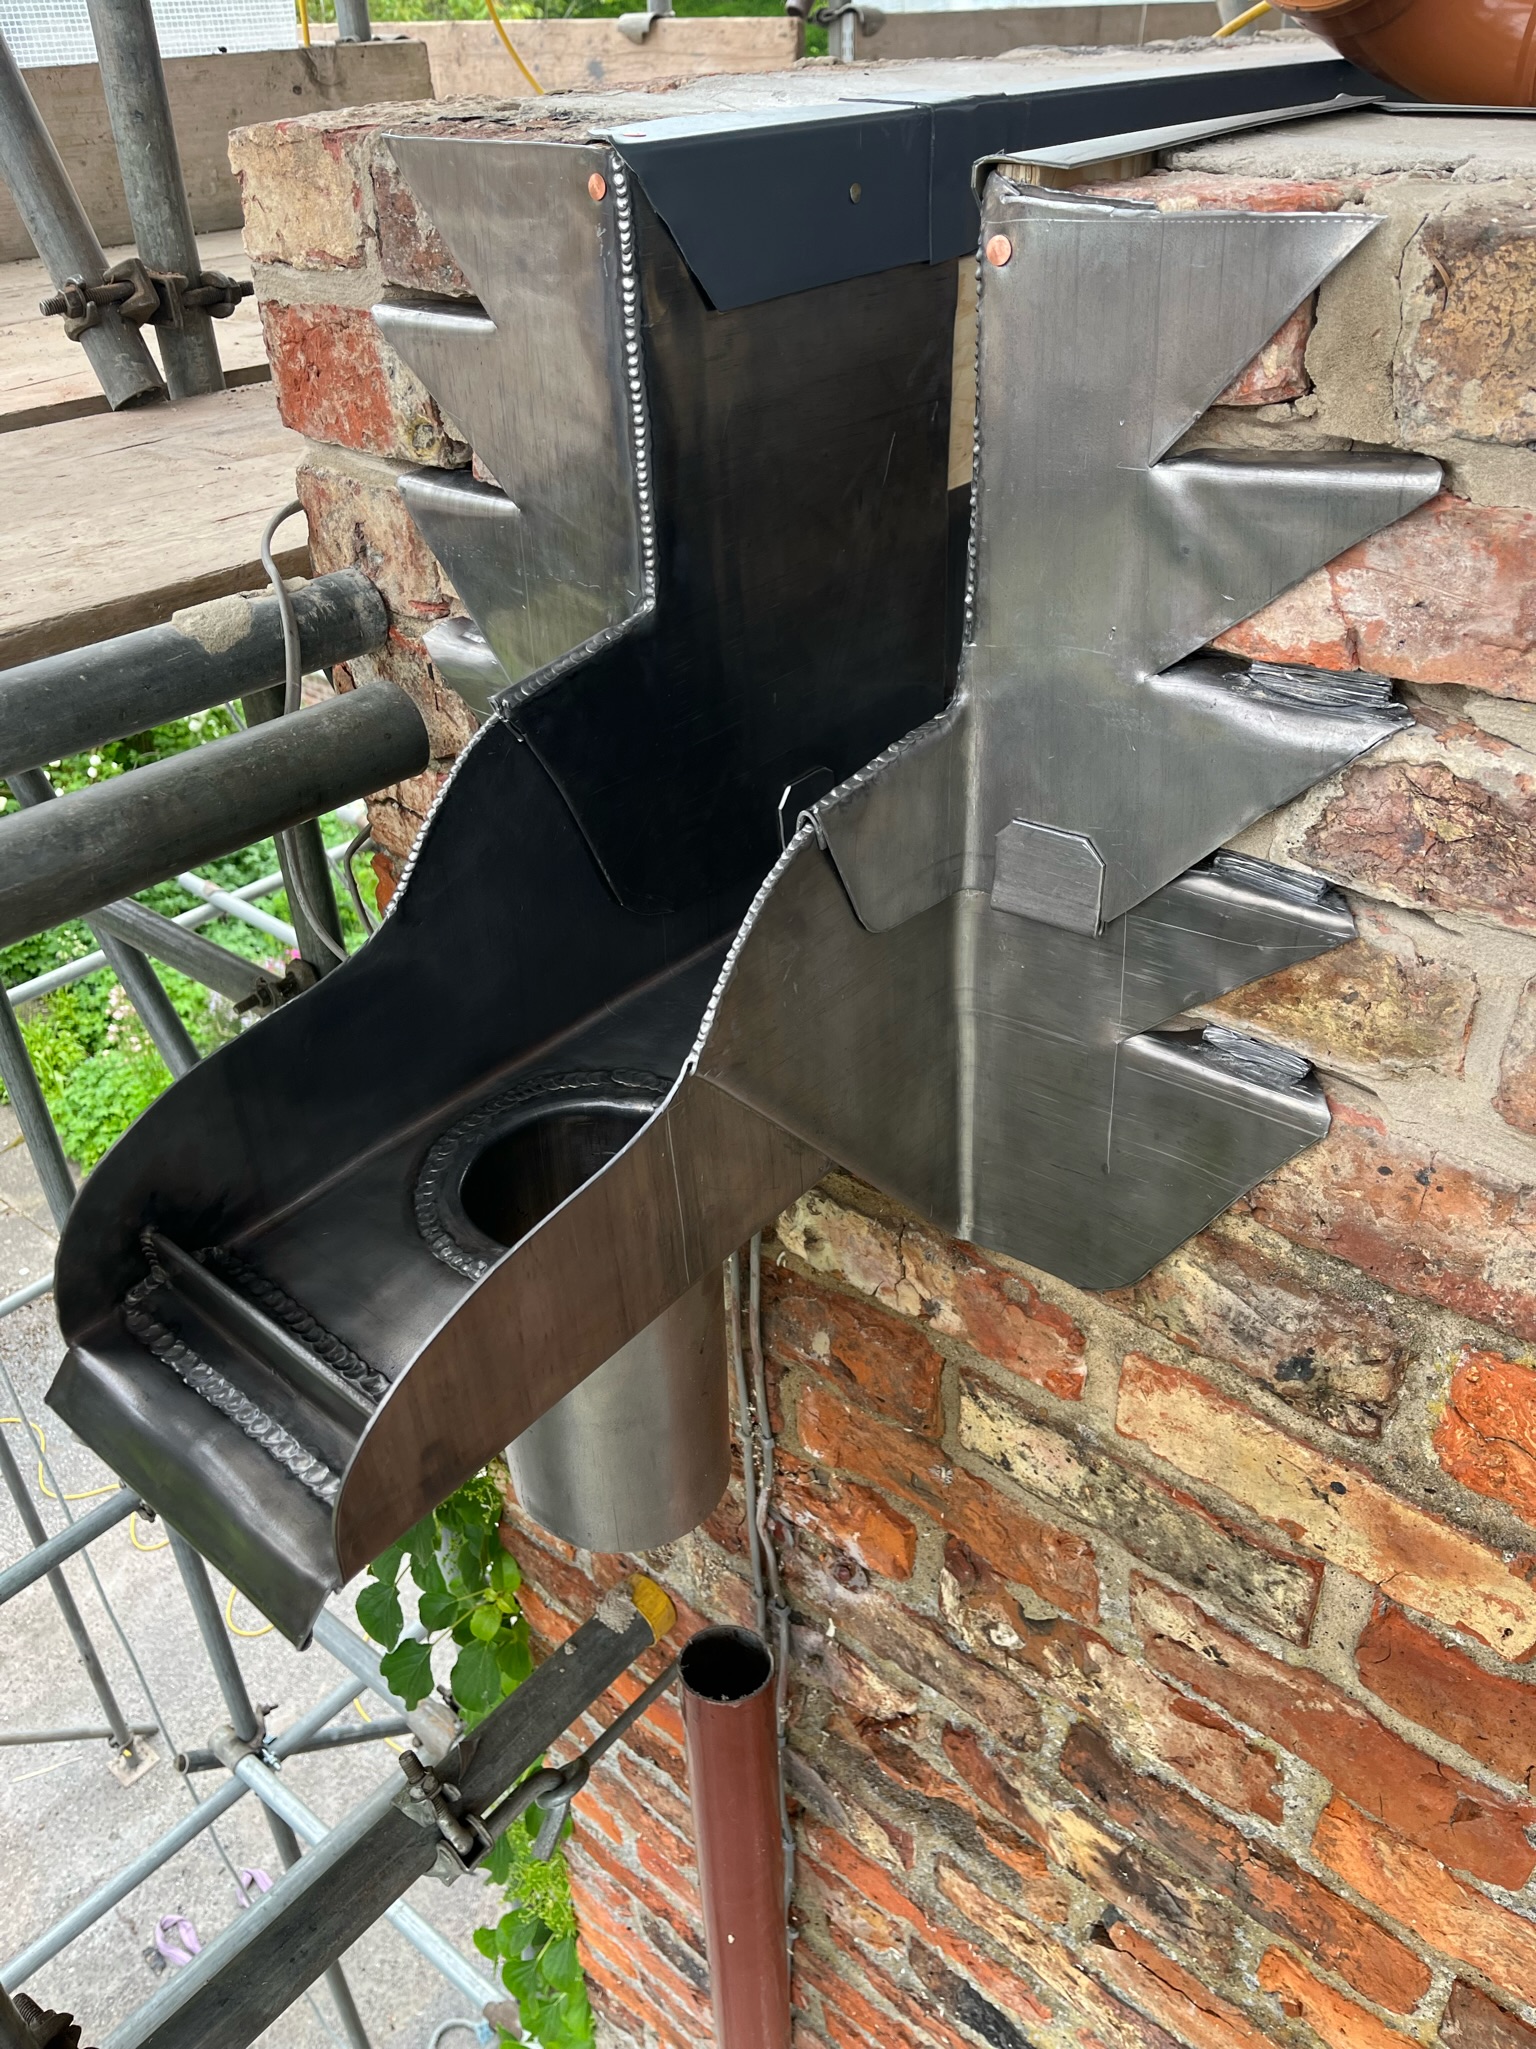
Stepped lead flashing details remain popular because they are practical, serviceable and visually appropriate, especially where the masonry pattern gives a clear line for the flashing to follow.
Apron and cover flashing details
Apron flashings and cover flashings are among the most common lead flashing details. Their role is usually to bridge between one material and another while directing water outward over the lower surface. These details can be very simple or quite refined depending on the context.
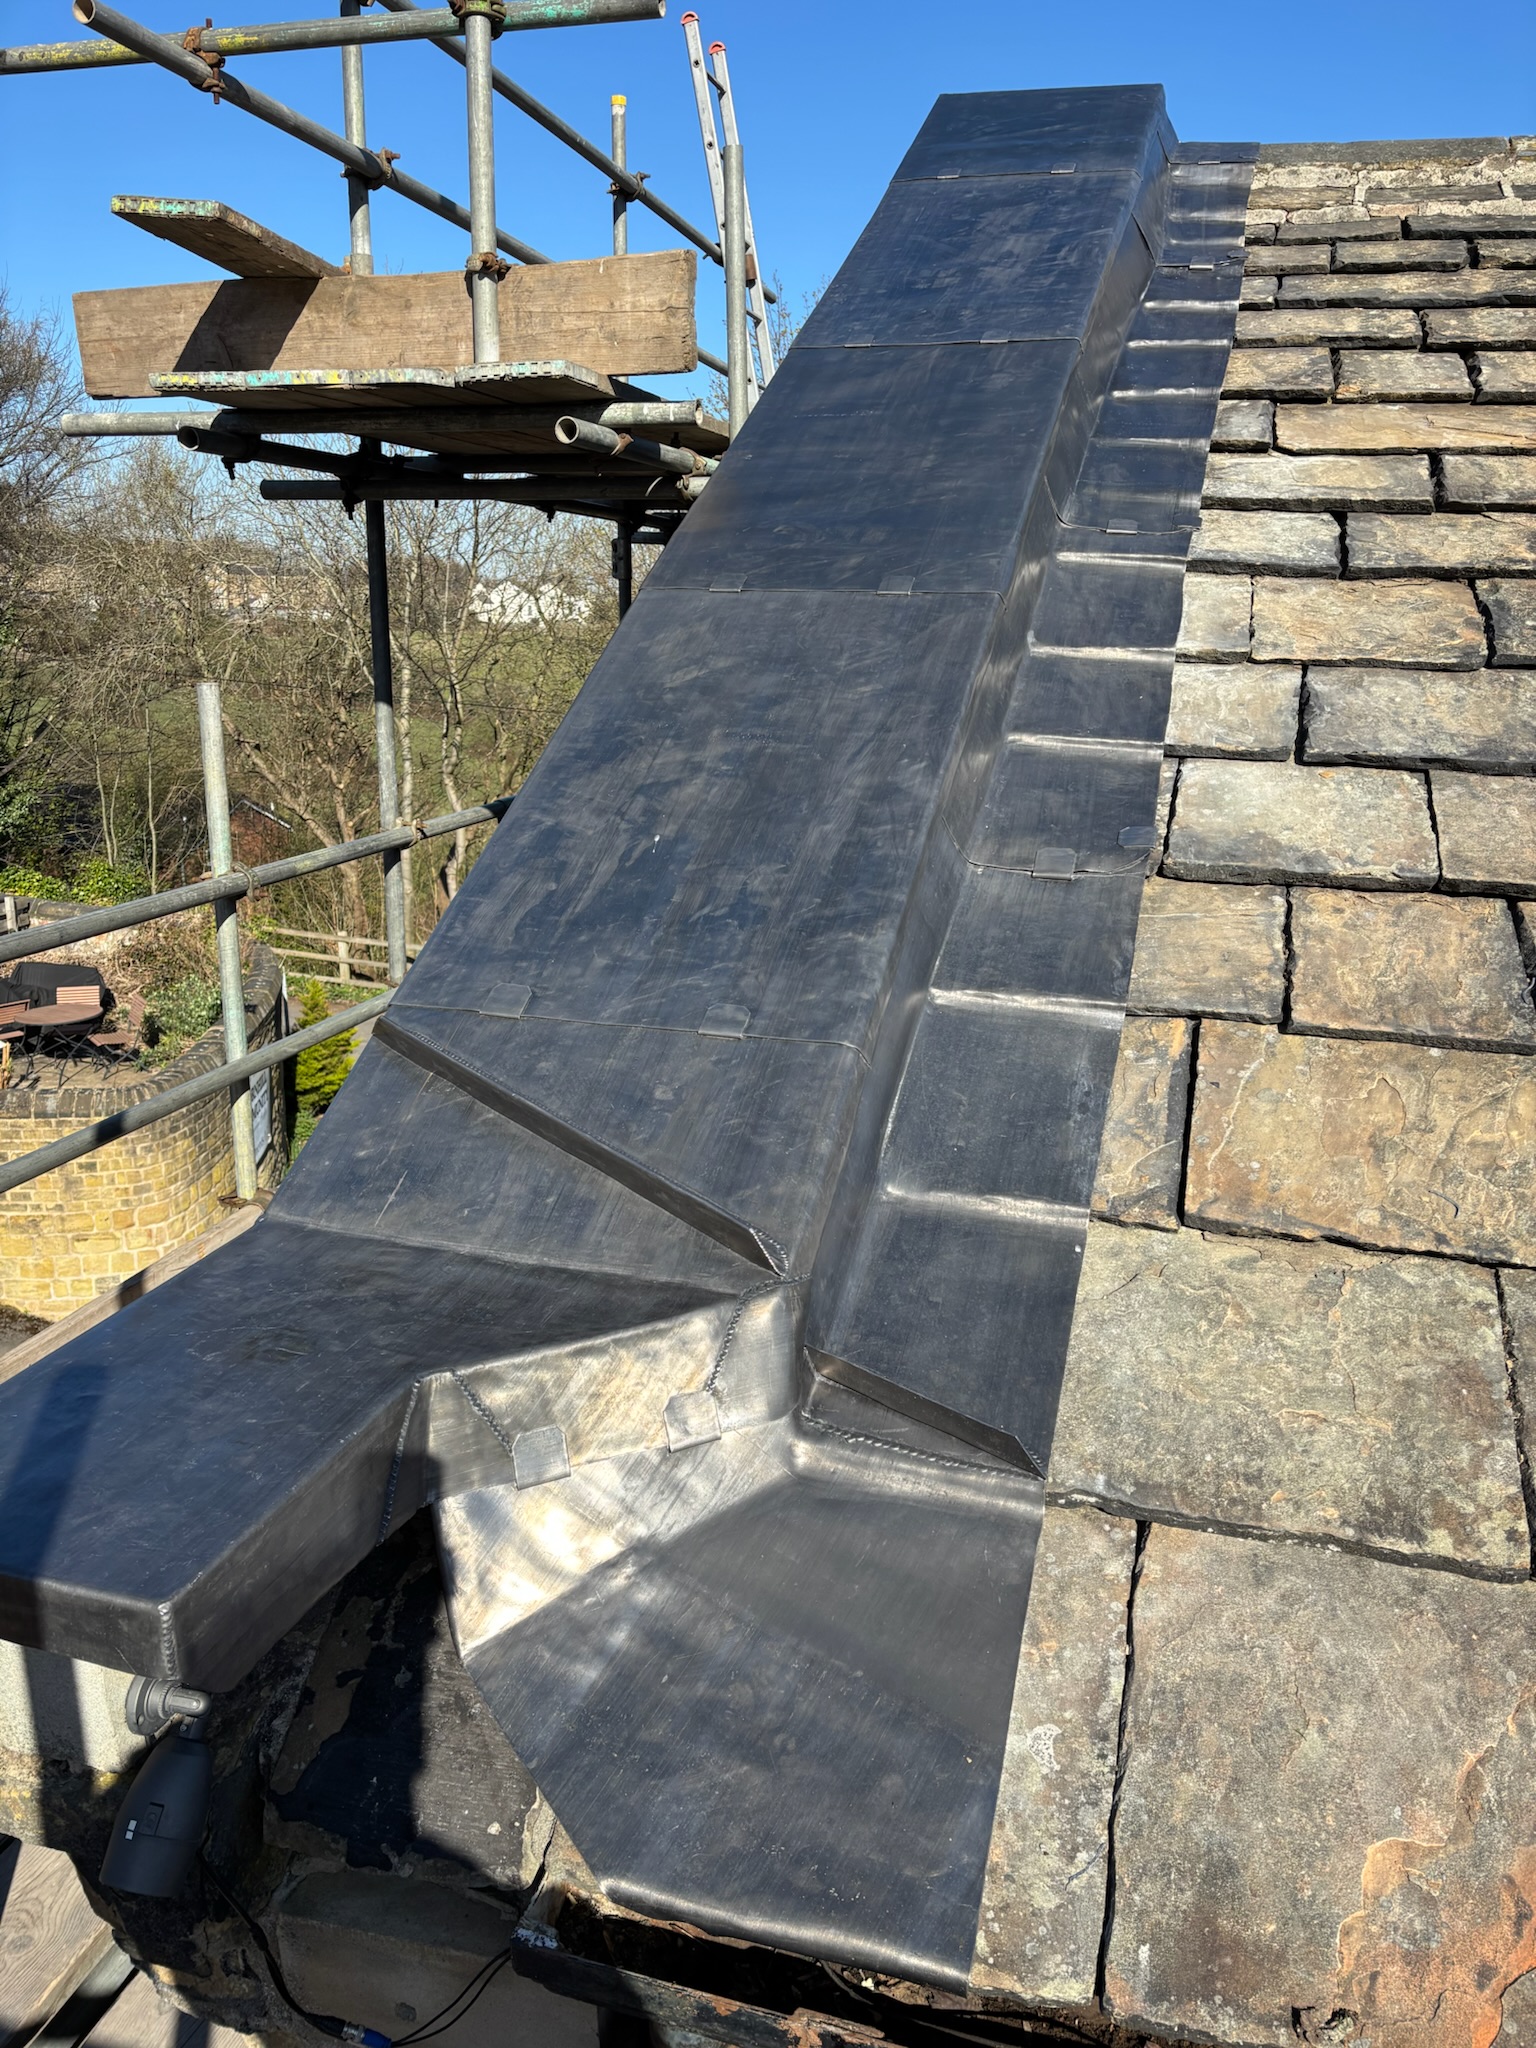
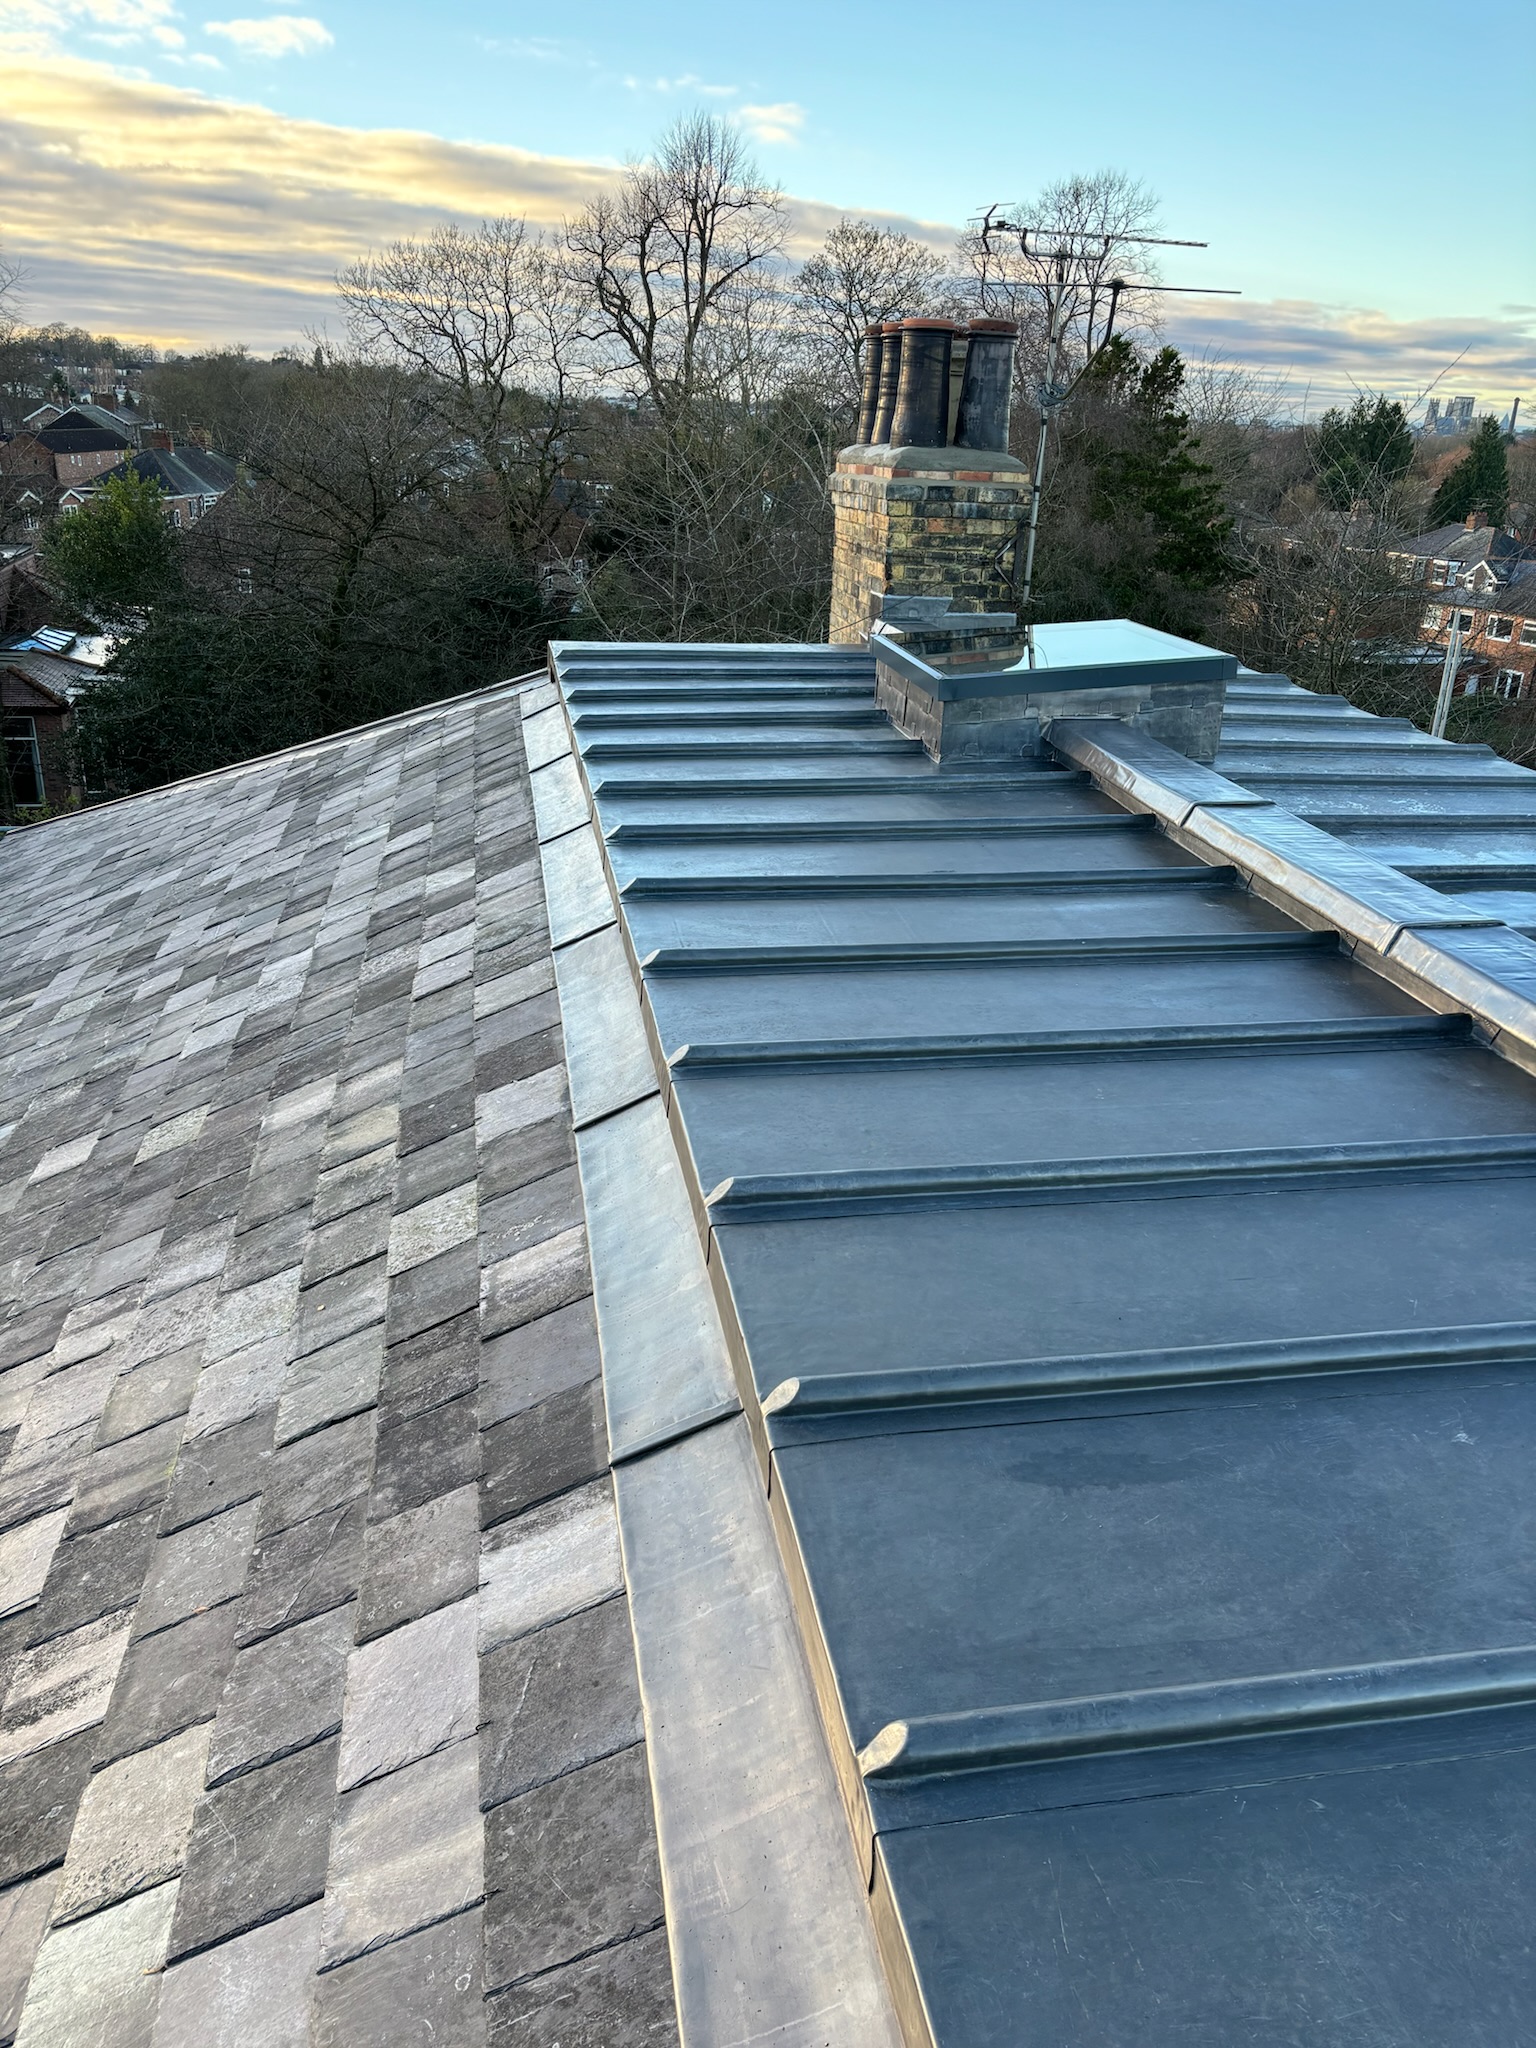
These kinds of lead flashing details can be especially useful where sequencing matters or where the detail needs to protect a vulnerable edge without forcing premature work on adjoining materials.
Historic and coastal lead flashing details
Some projects demand a stronger specification because of exposure, scale or heritage context. In coastal or highly exposed conditions, extra restraint and heavier lead codes may be needed. Historic buildings may also require more bespoke details so the lead performs properly while respecting the original architecture.
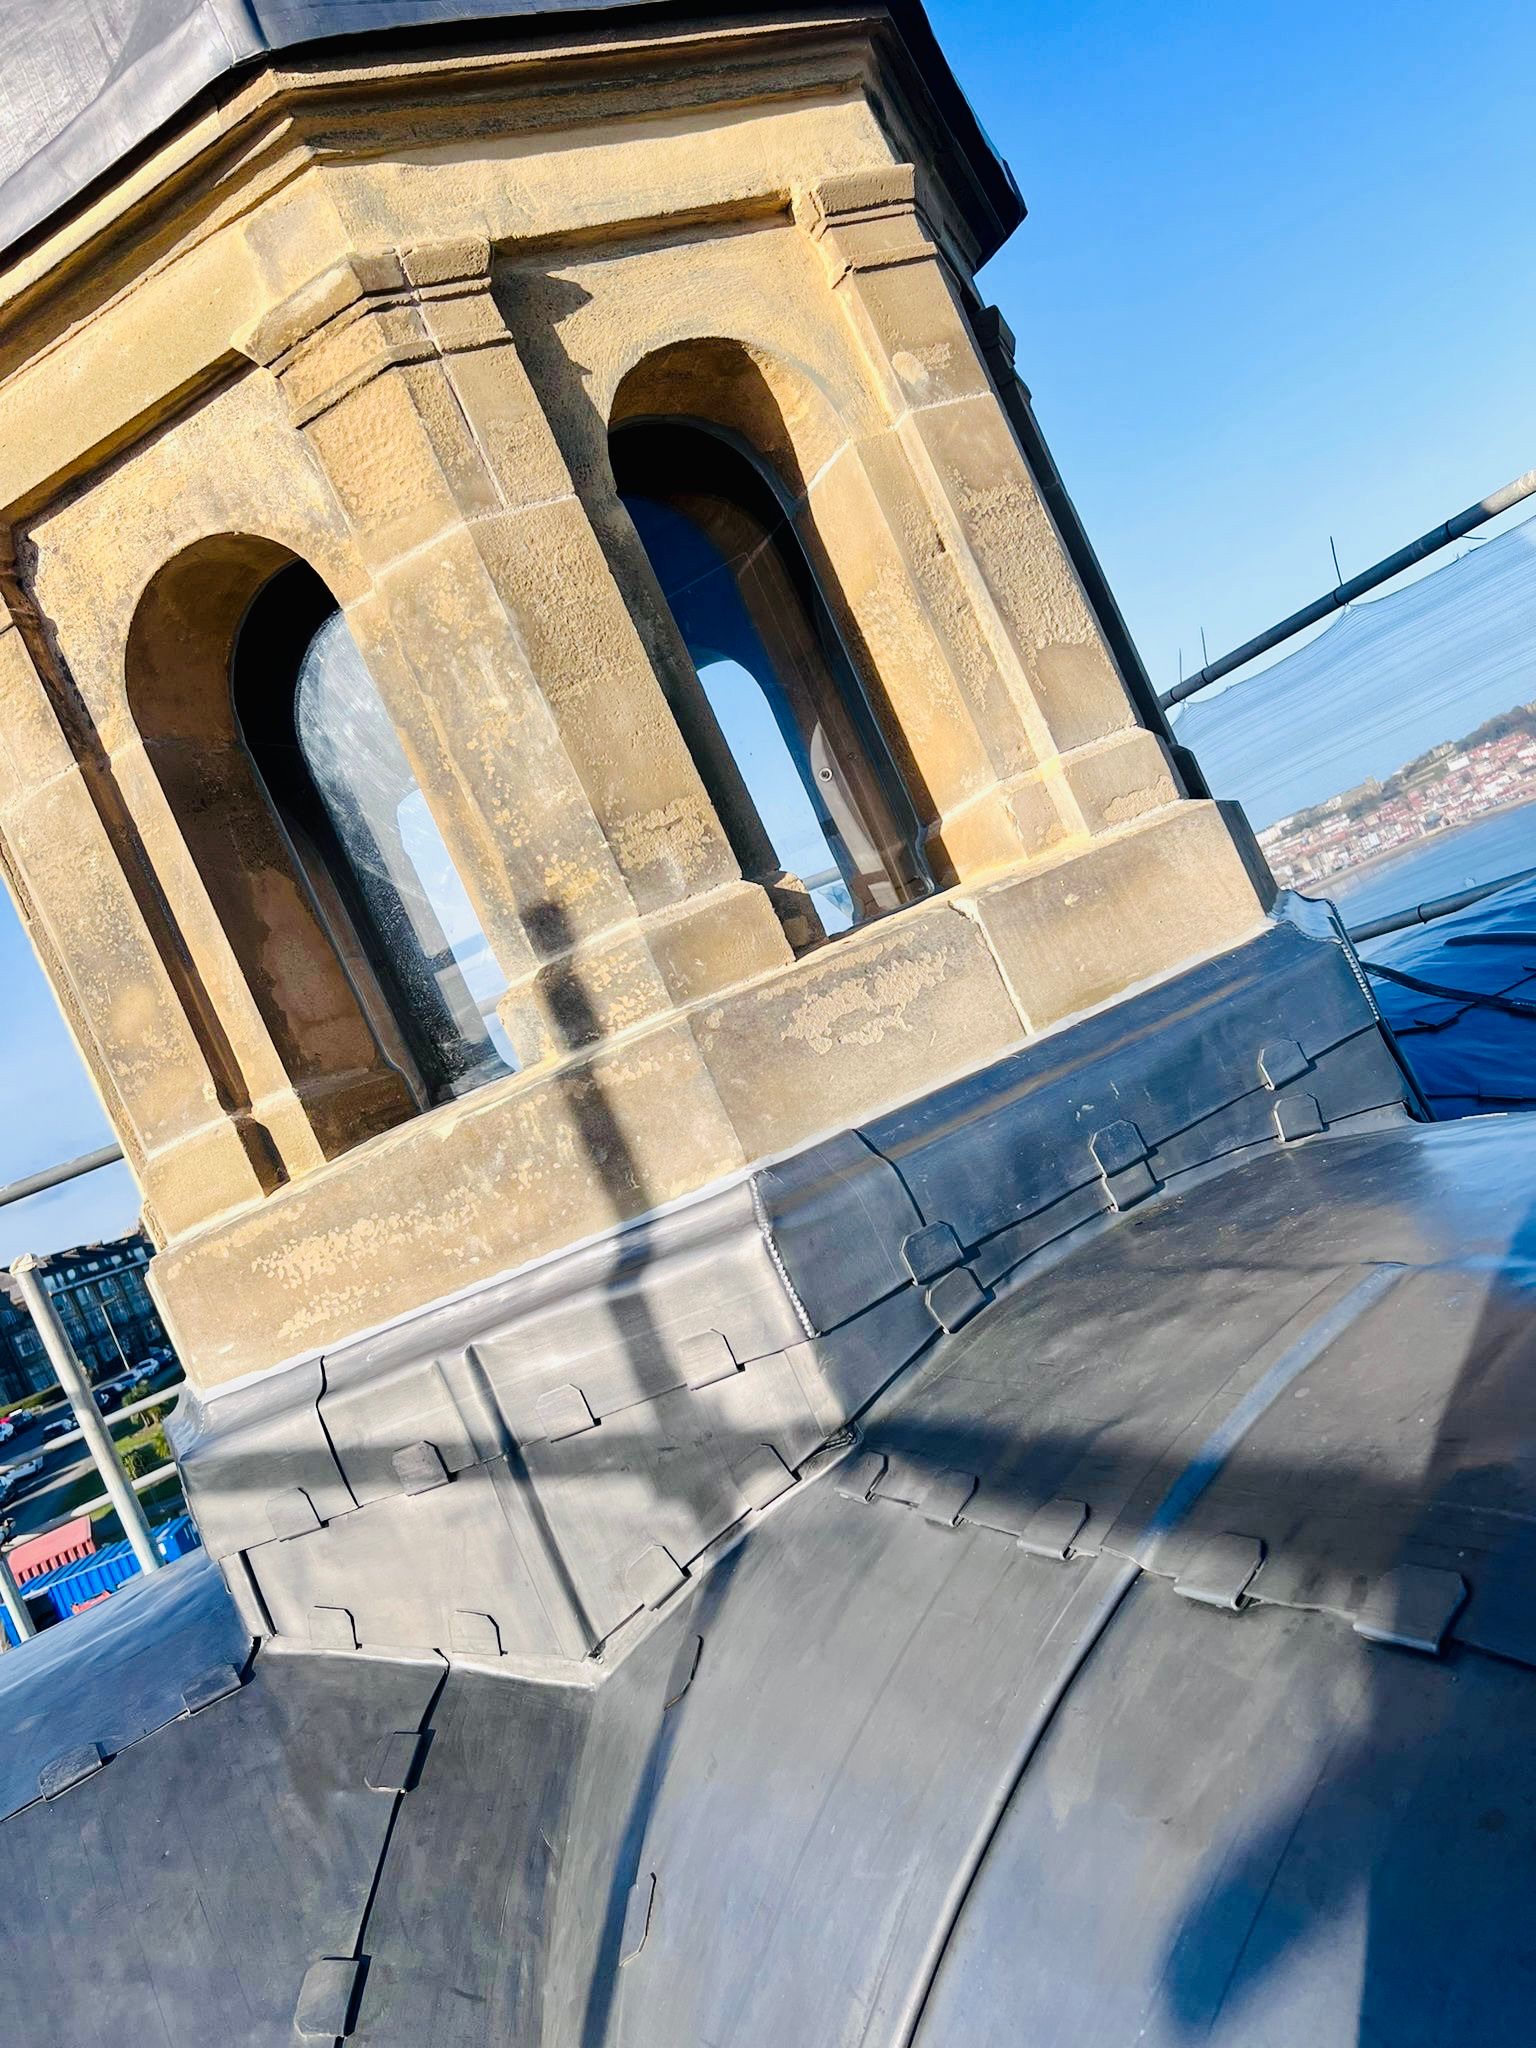
This is where thoughtful lead flashing details really prove their worth. The lead is not just closing a gap; it is becoming part of a long-term preservation strategy for the building.
Chimney lead flashing details
Chimneys remain one of the most searched and most important applications for leadwork. Chimney lead flashing details often include stepped side flashings, front aprons, back gutters and smaller clipped or welted face details that all need to work together.


Because chimney lead flashing details are so important, you should also explore the dedicated guidance in:
Best practice for lead flashing details
Whether the detail is simple or complex, the best lead flashing details usually follow the same broad principles:
- Use the correct lead code for the detail and exposure
- Allow the lead to move rather than fixing it too tightly
- Use clipped edges, welted panels or stepped pieces where appropriate
- Form details neatly so they shed water without trapping debris
- Respect the appearance of the building, especially on heritage work
- Sequence the work so later trades do not damage finished leadwork
How to buy for lead flashing details
If you are moving from a detail on site to product selection, the quickest route is usually the Lead Chart. It allows you to compare code, width and length quickly, then move into the right rolled lead product for the detail you are forming.
For broader guidance around applications, installation logic and related detail pages, keep working through:
Real projects behind these lead flashing details
Every image on this page comes from real work by The Lead Lads ®. If you want to see more examples of completed installations, heritage detailing and specialist leadwork, visit:
That project page is a valuable companion to this guide because it shows how lead flashing details translate from individual interfaces into complete roofing and building solutions.
Frequently asked questions about lead flashing details
What are lead flashing details used for?
Lead flashing details are used to weather junctions, protect vulnerable edges, cover masonry or timber interfaces and manage water where different building elements meet.
Are lead flashing details only used on roofs?
No. While many are used on roofs, lead flashing details are also used on canopies, plinths, decorative masonry, dormers, wall heads and specialist heritage features.
What is the difference between a cover flashing and a stepped flashing?
A cover flashing bridges over an interface or lower material, while a stepped flashing is formed in separate pieces that follow the line of masonry joints or stepped roof geometry.
Can lead flashing details be decorative as well as functional?
Yes. Many of the best lead flashing details protect the building while also preserving or enhancing the appearance of traditional features and high-quality architectural elements.
Where can I buy lead for flashing details?
The quickest route is usually the Lead Chart, which allows you to compare codes, widths and lengths before buying the most suitable rolled lead sheet for the detail you are forming.
Lead flashing details at a glance
If you are looking at lead flashing details for a live project, the main thing to remember is that the right detail depends on what you are trying to protect. A chimney needs a different solution from a door canopy, a dormer or a decorative stone plinth. The lead should always be chosen and formed to suit the shape of the building, the level of exposure and the appearance you want to preserve.
Some details are mainly practical, such as stepped flashings and aprons. Others are more specialised and need shaping, welding or clipped edges to work properly. In every case, the objective is the same: create a durable weathering detail that keeps water out and sits naturally within the building.
If you already know the sort of lead detail you need, the quickest next step is to use the Lead Chart. If you want to keep exploring before buying, the best routes are Lead Roofing Guides, The Lead Handbook and the wider Lead Roofing Projects gallery.
Choosing the right detail for the building
One of the biggest advantages of lead is that it can be adapted to suit a huge range of building types and junctions. A traditional stone property, a listed townhouse, a decorative dormer, a modern canopy or a small masonry interface may all need weathering, but they do not all need the same solution. What matters is that the detail is proportionate, properly formed and suited to the materials around it.
That is why it helps to look at real examples before ordering. A simple apron may be enough in one situation, while another project may need stepped pieces, clipped edges, welted panels or a more carefully shaped cover detail. Seeing these differences makes it much easier to choose the right route, both technically and commercially.
For some customers, that will mean going straight to the Lead Chart to compare sizes and codes. For others, the better next step is to keep exploring through The Lead Handbook or the wider Lead Roofing Guides section first. Either way, the aim is the same: choose a detail that will last, look right and work with the building rather than against it.
The project examples on this page also show something important about leadworking as a craft. Good results are rarely accidental. The neatest outcomes come from thoughtful set-out, sensible code selection, correct restraint and a clear understanding of how water behaves at each junction. That is what separates a durable detail from a quick patch, and it is also why experience matters so much when working on period and high-value buildings.
If you are specifying for a client, pricing for a project or simply trying to understand what should happen at a particular roof or wall junction, use this page as a starting point rather than the final answer. Then move outward into the relevant guide, product or project page depending on what you need next. That makes the whole Lead Lads resource more useful: one page helps explain the principle, another helps you buy the material, and another shows the finished result in real life.

