


 Code 3 Lead
 Code 4 Lead
 Code 5 Lead
 Code 6 Lead






Lead Codes Explained – Code 3, Code 4, Code 5, Code 6, Code 7 & Code 8 Lead Sheet Guide
This guide has been built to clearly set out Lead Codes Explained for roofers, builders, surveyors, specifiers and informed clients. If you are trying to understand the difference between Code 3, Code 4, Code 5, Code 6, Code 7 and Code 8 lead sheet, this page explains the key differences in thickness, weight and typical roofing applications.
Use this page as the parent guide to understand lead sheet codes before moving into the Lead Chart, the Lead Flashing Chart Explained guide or the relevant rolled lead sheet category.
What do lead sheet codes mean?
When people search for Lead Codes Explained, they are usually trying to understand one thing: how the numbered lead codes relate to the real thickness, weight and suitability of rolled lead sheet for different roofing details. The code number increases as the sheet becomes thicker and heavier, which in turn affects durability, handling, movement control and the types of work it is suitable for.
In simple terms, lighter codes are more commonly associated with lighter details such as soakers and smaller protected weatherings, while heavier codes are more commonly used where the lead has to form a larger or more exposed detail such as valleys, bays, parapet gutters, back gutters and flat leadwork.
Lead Codes Explained – quick comparison table
| Lead code | Approx. thickness | Approx. mass | Typical uses |
|---|---|---|---|
| Code 3 | 1.32 mm | 14.97 kg/m² | Soakers, lighter covered details, non-exposed weatherings |
| Code 4 | 1.80 mm | 20.41 kg/m² | Standard exposed flashings, step flashings, cover flashings, chimney details |
| Code 5 | 2.24 mm | 25.40 kg/m² | Wider flashings, aprons, valleys, bay roofs, deeper weatherings |
| Code 6 | 2.65 mm | 30.05 kg/m² | Bays, gutters, parapets, heavier roofing details |
| Code 7 | 3.15 mm | 35.72 kg/m² | Heavy-duty specialist applications and larger, more demanding details |
| Code 8 | 3.55 mm | 40.26 kg/m² | Specialist heavy applications, high exposure details and bespoke leadwork |
A practical reading of Lead Codes Explained is that the correct choice is rarely just about thickness alone. The right code depends on the size of the detail, the exposure level, the building type, the substrate, the expected movement and the way the lead is being formed on site.
Code 3 lead explained
Code 3 lead is the lightest of the commonly used rolled lead sheet codes and is often associated with individual soakers, lighter covered details and smaller protected weatherings. It is workable, easy to cut and efficient where repeated smaller pieces are required.
However, one of the most important points in any proper discussion of Lead Codes Explained is that Code 3 should not generally be treated as the default exposed cover flashing material. In many standard exposed flashing situations, Code 4 is the better starting point.


Code 4 lead explained
Code 4 lead is widely regarded as the standard material for many exposed flashings, including stepped flashings, cover flashings and chimney details. If someone is asking for Lead Codes Explained with a focus on the most practical everyday code, Code 4 is usually where the conversation starts.
It provides a strong balance between workability and durability, making it suitable for a wide range of domestic and commercial roof interfaces. In many situations, this is the code most likely to appear in standard flashing specifications.
Code 5 lead explained
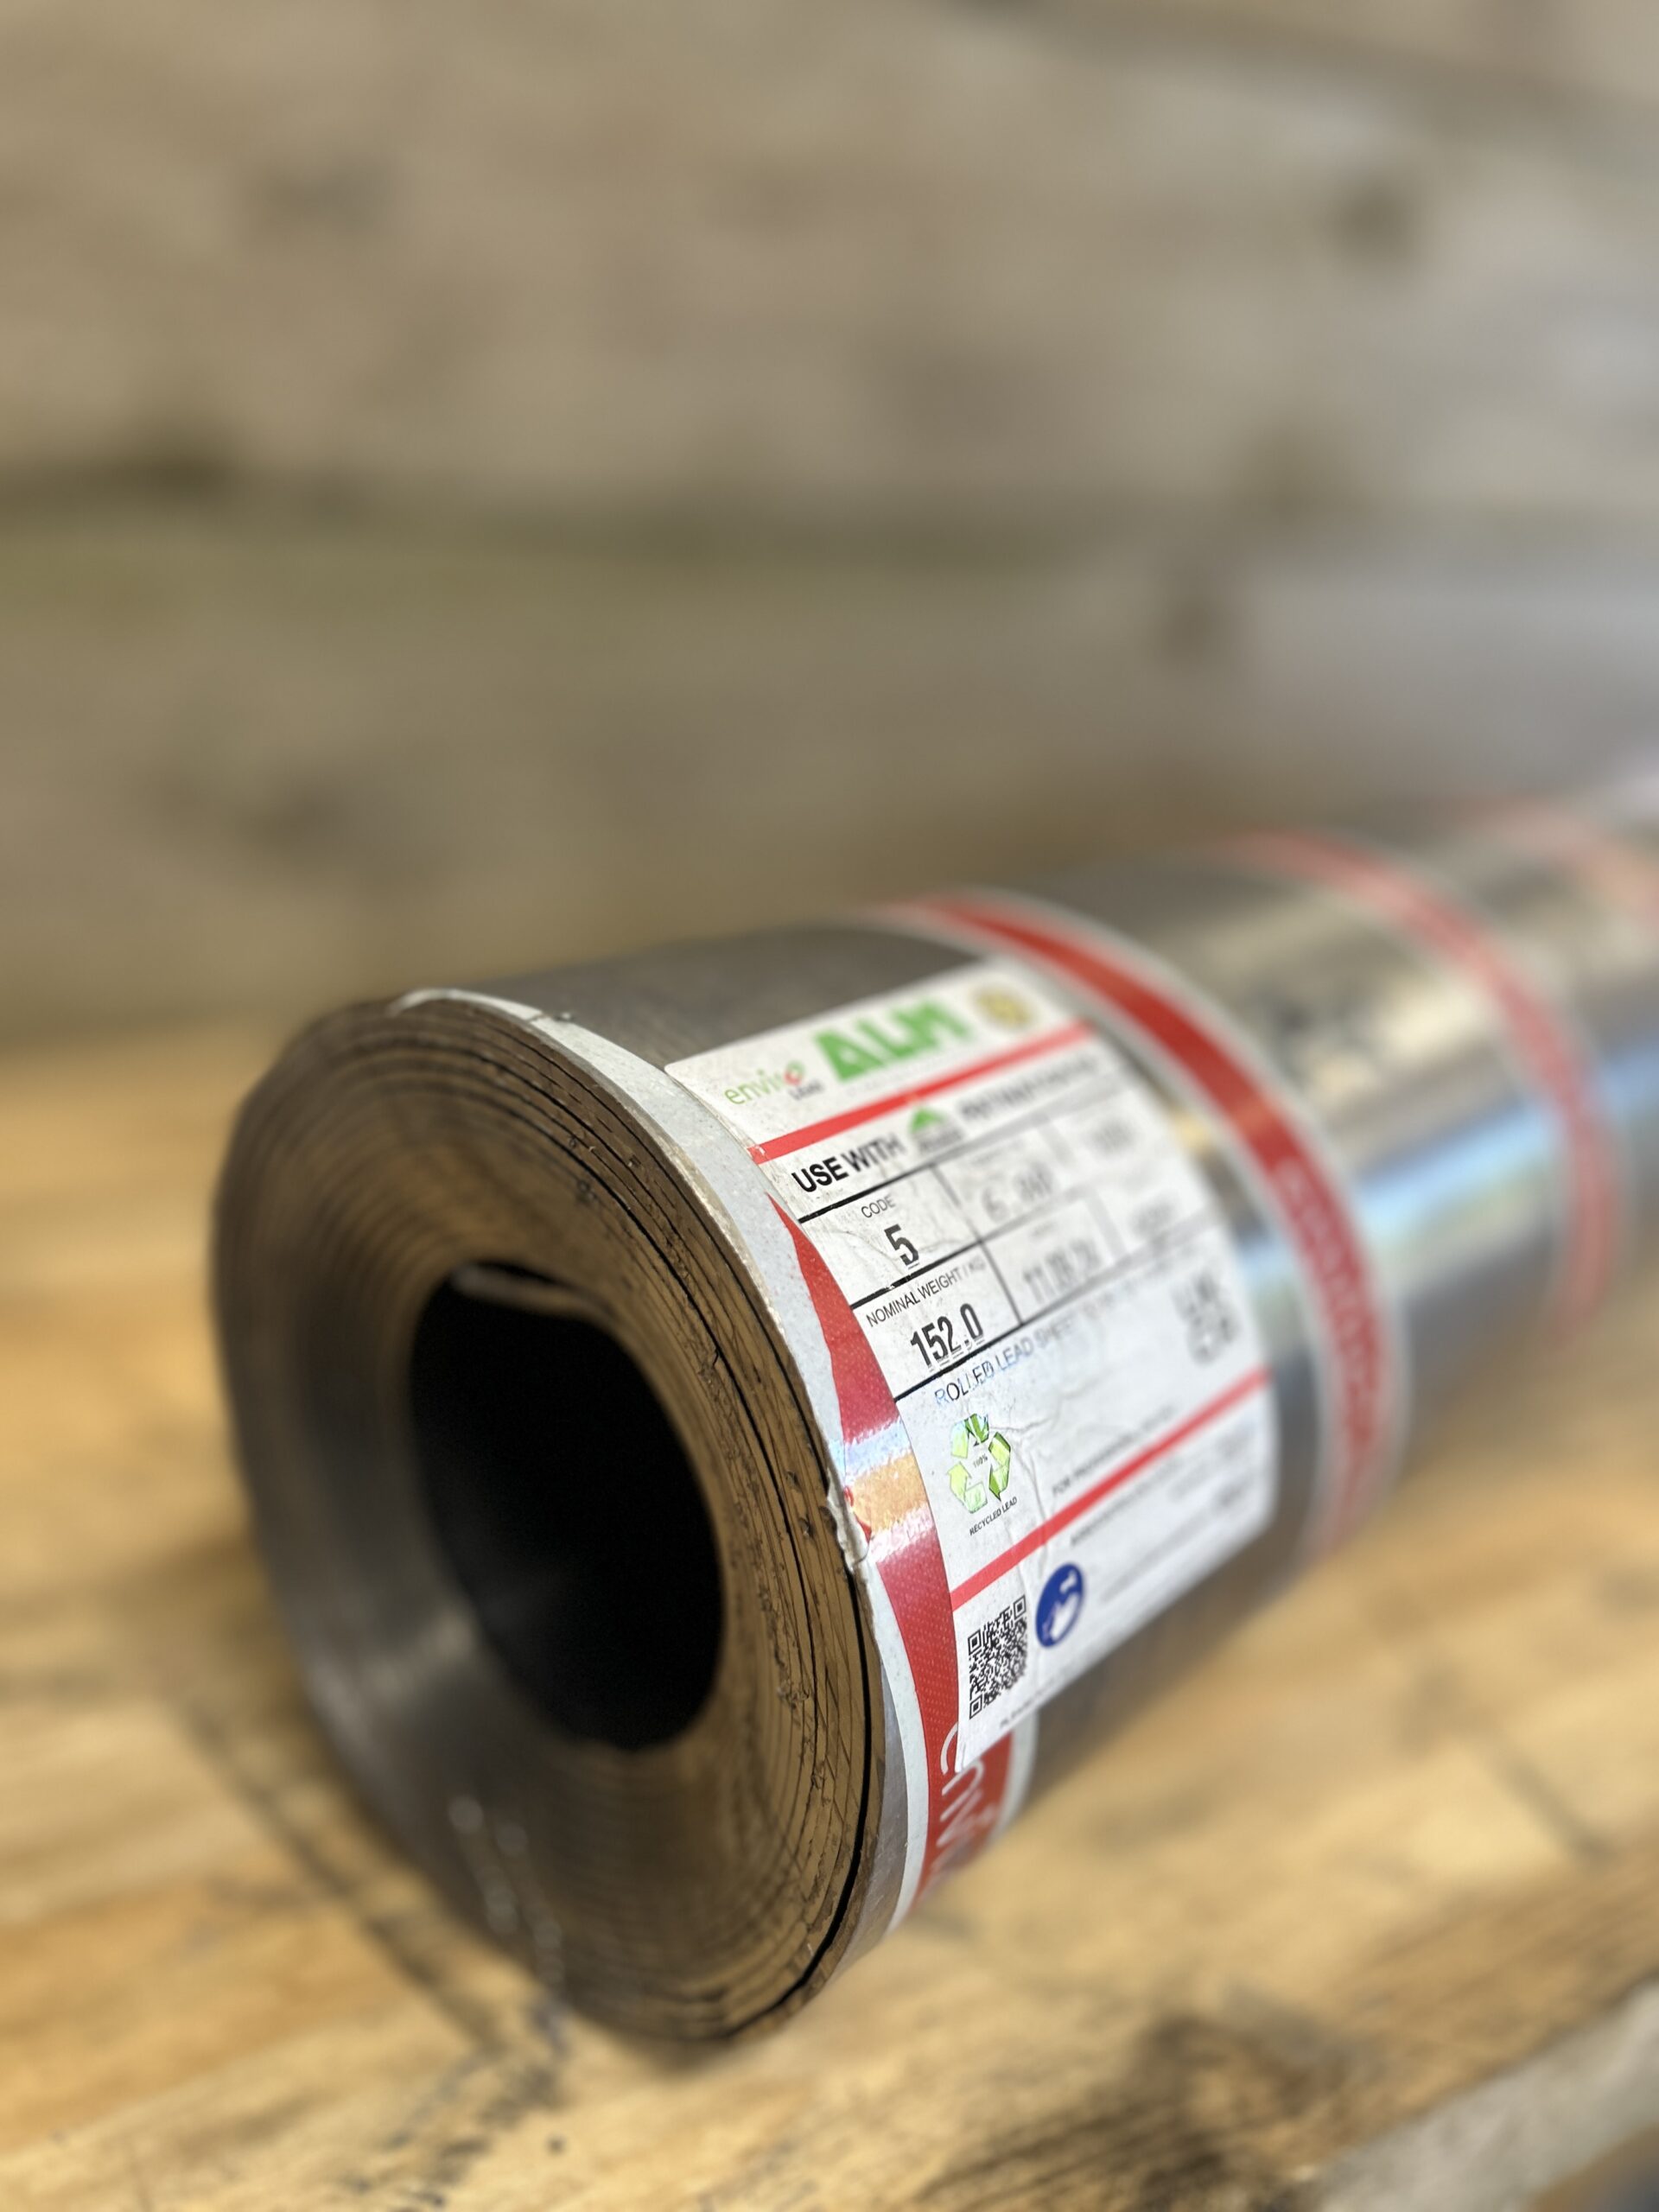
Code 5 lead is the point at which the discussion often moves beyond standard flashings into broader and more exposed details. It is commonly used for wider flashings, aprons, valleys, bay roofs and deeper weatherings, where additional thickness gives greater durability and stability.
In a good Lead Codes Explained guide, Code 5 is usually presented as the step up from Code 4 when width, exposure or loading increases. It is a common specification for details that require more material robustness without moving straight into very heavy leadwork.

Code 6 lead explained
Code 6 lead is generally used where the detail becomes heavier, broader or more exposed still. It is commonly associated with bays, gutters, parapets and larger roofing details, especially where the lead has to perform as a more substantial weathering or covering.
One of the key benefits of publishing a detailed Lead Codes Explained page is that it helps users understand that Code 6 is not simply “better” than Code 4 or Code 5. It is heavier, more demanding to handle and used where the design actually requires that additional thickness.
Code 7 and Code 8 lead explained
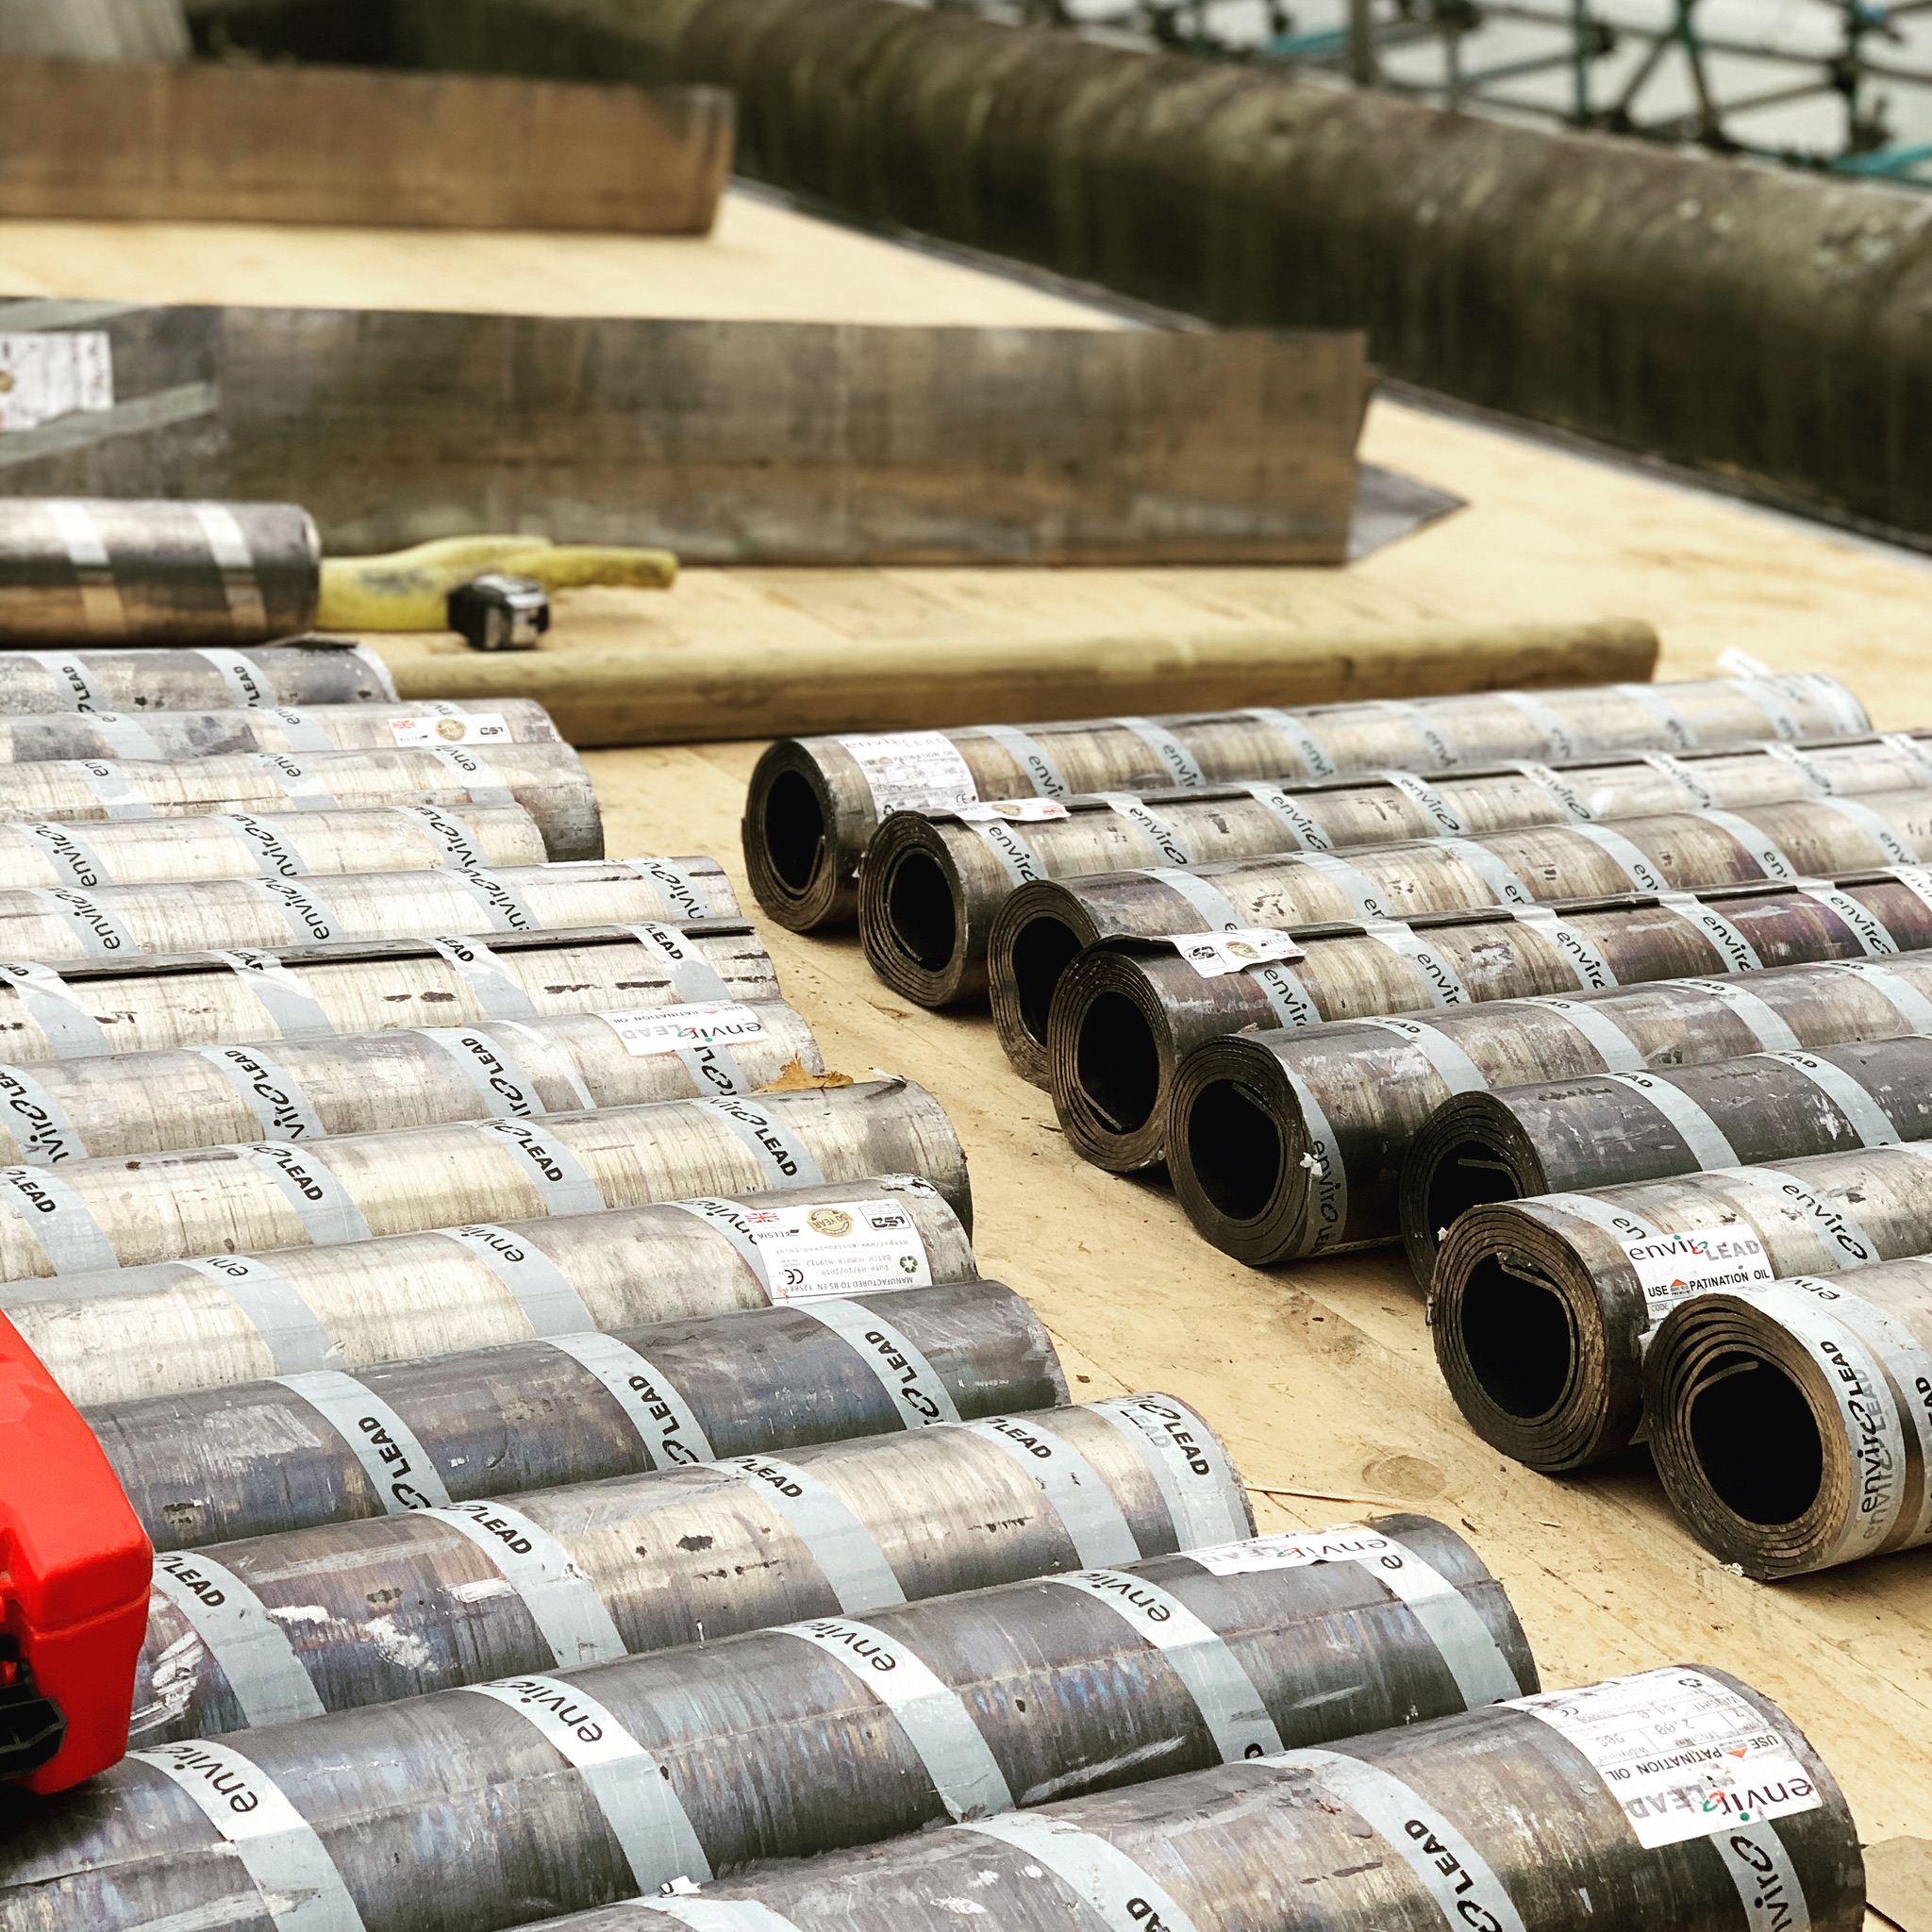
Code 7 and Code 8 lead sheet sit in the specialist end of the lead code range. These heavier materials are used where there is a genuine need for thicker lead, whether because of exposure, scale, detailing method or project type.
They are not the standard starting point for ordinary flashing work, but they are important in a complete Lead Codes Explained guide because they show the full range of rolled lead sheet available. Code 8 in particular is often searched by users looking for high-end or specialist detail guidance, which is why it is useful to also link through to our Code 8 Lead Uses Guide.

Lead codes explained by application
| Application | Most common code range | Typical note |
|---|---|---|
| Soakers | Code 3 | Common for lighter protected pieces beneath a heavier exposed cover flashing. |
| Step flashings and cover flashings | Code 4 | Usually the starting point for exposed domestic flashing work. |
| Aprons and deeper weatherings | Code 4 / Code 5 | Depends on width, exposure and roof profile. |
| Valleys and bays | Code 5 / Code 6 | Broader and more exposed details often require heavier lead. |
| Parapets and gutters | Code 5 / Code 6 / heavier | Specification depends on size, design and thermal movement requirements. |
| Specialist heavy details | Code 7 / Code 8 | Used in more bespoke, exposed or specialist situations. |
Lead sheet thickness and buying decisions
Buyers often move from a guide like Lead Codes Explained into one of two next steps. The first is a sizing question such as Lead Flashing Sizes. The second is an ordering question, which is why this page should also route users into the Lead Chart and the Lead Flashing Chart Explained page.
Understanding the code is only one part of the commercial process. Buyers still need to choose the right width, roll length and related materials, including leadwork fixings, lead underlay and finishing materials.
Lead codes, standards and inspection
Any serious guide to Lead Codes Explained should also point users toward standards, installation quality and inspection. For broader technical context, see the Lead Lads’ Leadwork Standards page and further information on professional leadwork services here.
For specification support, inspection of failures and professional reporting as to why leadwork has underperformed, it is also useful to reference a chartered surveying practice with roofing specialism. See roofing surveying services by Strut Building Surveyors for authority on investigation, diagnosis and reporting.
Frequently asked questions – Lead Codes Explained
What does Code 4 lead mean?
Code 4 lead refers to rolled lead sheet with an approximate thickness of 1.80 mm. It is commonly used for standard exposed flashings such as stepped abutments, chimney flashings and cover flashings.
What is Code 3 lead used for?
Code 3 lead is commonly used for soakers, lighter covered details and non-exposed weatherings. It is not usually the default exposed cover flashing material for standard roofing work.
When should I use Code 5 lead?
Code 5 lead is commonly used when the detail becomes wider, deeper or more exposed, including aprons, valleys, bays and broader weatherings.
Are higher lead codes always better?
No. A higher code is not automatically better. It is simply thicker and heavier. The correct lead code depends on the detail, exposure, movement and design requirements of the project.
Where can I compare lead codes before ordering?
You can compare practical buying options using our Lead Chart and then move into the relevant code category, such as Code 3, Code 4, Code 5 or Code 6 rolled lead sheet.
Why Lead Codes Explained matters in real roofing work
A guide called Lead Codes Explained matters because the wrong code choice can affect durability, performance, handling, appearance and cost. Many roofing failures start not because lead is a poor material, but because the wrong thickness has been chosen for the detail or the lead has been formed over an unsuitable substrate.
Properly understanding Lead Codes Explained helps contractors and buyers make better decisions earlier. It reduces waste, improves specification quality and makes it easier to choose the right width and related accessories at the same time.
How lead codes affect movement and detailing
One of the most important technical ideas behind Lead Codes Explained is that thicker lead is not simply a stronger version of thinner lead. As lead thickness increases, handling, weight, detailing method and movement behaviour all change. Heavier codes can support more demanding details, but they still need to be installed correctly over the right substrate and within sensible design limits.
This is why leadwork standards, practical leadwork experience and proper inspection matter. If a detail has failed, the issue may relate to code selection, bay sizing, underlay, fixings or even condensation and decay beneath the sheet, rather than the metal alone.
Lead Codes Explained and the buying journey
For most visitors, a page like Lead Codes Explained sits at the centre of the buying journey. Once users understand the difference between Code 3, Code 4, Code 5 and heavier lead sheet, they can move logically into the next commercial step:
- compare widths and details
- check weights and handling
- use the Lead Chart to order
- add fixings and related sundries
- request pricing for larger or mixed projects
Code selection should always reflect the detail
| Question | Why it matters |
|---|---|
| Is the lead exposed or protected? | Protected details such as soakers often use lighter material than exposed cover flashings. |
| How wide is the formed detail? | Broader details often need heavier codes for durability and control. |
| What is the building type and exposure? | Heritage, coastal or high-exposure work may change the specification. |
| What is happening beneath the lead? | Substrate condition, underlay and condensation risk can all affect long-term performance. |
| Will the lead need specialist inspection? | Where failures or disputes arise, a roofing specialist or chartered surveyor may be needed to diagnose why. |
Further information beyond Lead Codes Explained
Once the code itself is understood, buyers and specifiers often need more detail on layout, width selection, practical ordering and failure diagnosis. That is why this page is best used alongside the wider guide cluster and authority resources:
- Lead Roofing Guides
- Lead Flashing Sizes
- Lead Flashing Chart Explained
- Code 8 Lead Uses Guide
- Further information on professional leadwork
- Roofing surveying services for inspection, diagnosis and reporting
Final thought
A good Lead Codes Explained page should do more than define thicknesses. It should help users understand how those codes translate into practical roofing decisions, ordering routes, specification quality and long-term performance. That is why this page sits at the centre of the Lead Lads guide cluster and links directly into both product categories and specialist authority resources.

