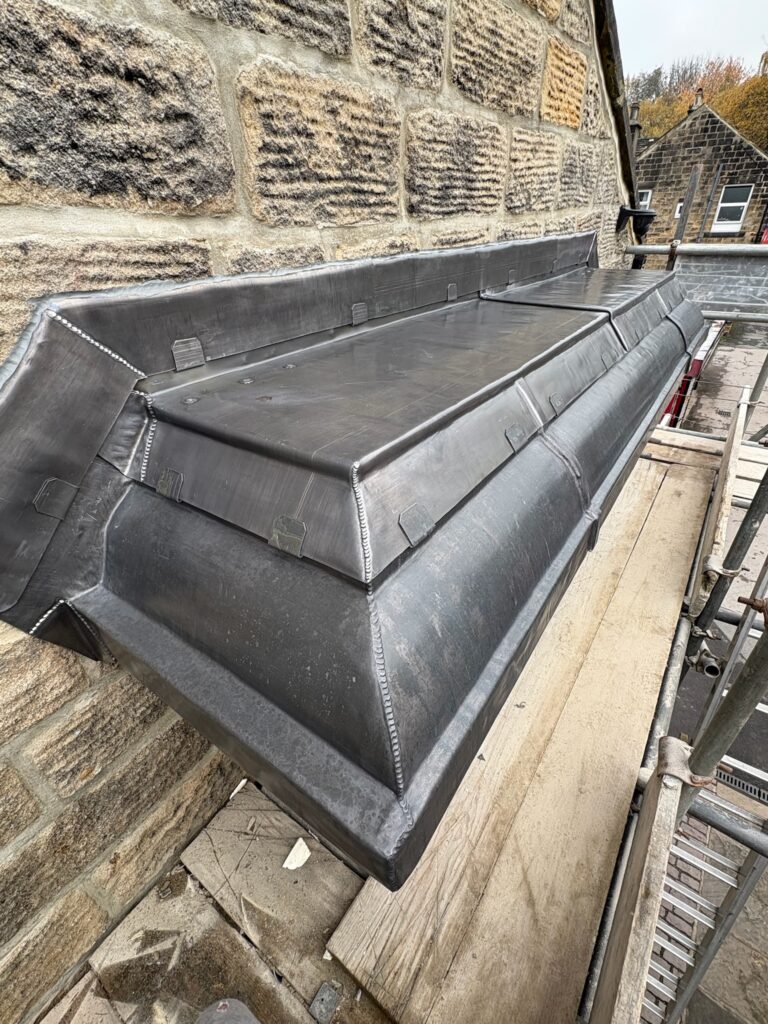
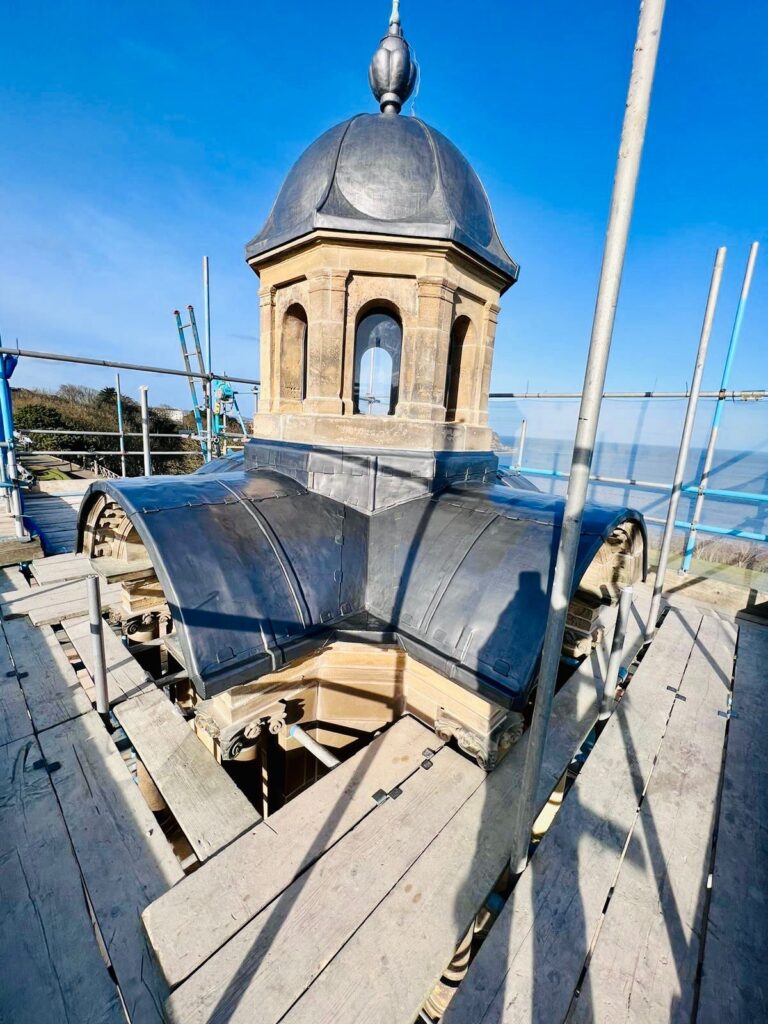
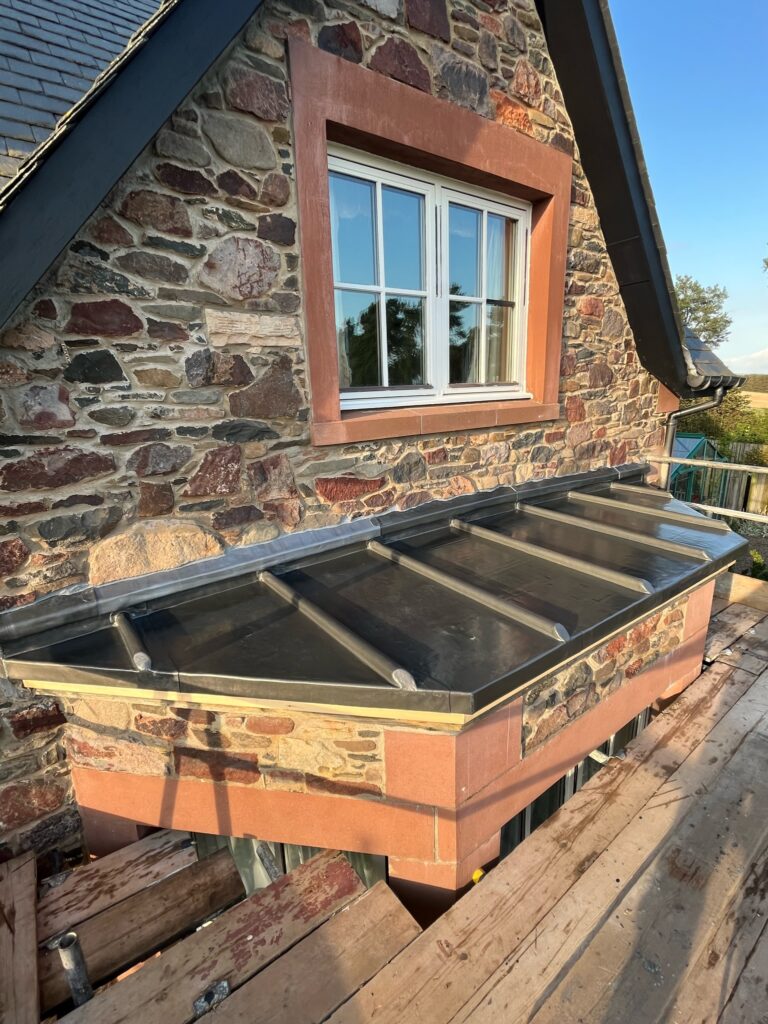
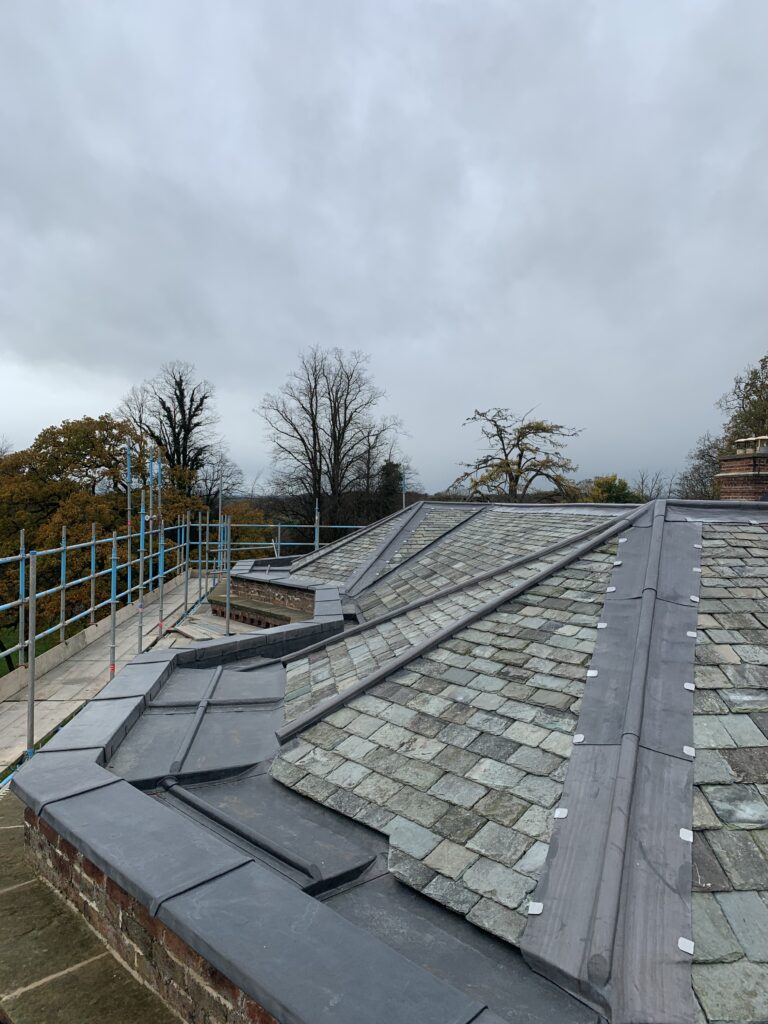
Code 3 Lead
 Code 4 Lead
 Code 5 Lead
 Code 6 Lead






Lead Flashing Chart Explained (2026) | Codes, Sizes & Ordering Guide


Lead Flashing Chart Explained (2026): Codes, Sizes, Uses & How to Order Correctly
Understanding the lead flashing chart is essential for anyone specifying, ordering, installing or inspecting rolled lead sheet. Lead remains one of the most durable and dependable roofing materials available, but poor performance still occurs when the wrong code is selected, widths are misunderstood, or detailing fails to account for thermal movement.
This guide explains how to read the lead flashing chart, what each lead code means in practical roofing terms, how lead widths relate to real details on site, and how to translate that information into a correct and defensible lead flashing order.
Whether you are pricing a chimney flashing replacement, setting out apron flashings, specifying soakers or ordering lead for parapets and valleys, the aim is the same: choose the right code, the right width and a sensible length for the detail.
Need to Order Lead Flashing?
Once you’ve confirmed the correct code and width, use our orderable chart to buy directly from UK stock.
Order Lead Flashing by Code1. What Is a Lead Flashing Chart?
A lead flashing chart is a practical reference showing the standard UK lead codes, their approximate thicknesses and weights, and the types of roofing details they are generally used for. In simple terms, it helps bridge the gap between technical material data and real on-site ordering.
For roofers, builders, surveyors and specifiers, the lead flashing chart helps answer practical questions such as:
- What code of lead should I use for this chimney flashing?
- What width do I need to achieve the correct cover and chase depth?
- Is this detail better suited to Code 4 or Code 5?
- Am I ordering a sensible length for movement and handling?
Rather than relying on guesswork, habit or “what we usually use”, the chart allows you to make decisions based on the actual detail, expected exposure and the behaviour of lead sheet in service.
For wider guidance on installation principles, restraint zones and correct detailing, see: Leadwork Standards & Installation Guidance.
2. What Do Lead Codes Mean?
Lead codes refer to the thickness and weight of rolled lead sheet. As the code increases, the sheet becomes heavier, thicker and generally more robust. That does not mean heavier is always better. The correct code depends on the detail, exposure, support, expected movement and how the sheet will be dressed or fixed.
- Code 3 – commonly used for soakers and small non-exposed details
- Code 4 – the most common choice for many domestic chimney and abutment flashings
- Code 5 – often used for valleys, aprons, bays and more exposed locations
- Code 6 – suitable for longer runs, gutters, bays and more severe exposure
- Code 7 and Code 8 – specialist applications, often associated with larger details, heritage work or heavier-duty specifications
A common mistake is to treat the code as a simple quality ranking. In reality, each code has a proper use. Lead that is too thin for the situation may fatigue prematurely. Lead that is unnecessarily heavy can become harder to form neatly, less economical to use and, if badly detailed, may still fail.
If you need a wider overview of code selection, see our related guide: Lead Sheet Codes Explained.
3. Lead Flashing Chart (Quick Reference)
| Lead Code | Approx. Thickness | Approx. Weight | Typical Uses |
|---|---|---|---|
| Code 3 | 1.32mm | 15.0kg/m² | Soakers, small sheltered details, lightweight non-exposed applications |
| Code 4 | 1.80mm | 20.4kg/m² | Chimney flashings, stepped flashings, aprons, common abutment work |
| Code 5 | 2.24mm | 25.4kg/m² | Valleys, aprons, bays, parapets and more exposed locations |
| Code 6 | 2.65mm | 30.0kg/m² | Gutters, large bays, longer runs and heavier-duty exposed details |
| Code 7 | 3.15mm | 35.7kg/m² | Heritage work and specialist heavier-duty applications |
| Code 8 | 3.55mm | 40.3kg/m² | Specialist structural or historic leadwork where a heavy sheet is specified |
This quick reference lead flashing chart is useful for initial selection, but it should always be read alongside the actual detail. Code, width, cover, upstand, fixing method and thermal movement all matter when turning the chart into a correct lead flashing order.
4. Why the Correct Code Matters in Practice
The right code of lead is not just about durability in a general sense. It is about how the lead behaves once installed. Lead sheet expands and contracts significantly with temperature change. If the code, width, length or fixing method is wrong, a range of familiar problems can develop over time.
- Buckling or rippling across wider areas
- Splitting near fixings or restraint points
- Creep on pitched details
- Cracking at chase lines
- Premature fatigue where movement has been restricted
This is why a lead flashing chart should never be read as a shopping table alone. It is a starting point for proper material selection. Code, width, cover, upstand, fixing method and piece length all need to work together.
For practical leadwork examples and specialist installation context, see: Neal Roofing – Leadwork Services.
5. How to Use the Lead Flashing Chart in Practice
The chart is not only about lead code. Width matters just as much. When placing a lead flashing order, the selected width must allow enough material for:
- the cover over the roof covering
- the depth into the chase or mortar joint
- any turn-up, welt or dressing required by the detail
- safe and sensible installation on site
For example, a narrow flashing may be insufficient once proper chase depth and cover are allowed for. Equally, over-ordering an unnecessarily wide piece can make dressing less tidy and may create avoidable waste.
Using the lead flashing chart correctly allows you to compare widths and codes quickly, then place a lead flashing order that actually matches the job rather than relying on guesswork.
6. Typical Applications Explained
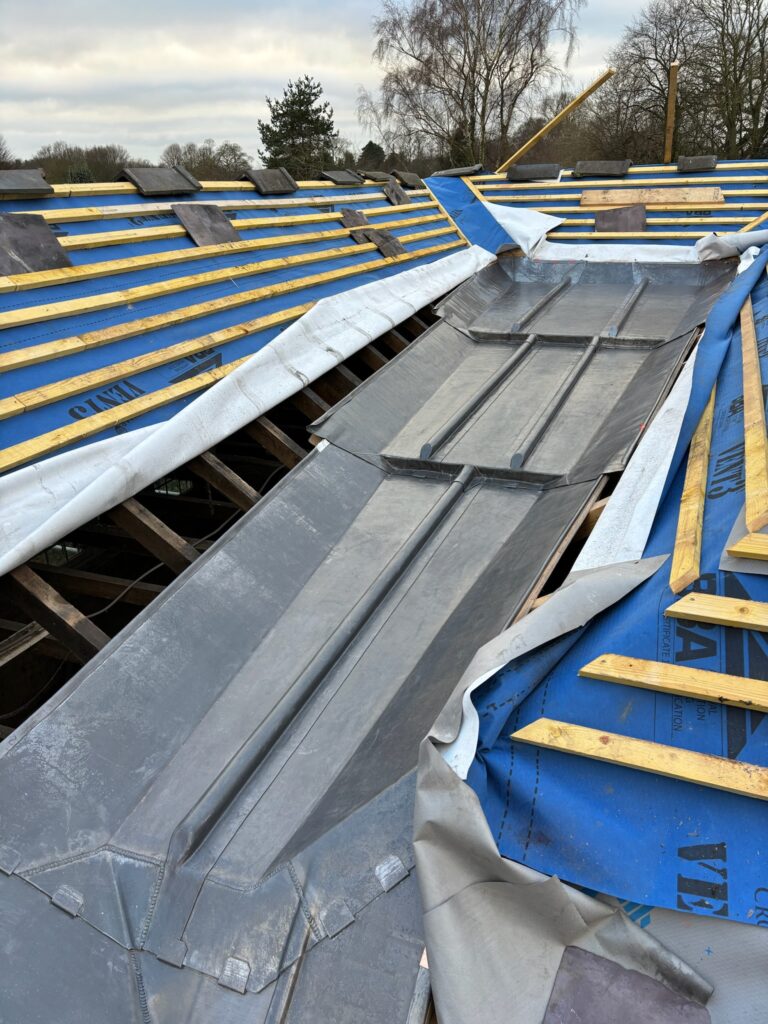
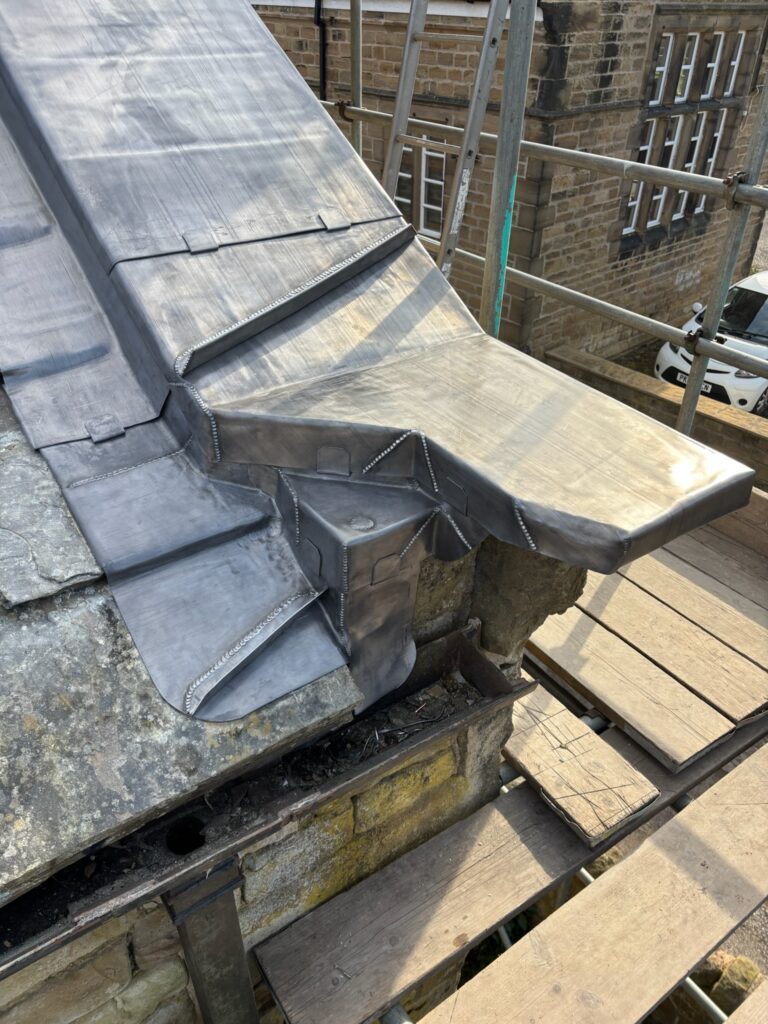
Chimney Flashings
Many domestic chimney flashings are formed in Code 4 lead, which gives a practical balance between durability and workability. In more exposed locations, or where the detail is larger and more demanding, Code 5 may be more appropriate.
Soakers
Soakers are usually formed from Code 3 lead, as they are small individual pieces requiring flexibility and easy dressing beneath slate or tile coverings.
Valleys and Gutters
Lead valleys and gutters often require Code 5 or Code 6, depending on width, support, water volume and exposure. These are more demanding details and should always be considered with movement and fixing principles in mind.
Aprons, Parapets and Abutments
These details frequently sit in exposed positions and may require Code 4 or Code 5. Larger or more exposed arrangements may call for heavier lead or more careful setting out.
Bay Roofs
Lead bay roofs are often more substantial details where Code 5 or Code 6 may be relevant depending on span, exposure and bay layout. Bay sizing and movement become especially important here.
For more detail-specific guidance, see: Lead Valleys: Sizing, Codes & Detailing and Leadwork Fixings & Accessories.
7. From Chart to Checkout: How to Place a Correct Lead Flashing Order
Once you understand how to read the chart, placing a lead flashing order becomes straightforward. The key is to work from the detail outward, rather than choosing a code first and hoping it suits.
- Identify the detail clearly — chimney, soaker, valley, apron, parapet, bay or abutment
- Select the appropriate lead code based on the application, exposure and expected movement
- Choose a width that allows the correct cover, chase depth and dressing allowance
- Choose a sensible piece length for handling, fixing and thermal movement
- Order directly from the chart
You can complete that process quickly using our: Order Lead Flashing Online page.
Ordering for a Specific Detail?
If you already know the application, compare lead codes, widths and weights directly on our chart and order the correct material without guesswork.
View the Lead Flashing Chart8. Why Most Lead Orders Go Wrong (and How to Get It Right)
Most incorrect lead flashing orders happen because the chart is used without understanding the detail. Incorrect widths, overlong pieces, unsuitable code selection and poor allowance for movement lead to waste, awkward installation and avoidable early failure.
This is where many buyers come unstuck. The lead flashing chart is helpful, but it still needs to be read intelligently. A correct lead flashing order should reflect the exposure, detail type, cover required, chase depth, piece length and how the lead will be restrained on site.
Our orderable chart is designed to reduce that risk by helping you compare code, width and application in one place, so the material you order is far more likely to match the job first time.
9. Common Mistakes When Using the Lead Flashing Chart
Even where a flashing chart is available, mistakes still happen. The most common errors include:
- choosing lead by habit rather than by detail
- ordering widths that do not allow proper chase depth or cover
- assuming heavier lead always means better performance
- ignoring thermal movement and sensible piece lengths
- using a chart without understanding the wider detail
In practice, the best outcomes come when the chart is used alongside good detailing principles, sensible fixing methods and proper standards awareness.
10. Standards, Compliance and Best Practice
Lead sheet manufacture and installation are supported by long-established standards and technical guidance. Correct code selection, bay sizing, piece lengths and fixing spacing are central to good performance and defensible specification.
A practical explanation of BS 6915 leadwork requirements can be found here: BS 6915 Leadwork Regulations Explained.
For broader industry guidance, the Lead Sheet Association remains an important technical reference point.
You may also find our related technical content useful: Lead Sheet Association Manual – Complete Technical Guide.
11. FAQs — Lead Flashing Chart
What is the most common lead flashing code?
Code 4 is the most common choice for many domestic chimney flashings and general abutment details, although Code 5 may be more suitable in more exposed locations or on larger details.
How do I choose the correct lead width?
Choose a width that allows for proper cover, chase depth and any dressing or turn-up required by the detail. The lead flashing chart helps compare sizes, but the actual detail should always drive the final choice.
Can I use Code 3 for flashing?
Code 3 is generally associated with soakers and smaller sheltered details rather than primary flashings. Many common chimney and abutment flashings are formed in Code 4.
Why is my lead flashing order important?
A correct lead flashing order reduces waste, improves installation quality and lowers the risk of using unsuitable material. Ordering the wrong code, width or length often leads to poor detailing and avoidable failure.
12. Final Thoughts: The Lead Flashing Chart Is a Decision Tool, Not Just a Table
The lead flashing chart is more than a list of codes and sizes. Used properly, it helps roofers, surveyors, builders and specifiers select lead that is suitable for the actual detail, rather than relying on guesswork. That means fewer ordering mistakes, better detailing, more durable results and stronger technical justification where work is inspected or specified.
When you are ready to purchase, use the chart to place a fast, accurate and trade-led lead flashing order directly from UK stock.