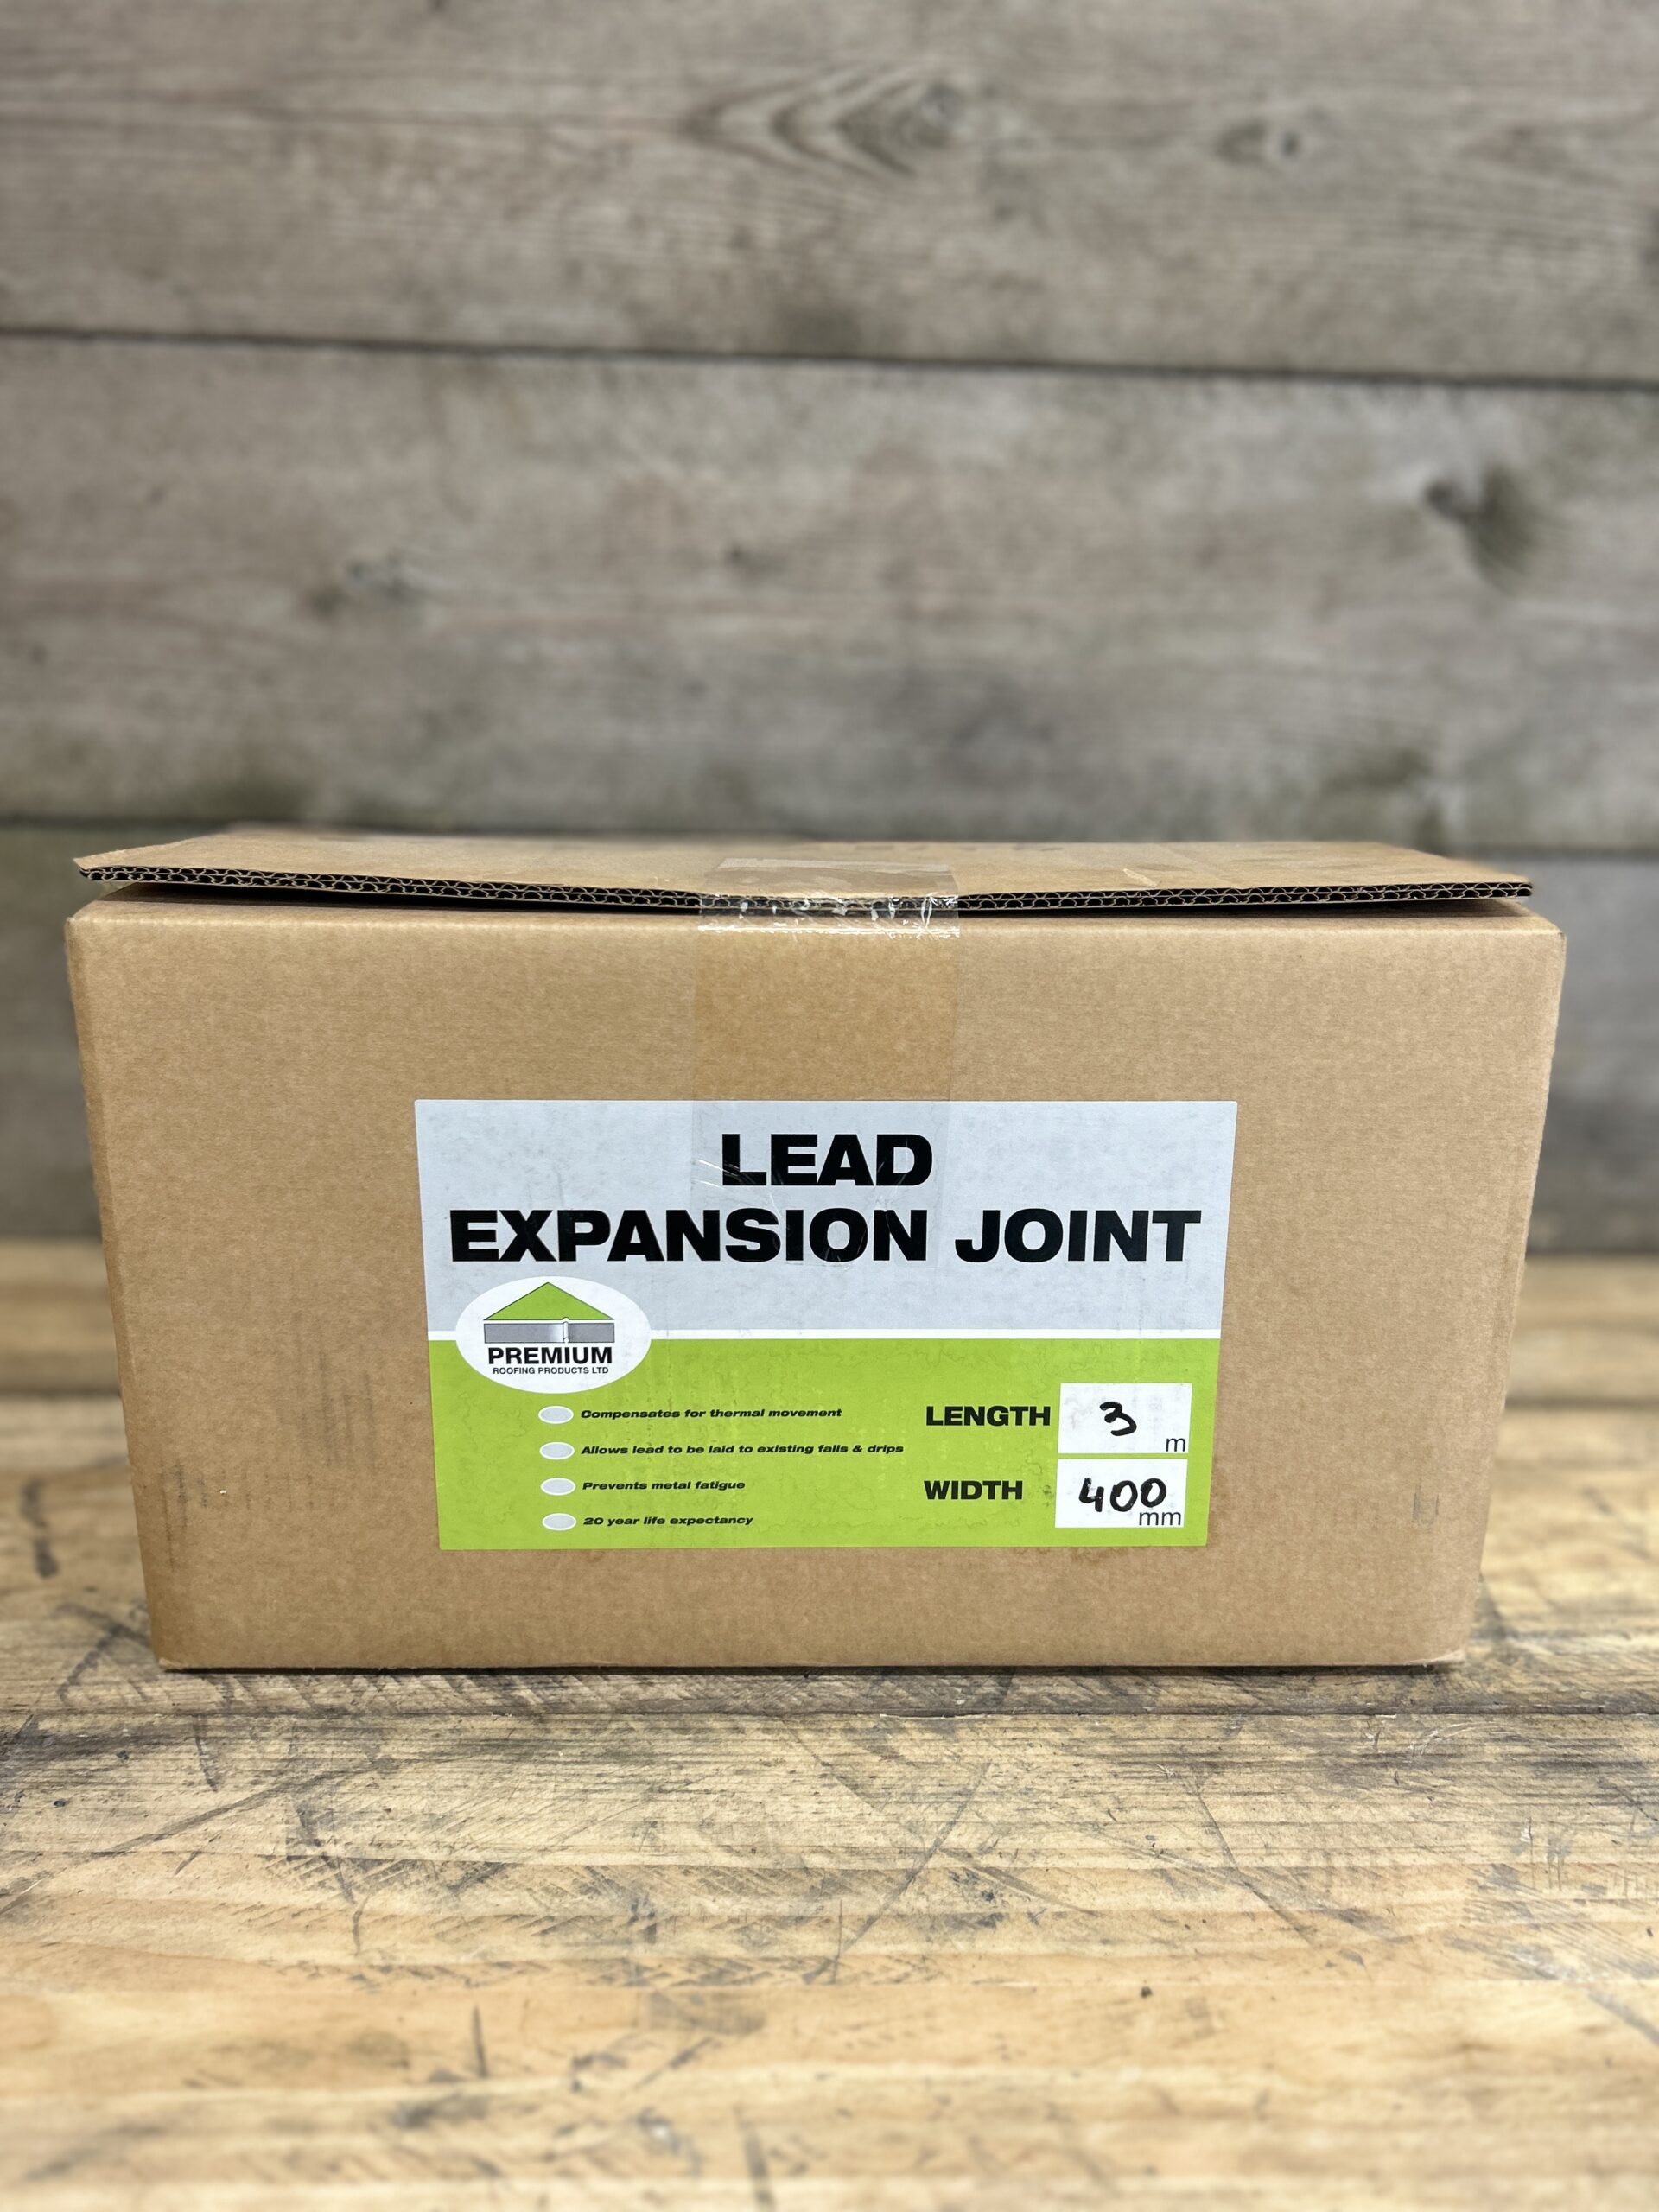
What the Lead Expansion Joint does
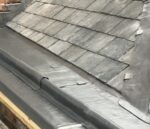
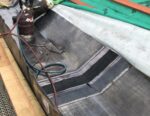
A Lead Expansion Joint is a purpose-made movement joint used to connect adjacent pieces of sheet lead while
allowing for expansion and contraction across the bay. The unit combines a flexible central section with lead “wings” either
side, so you can dress and fix the perimeter as normal while the middle accommodates thermal cycling. The result is a clean,
professional detail on long bays, parapet cappings and wide weatherings where a single piece of lead would exceed sensible
panel sizes or risk fatigue over time.
Key benefits of Lead Expansion Joint
- Movement management: The flexible centre absorbs expansion/contraction, reducing stress and oil-canning.
- Neat appearance: Lead side wings dress like standard sheet for a consistent visual across the run.
- Versatile use: Bays, parapets, cornices, wide aprons and long abutments where panel breaks are required.
- Durable build-up: Designed to work with traditional rolled lead detailing and good workmanship practice.
- Productivity: Faster and more repeatable than fabricating complex bellows details on site.
Where a Lead Expansion Joint is most effective
Use on long or sun-exposed bays (e.g., dormer roofs and canopies), parapet and cornice weatherings, and large apron
flashings where you’d otherwise have over-wide panels. On refurbishment projects, it’s a pragmatic way to introduce a
controlled break in legacy details to relieve stress. On new build, it helps you keep bay sizes within sensible limits
while maintaining a continuous visual rhythm along the façade.
Installation overview
- Plan panel layout: Set bay widths and falls so joints align with substrates, outlets and drips.
- Prepare the substrate: Ensure a smooth deck with a suitable slip layer beneath lead (see Building Paper Underlay).
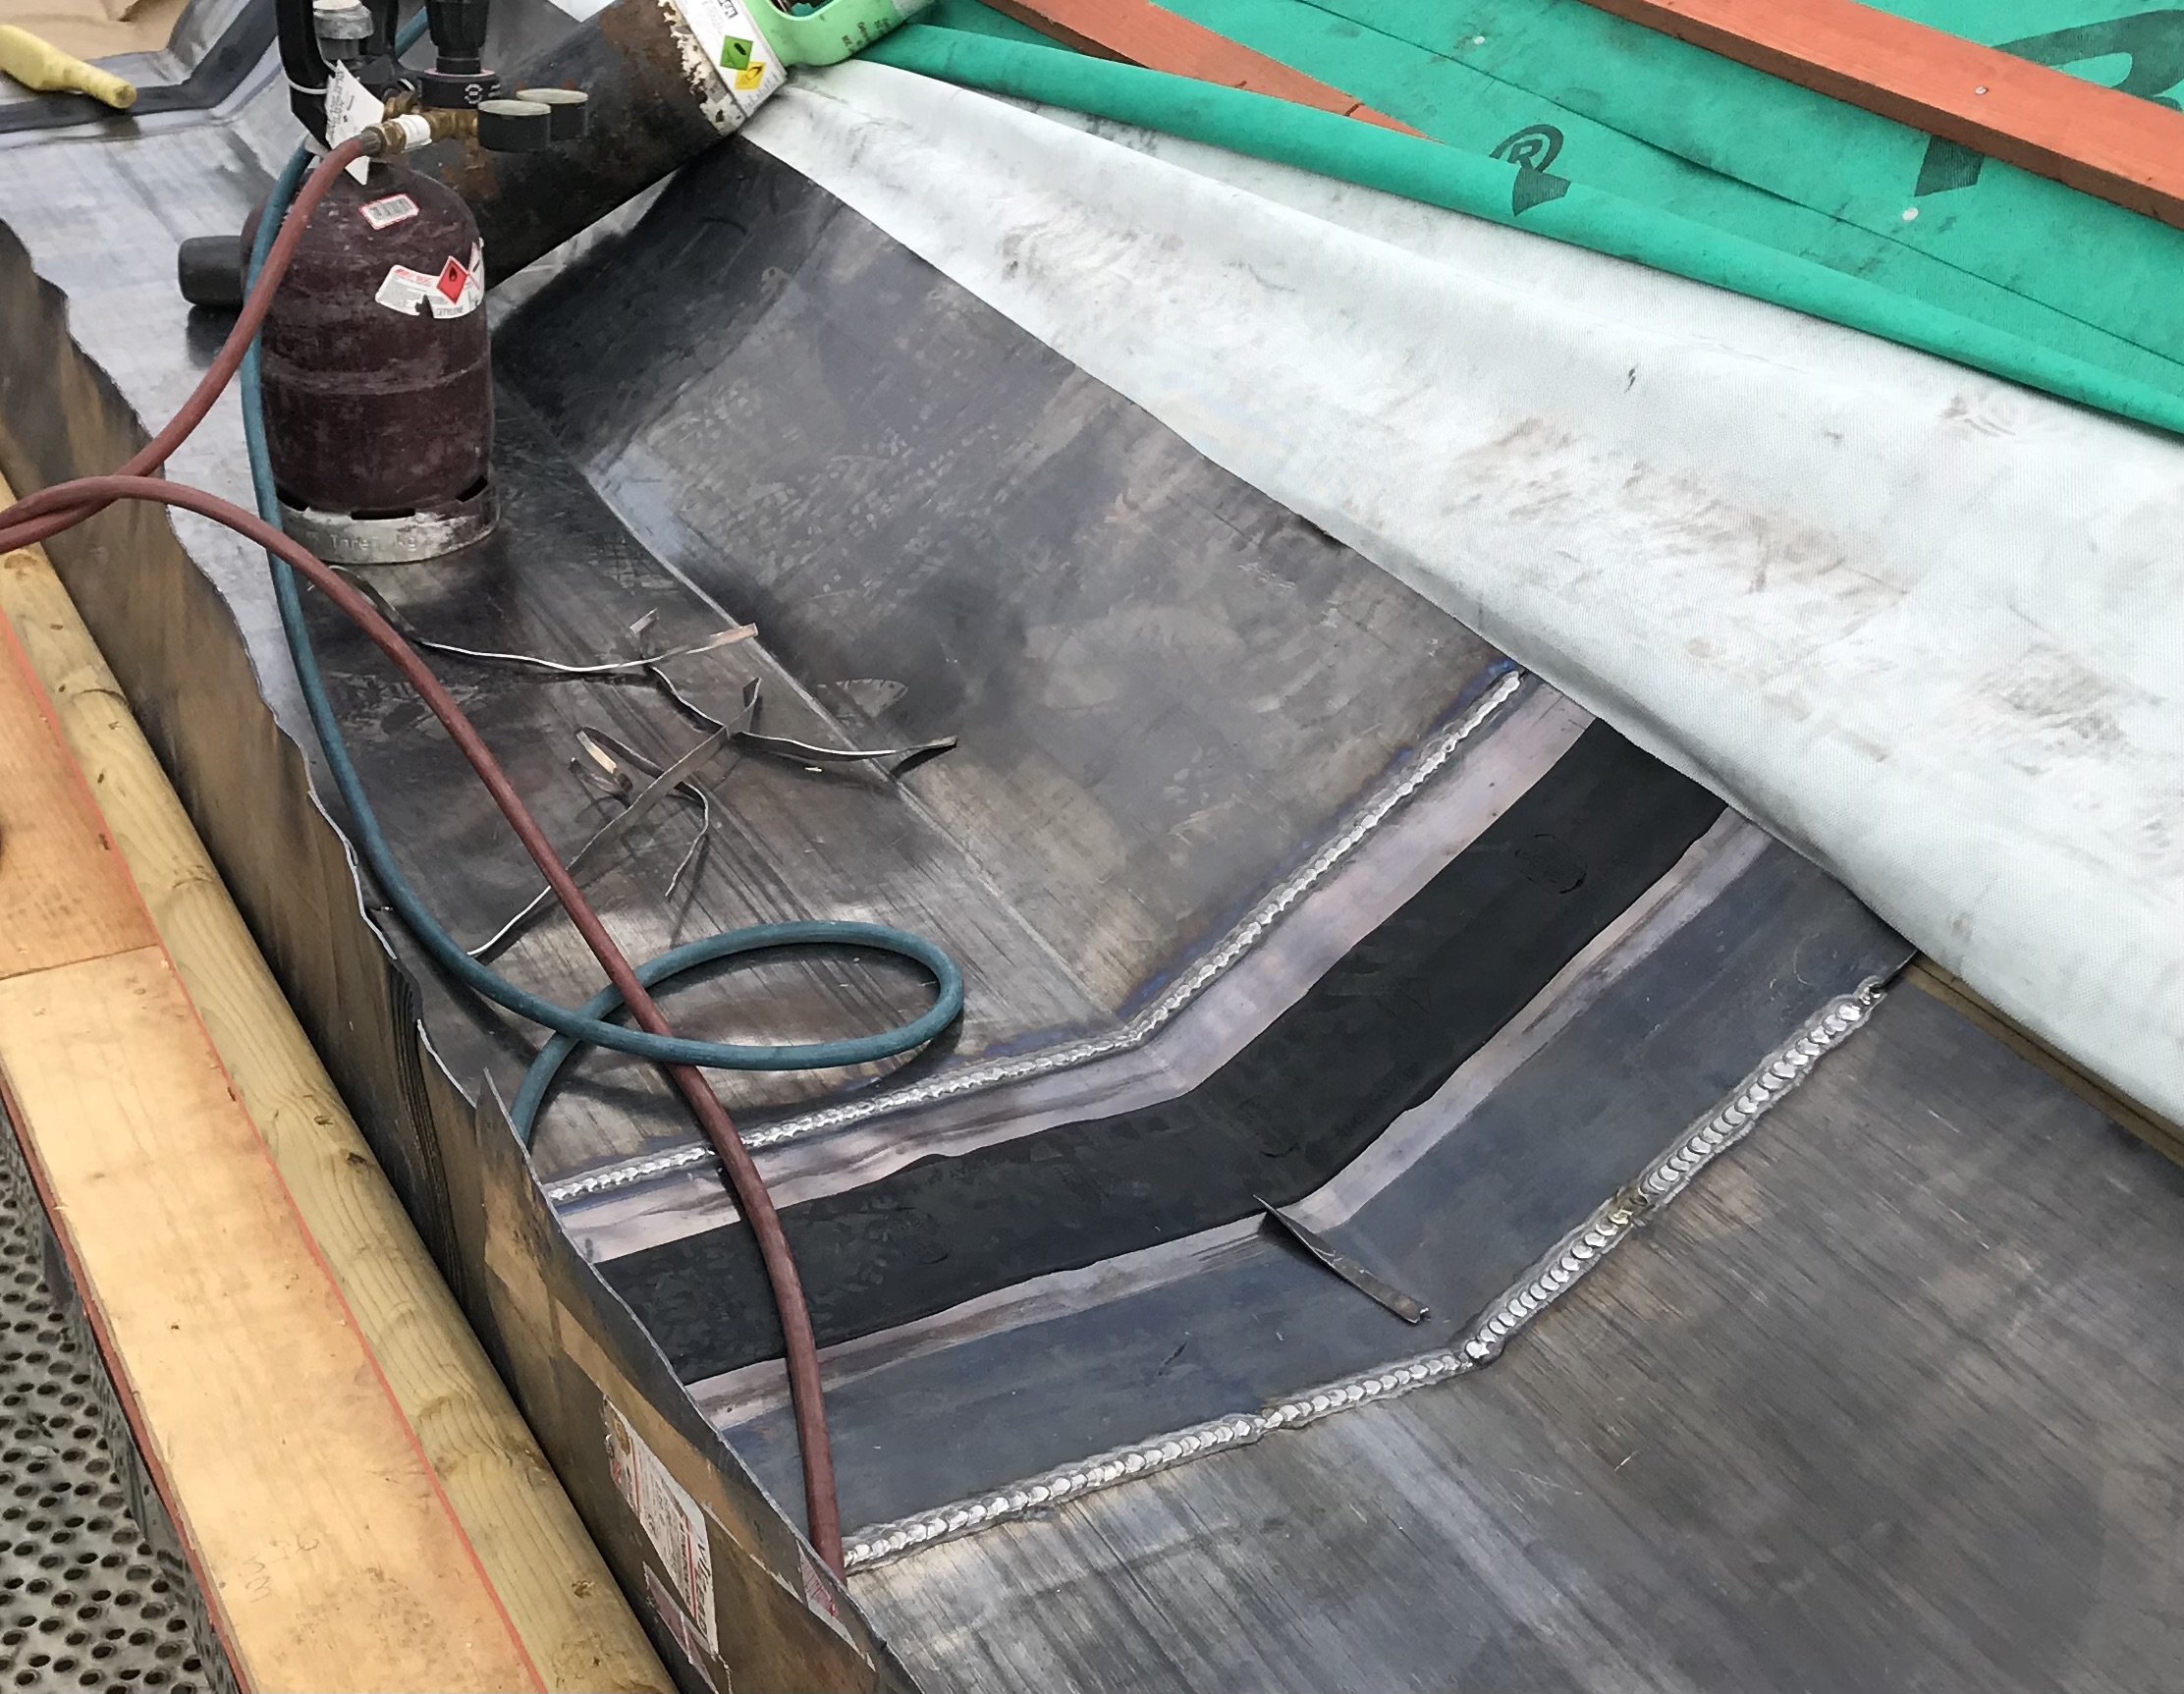
- Position the joint: Lay the unit so the flexible centre sits on the high line of the bay with equal lead wings left/right.
- Dress & fix wings: Dress the lead wings to the substrate and secure per detail, keeping fixings clear of the flexible centre.
- Finish weatherings: Complete drips, laps and flashings, then check that movement is unrestrained across the joint.
Good practice, standards & further reading
Movement joints complement—not replace—sound design. Keep bay sizes within sensible limits, avoid over-fixing,
and provide slip layers and ventilation where specified. For workmanship principles aligned with recognised guidance,
review our standards explainer at
The Lead Lads — BS 6915 overview
and the partner summary at
Neal Roofing — BS 6915 Leadwork.
For service context and examples, see
Neal Roofing’s leadwork page,
and explore our knowledge hub at
theleadlads.co.uk.
Spec & coordination tips
- Position joints at logical break points (mid-bay or aligned with architectural joints).
- Keep mechanical fixings away from the flexible centre; don’t bridge it with rigid trims.
- Use a smooth slip layer beneath bays to encourage free movement.
- Patinate new work where presentation matters near light finishes.
- Maintain clear falls and drainage—don’t trap water at the joint.
Complete the system
Pair the Lead Expansion Joint with compatible components for a durable, tidy result:
add Building Paper Lead Underlay for a smooth slip layer,
choose the right sheet code via our Rolled Lead category, finish chases with
Lead Mate Sealant, and protect new surfaces using
Lead Patination Oil 0.5L. For restraint in masonry joints, consider
Hall Clips; for mechanical fixings use
Copper Nails or
Stainless Ringshank Nails as appropriate.



 Code 3 Lead
 Code 4 Lead
 Code 5 Lead
 Code 6 Lead

















Reviews
There are no reviews yet.