


 Code 3 Lead
 Code 4 Lead
 Code 5 Lead
 Code 6 Lead






Unlock the Secrets to Stunning Leadwork: How Patination Oil Transforms and Protects Your Architectural Masterpiece


Buy Patination Oil online
-
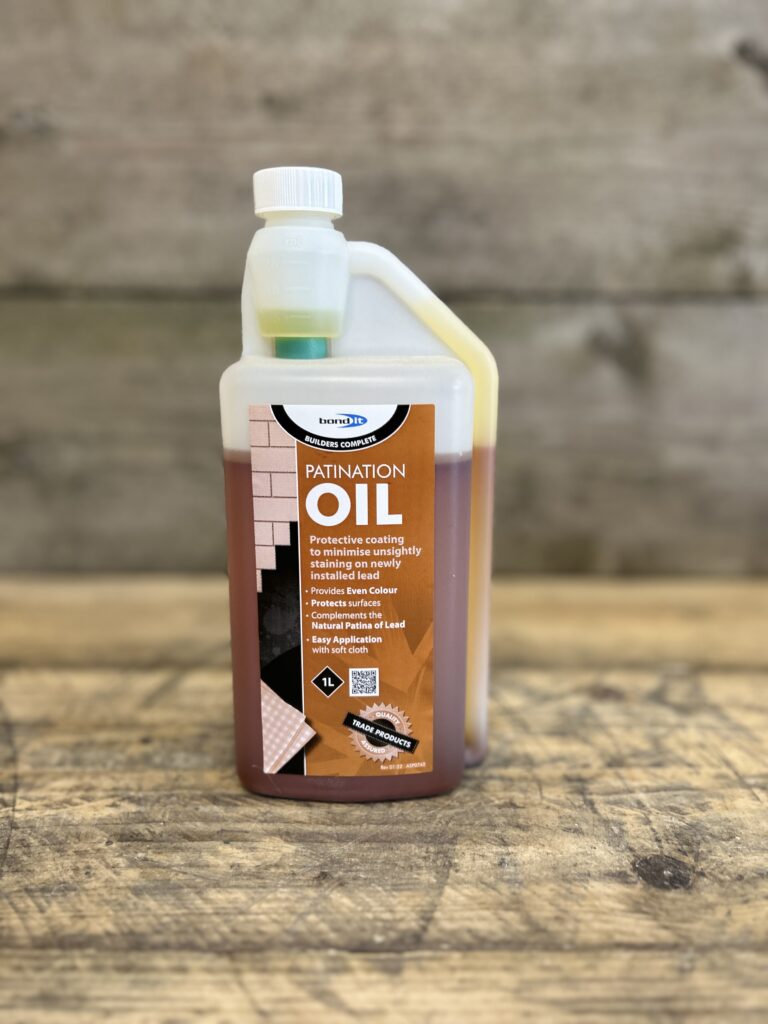 Lead Patination Oil 1 litre - New lead Protection
Rated 5.00 out of 5£7.65 each
Lead Patination Oil 1 litre - New lead Protection
Rated 5.00 out of 5£7.65 each
9 Pro Patination Oil Tips: Flawless Leadwork Without Stains
This comprehensive guide to patination oil shows when to use it, how to prepare the surface, the right way to apply it, and how to avoid the white staining and run-off marks that can spoil new leadwork. Use these steps to finish BS EN 12588 rolled lead sheet like a pro.
What Is Patination Oil?
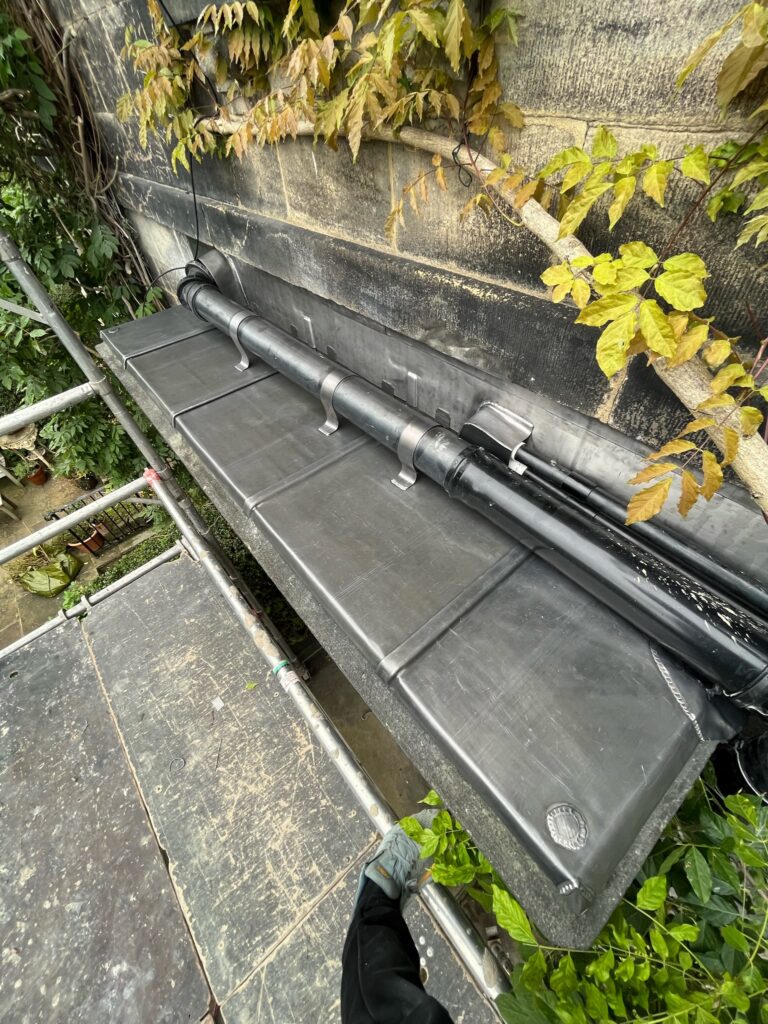
Patination oil is a clear, fast-drying protective coating formulated for new or recently cleaned lead surfaces. It reduces unsightly white carbonate staining, helps manage run-off on adjacent materials (e.g., stone, render, tiles) and promotes an even, attractive patina as the lead naturally weathers. When used alongside good detailing and correct laps, patination oil is the difference between “installed” and “finished”.
On brand-new rolled lead sheet, the factory-fresh surface can react with moisture and carbonates during the first weeks. A well-timed coat of patination oil moderates that early weathering, keeping the appearance consistent and helping prevent streaks on adjacent materials.
Key Benefits of Patination Oil
- Stops white staining: Controls the formation and visibility of white lead carbonate on new work.
- Cleaner run-off: Minimises streaks on stone, brick, render and cladding below drip edges.
- Even patina: Encourages a consistent weathered tone across patination oil treated areas.
- Easy to apply: Brush or lint-free cloth; dries quickly in favourable conditions.
- Professional finish: A small investment that elevates the whole installation.
When Should You Apply Patination Oil?
Timing matters. Best practice is to apply patination oil on the day of installation once the lead is dressed, fixed and wiped clean, and before rainfall. If weather closes in, you can apply it as soon as the surface is dry. For older lead that’s been cleaned, apply after residues are removed and the metal is fully dry.
- New work: Same day as installation, ideally within a few hours of finishing.
- Recently cleaned work: After cleaning and drying; test a small area first.
- Avoid: Rain, frost, or baking sun during application; don’t apply to hot surfaces.
Tools, Conditions & Coverage
You don’t need much kit. A small brush or lint-free cloth, a clean rag for wipe-downs, and gloves are usually sufficient. Work in dry, mild conditions with good ventilation.
| Item | Recommendation | Notes |
|---|---|---|
| Applicator | Soft brush or lint-free cloth | Avoid shedding fibres on the finish |
| Working temp | ~5–25 °C, dry weather | No rain/frost during curing |
| Coverage | ~20–25 m² per litre (typical) | Varies with profile and porosity |
| Coats | 1 light, even coat | A second very light coat can be used on complex details |
Surface Preparation (Make or Break)
Great results with patination oil start with a clean, dry surface. Brush off swarf and dust, wipe away residues (especially around welds and laps), and make sure the lead is not greasy. If you’ve used sealants, allow skins to form and keep oil off uncured beads unless the product is explicitly compatible.
- Remove dust, flux residues and fingerprints.
- Ensure laps, drips and edges are tidy — oil won’t hide poor detailing.
- Mask adjacent porous materials if needed to avoid accidental splashes.
How to Apply Patination Oil (Step-by-Step)
- Wipe down: Use a clean cloth to remove dust and handling marks from rolled lead.
- Load lightly: Dip the brush/cloth; don’t flood it. Patination oil should go on as a thin, even film.
- Work with gravity: Start at the top, draw down over laps and drips so excess doesn’t pool.
- Feather edges: Keep strokes consistent and avoid visible stop/start marks.
- Check the sheen: A uniform, satin-like sheen signals even coverage; wipe off obvious excess.
- Allow to dry: Leave to cure out of rain. Touch-dry times depend on temperature and airflow.
- Optional second pass: On complex details (e.g., step flashings with many laps) apply a very light second coat after the first is dry.
7 Common Patination Oil Mistakes (and Fixes)
- Over-application: Thick coats can streak or attract dust. Fix by lightly wiping back while wet or re-cleaning and re-coating once dry.
- Applying to wet lead: Traps moisture and can blotch. Always wait for a dry surface.
- Missed edges: Drips and laps are where staining starts — make sure they’re coated.
- Hot surfaces: Oil flashes off too fast; apply in cooler windows.
- Hitting uncured sealant: Can soften or contaminate beads. Let sealant skin/cure first.
- No masking: Splashing porous stone or render is a pain to remove — mask if in doubt.
- Skipping it entirely: On new lead above light-coloured masonry, expect visible run-off marks if you don’t use patination oil.
Aftercare & Re-Application
Most jobs only need a single treatment at install. If a detail is power-washed or heavily weathered very early on, you can re-apply patination oil once the lead is clean and dry. Don’t apply routinely on older, fully developed patina unless you’ve cleaned and purposely reset the surface appearance.
If white staining appears on adjacent materials, gently clean them (always test first) and confirm that laps, drips and edges received coverage. Curing times vary; avoid aggressive cleaning for a few days after application.
What to Buy (Patination Oil + Lead Care Essentials)
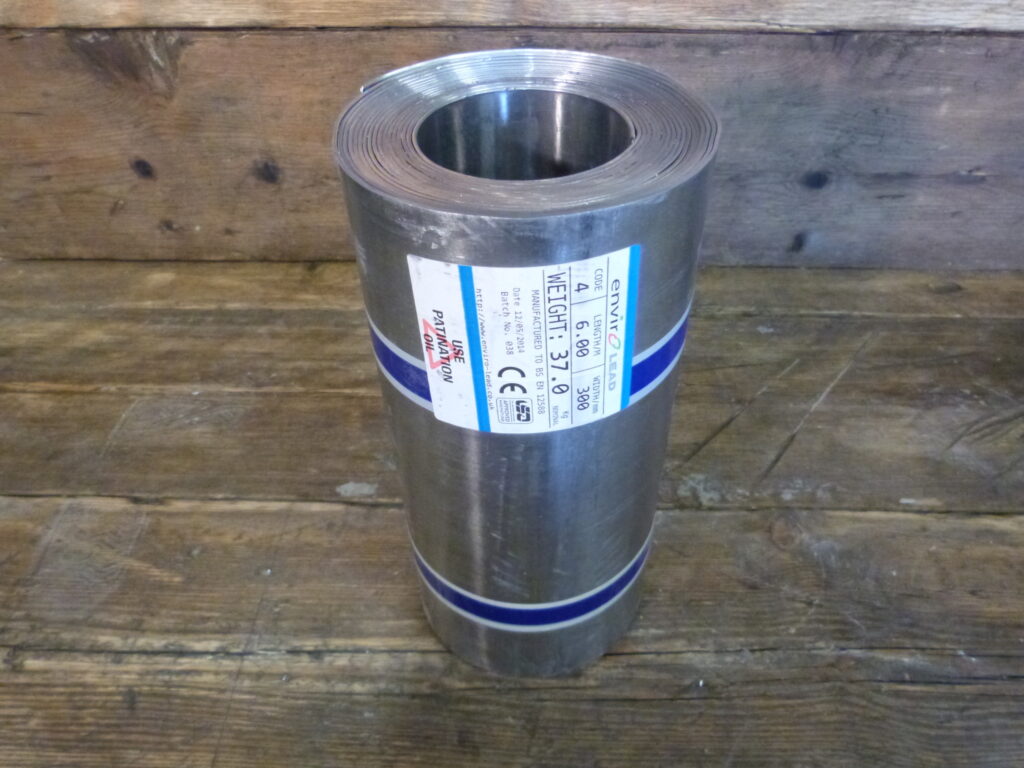
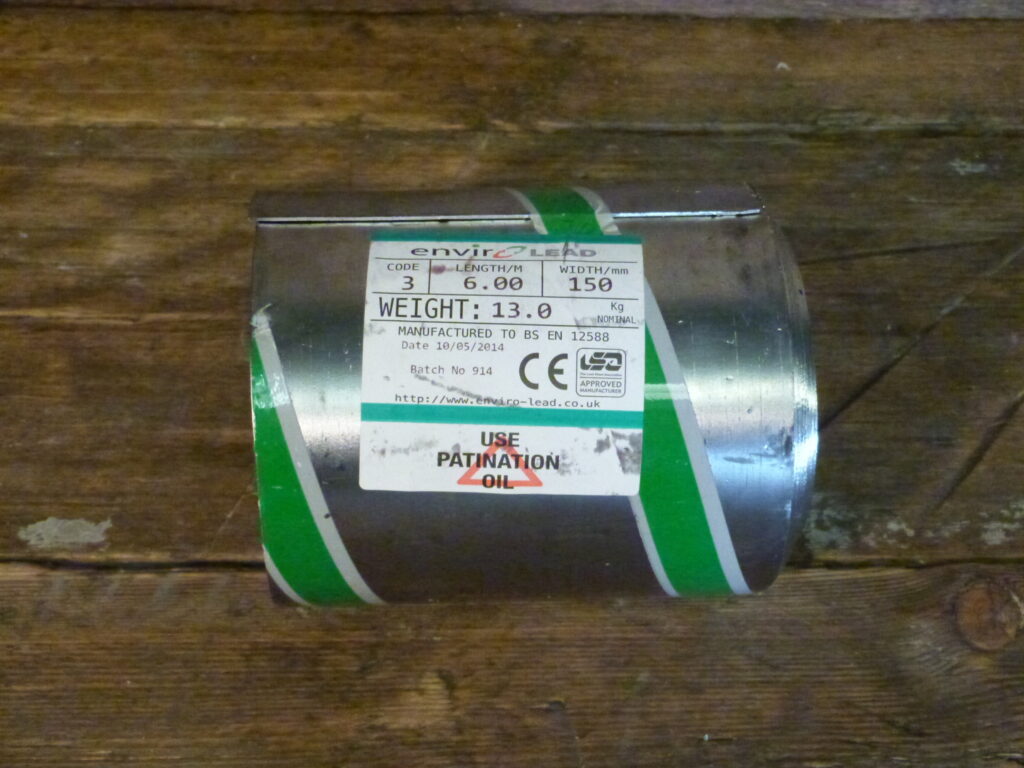
Finish new work and protect adjacent materials Rolled Lead Sheet (BS EN 12588)
Codes 3–8 for every roofing detail Fixings, Clips & Nails
Movement-friendly, corrosion-resistant Lead Underlay & Tapes
Protect the deck and airtightness
Short on time? Use the stoppable lead chart for quick quantities and codes when ordering lead alongside patination oil.
Need accredited installers? Explore The Lead Lads — leadwork pricing & services or book our heritage partner here: GNR Roofing — Leadwork Services.
Further reading: Rolled Lead Sheet Manual (LSTA) and British Lead’s product guidance (searchable PDF). These resources underpin best practice for detailing, finishing and care.
Patination Oil: Frequently Asked Questions
What does patination oil actually do?
It suppresses white carbonate staining on new lead, encourages an even patina and reduces run-off marks on adjacent materials.
Do I need patination oil on every lead job?
Highly recommended on new or newly cleaned external leadwork, especially above light-coloured masonry or render where streaks show. Less critical on well-developed old patina.
How many coats of patination oil?
Usually one light, even coat. A very light second coat can help on complex, multi-lap details once the first coat is dry.
Can I apply patination oil in the rain?
No. Apply in dry conditions to a dry surface and allow to cure without rain or frost.
Will patination oil hide poor workmanship?
No. It enhances appearance and controls staining but won’t disguise bad detailing or damage.
Is patination oil safe near sealants and paints?
Keep it off uncured beads and painted surfaces. Once sealants are skinned/cured and the oil is dry, normal compatibility issues are minimal.






If I clean my 30 + year old lead chimney flashing really well with vinegar and allow to dry etc. and then use patination oil on the lead will this be an effective way to protect and preserve the flashing or does the patination oil only work on “newly installed flashing”. Thank you.
Kevin
Yes, cleaning your 30+ year old lead chimney flashing with vinegar and then applying patination oil can be an effective way to protect and preserve it, even though the oil is often recommended for newly installed flashing. Here’s why:
Benefits of Cleaning and Patination:
Cleaning: Removing surface grime, white streaks (lead carbonate buildup), and loose debris allows the patination oil to adhere better to the clean lead surface. This creates a more effective protective layer.
Patination Oil:
Creates a barrier: The oil helps prevent further weathering and slows down the lead oxidation process, extending the lifespan of the flashing.
Reduces staining: It minimizes the formation of white lead carbonate, which can stain surrounding materials.
Improves appearance: Patination oil can give the lead a more uniform and aesthetically pleasing look.
Effectiveness on Older Flashing:
While ideal for new lead, patination oil can still be beneficial on older flashing. The key is proper cleaning to ensure good adhesion.
Here’s how to approach it:
Safety First: Lead dust is highly toxic. Wear gloves, eye protection, and a respirator when working with lead. Work in a well-ventilated area and avoid inhaling dust or fumes.
Cleaning: Use white vinegar diluted with water (50/50 mix) and a soft brush or cloth to gently clean the lead. Avoid damaging the surface. Rinse thoroughly with clean water and allow it to dry completely.
Patination Oil Application: Once dry, apply patination oil following the manufacturer’s instructions. Typically, you’ll need to wear gloves and apply the oil with a clean cloth in straight strokes. Allow for drying and consider a second coat for enhanced protection.
Additional Considerations:
Severity of Weathering: If the lead flashing is severely damaged or corroded, patination oil may not be enough. You might need to consult a professional roofer for repairs or replacement.
Regular Maintenance: Periodically inspect the flashing for signs of damage and reapply patination oil as needed (usually every few years).
In conclusion, cleaning and applying patination oil can be an effective way to protect and preserve your 30+ year old lead chimney flashing. However, ensure proper safety precautions and consider the extent of existing damage before proceeding.