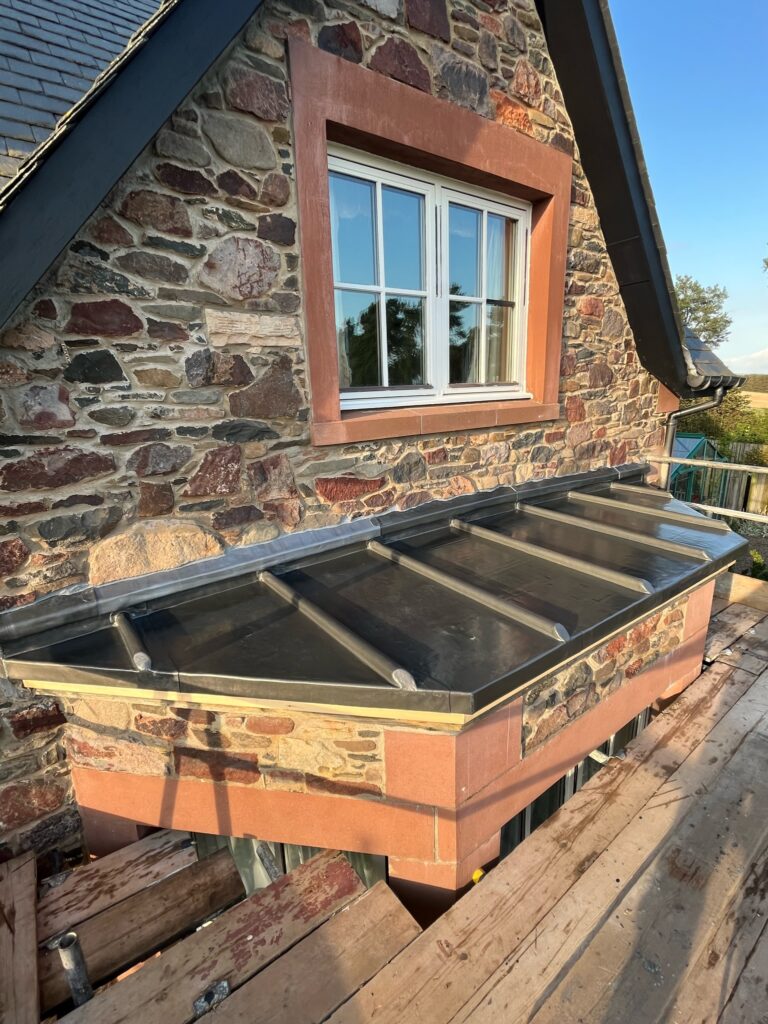
Code 3 Lead
 Code 4 Lead
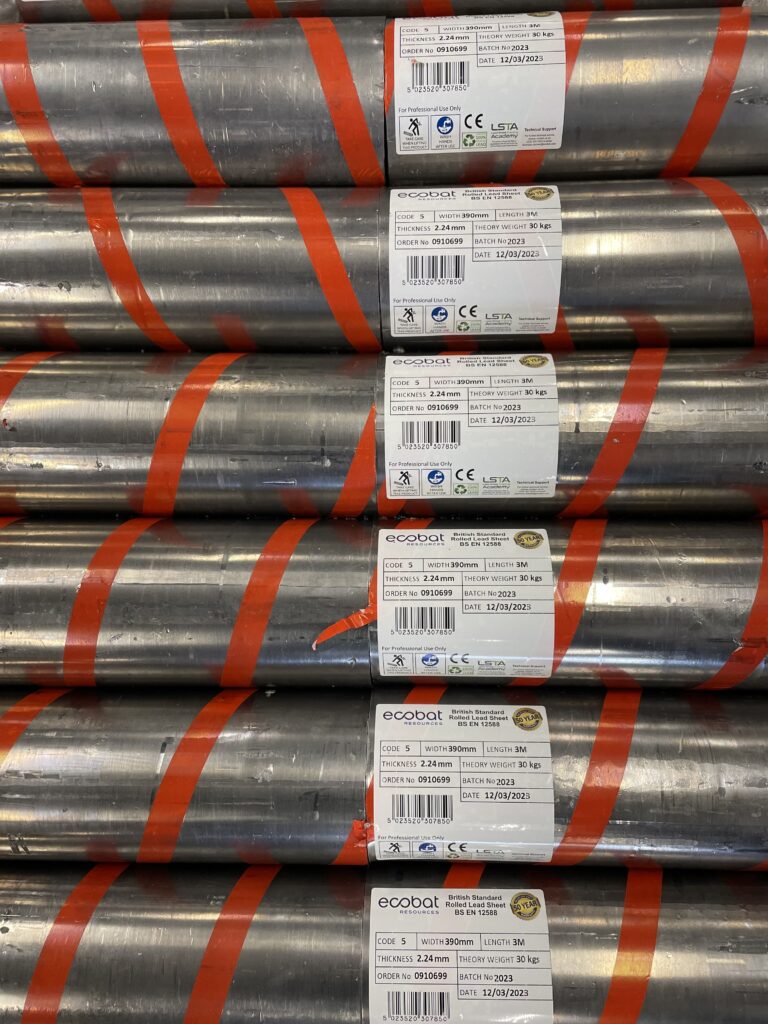
 Code 5 Lead
 Code 6 Lead






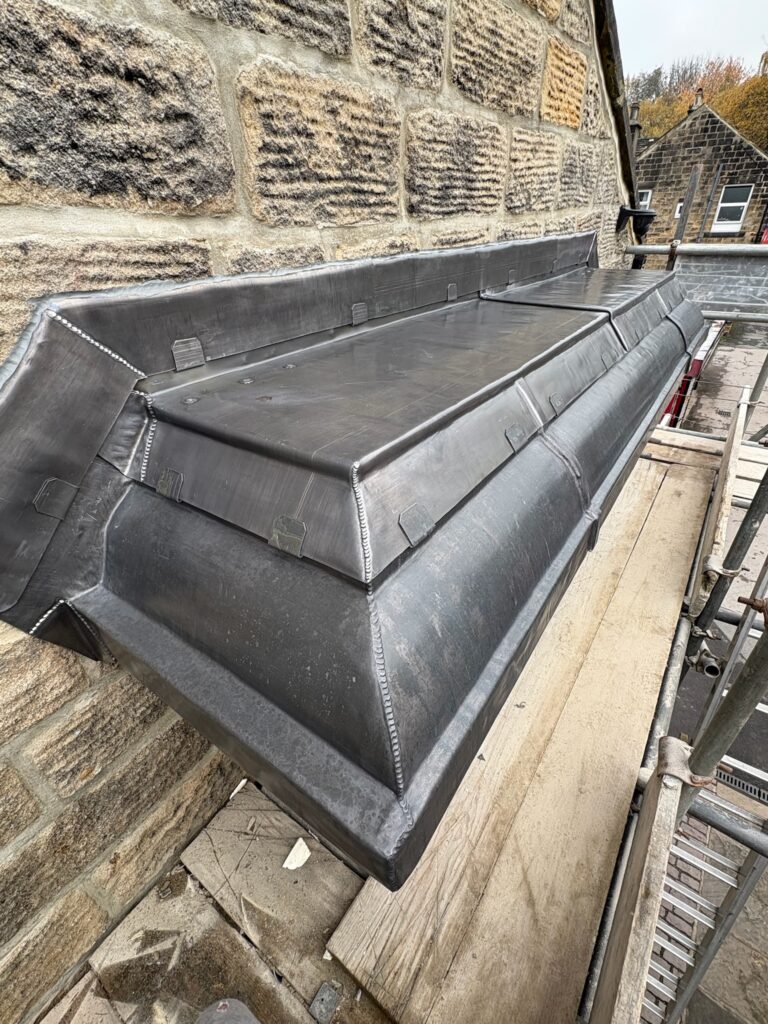
Lead for Chimneys: Aprons, Soakers & Back Gutters


Lead for Chimneys: Aprons, Soakers & Back Gutters (2025)
Lead for chimneys is a system: apron at the front, step soakers up the sides, a back gutter behind the stack, and a saddle or cover flashing over the top. Get the code, laps and movement right and the stack stays dry for decades. This guide shows you how to design, size and order lead for chimneys the fast, reliable way—built by lead workers for lead workers.
Need a pro to install lead for chimneys? Get a quote via The Lead Lads service pricing or our heritage partner GNR Roofing. For formal training and standard details, see the Lead Sheet Training Academy.
In this guide
- Why lead for chimneys is a system, not a single flashing
- Choosing codes for lead for chimneys
- Apron flashing: set-out, cover and laps
- Step soakers: one per course, tidy and repeatable
- Back gutter: sizing, falls and turn-outs
- Saddles & top weatherings
- Chases, wedges, pointing and movement
- Bay sizing, joints & drips (when the stack sits in a bay)
- Common mistakes with lead for chimneys
- Buying guide & quick basket
- FAQs
- Structured data
Why lead for chimneys is a system, not a single flashing
Many leaks blamed on “the chimney flashing” come from the pieces you can’t see: short cover on the apron, missing step soakers, a tiny back gutter, or a saddle that doesn’t bridge the weathering properly. Treating lead for chimneys as a system avoids these traps. The apron must shed onto the covering cleanly, each soaker must carry water from the side into the field, the back gutter must hold and pass water behind the stack, and the saddle must prevent water cutting across the top. Each component gets the right code, width, lap and movement allowance so the whole system breathes and lasts.
Choosing codes for lead for chimneys
Code selection balances stiffness and dressability. For most domestic stacks, Code 4 is the workhorse for lead for chimneys on step soakers and some aprons, while Code 5 offers extra stability for wider aprons and back gutters. Where spans are larger or exposure is high, Code 6 earns its keep—especially behind wide stacks or where traffic and vibration are expected (e.g., scaffold rub, maintenance access).
| Component | Typical Code | Why |
|---|---|---|
| Apron (front) | Code 4–5 | Dressable into chases; step up for wider faces or exposed elevations. |
| Step soakers (sides) | Code 4 | Light enough to form repeatedly; adequate stiffness when sized correctly. |
| Back gutter (behind stack) | Code 5–6 | Higher hydraulic load; needs stiffness and reliable movement control. |
| Saddle/top weathering | Code 5–6 | Bridges over the stack; benefits from reinforcing stiffness. |
Want a quick refresher on thickness and weights for codes 3–8? See Lead Codes Explained (BS EN 12588). When in doubt, plug your detail into the mobile-first shoppable lead chart to translate lead for chimneys into rolls and quantities in minutes.
Apron flashing: set-out, cover and laps
The front apron is the first thing a client sees and often the first part of lead for chimneys to be blamed if staining or splash-back appears.
- Cover & upstand: Size the width to clear splash zones at the given pitch. Increase cover at low pitch or in driving rain. Keep the upstand consistent to dress cleanly into the chase.
- Piece length: Keep individual lengths sensible (often ≤1.5 m) and lap neatly with the fall.
- Drip or welt: A small welt stiffens the edge and beats capillary creep; it’s a subtle upgrade that reads “pro.”
- Pointing: After a clean hose-test, point the chase neatly. Don’t glue sliding zones with sealant—allow movement.
- Finish: Wipe and apply a thin coat of patination oil on day one to prevent white carbonate on render.
Step soakers: one per course, tidy and repeatable
Side flashings on a stack are usually step soakers—small pieces interleaved with each course of slate/tile. Done right, this part of lead for chimneys is fast and reliable.
- One per course: Count the courses; that’s your piece count. Size each soaker for cover and upstand appropriate to the pitch.
- Dressability: Code 4 is a good default for soakers in lead for chimneys because it balances bending and resilience.
- Laps: Maintain consistent laps and a visual rhythm; reverse laps here are a common cause of weeps.
- Chase line: Snap a straight line on the masonry; wandering chases look amateur and can unseat wedges.
Back gutter: sizing, falls and turn-outs
The back gutter carries the biggest hydraulic load in most lead for chimneys. Undersize it and the first storm finds you.
- Width & depth: Allow a generous trough to collect and route water behind the stack. Increase dimensions on wide stacks and in exposed sites.
- Falls: Build in a modest fall to avoid standing water that invites debris and freeze-thaw damage.
- Turn-outs: Where the back gutter meets the soakers, form clean turn-outs that send water safely into the field.
- Code: Code 5–6 is common here in lead for chimneys; stiffer sheet resists deformation and chatter.
- Underlay: Add a compatible slip layer/underlay to reduce abrasion and noise on wider pieces.
Saddles & top weatherings
The saddle (sometimes called a top weathering) caps the rear arris of the stack so wind-driven rain can’t cross the top and cut down the opposite side. On lead for chimneys, it’s the quiet hero that prevents puzzling leaks.
- Shape & fit: Template carefully; the saddle must nest cleanly without trapping water.
- Lap to back gutter: Ensure the saddle delivers water into the back gutter, not behind it.
- Code choice: Code 5–6 for stiffness and longevity, especially where exposure or access traffic exists.
Chases, wedges, pointing and movement
No matter how well you size lead for chimneys, sloppy chases and over-fixing will undo the detail.
- Clean, consistent chases: Cut a straight, uniform groove; vacuum dust before offering up metal.
- Wedge spacing: Keep wedges at consistent centres to avoid snake-lines and gaps.
- Movement zones: Fix only where appropriate; never pin areas that must slide.
- Sealants: Use to point neatly, not as glue. The sheet must still move.
Bay sizing, joints & drips (when the stack sits in a bay)
Some stacks interrupt a bay roof. In those cases, lead for chimneys merges with bay rules—piece lengths, drips, and wood core rolls—so plan the whole surface.
| Item | Planning Value | Notes |
|---|---|---|
| Piece length | ≤ 1.5 m | Controls movement and handling. |
| Code | Code 6 (often) | Stiffness for span; pair with slip layer. |
| Drips/rolls | Regular spacing | Breaks up sheet; controls water and expansion. |
| Underlay | Continuous | Quieter, longer life. |
For a deeper dive, see Lead for Flat Roofs: Bay Sizing, Joints & Drips.
Common mistakes with lead for chimneys (and how to avoid them)
- Undersized back gutters: Water over-tops under gusts—go wider/deeper and add a fall.
- No saddle: Wind-driven rain crosses the stack and appears as a “mystery” leak.
- Reverse laps on soakers: One wrong overlap defeats the whole side; dry-fit and hose-test.
- Over-fixing: Screws/nails in sliding zones tear sheet over time; fix only in designated areas.
- Skipping patination oil: White staining on render triggers call-backs; oil edges the day you finish.
- Wavy chases: Poor line both looks wrong and loosens wedges; mark and cut straight.
Buying guide & quick basket
Fast path from spec to checkout (mobile-first)
- Open the tool: Use the shoppable lead chart to map lead for chimneys to codes, widths and roll lengths.
- Pick codes: Code 4 for soakers; Code 4–5 for the apron; Code 5–6 for the back gutter and saddle.
- Add underlay: Slip layer/underlay on wide pieces and bays.
- Fixings: Copper/stainless fixings only where allowed; leave sliding zones free.
- Finish: Patination oil for visible faces and edges.
Prefer an installer for your lead for chimneys project? Book via The Lead Lads service pricing or GNR Roofing. Training and detail standards: Lead Sheet Training Academy.
Related internal reading
11 Lead Flashing Mistakes & Fixes Lead Codes Explained (BS EN 12588) Lead for Flat Roofs: Bay Sizing Patination Oil Guide
FAQs
What code should I choose for lead for chimneys on a typical domestic stack?
As planning values: Code 4 for step soakers; Code 4–5 for the apron depending on width/exposure; Code 5–6 for the back gutter and saddle. Confirm with the shoppable lead chart and adjust for pitch, exposure and spans.
How long can a single apron piece be on lead for chimneys?
Keep individual lengths sensible (often ≤1.5 m). Split longer runs with tidy laps and always lap with the fall.
Do I need a saddle on every stack?
Where wind-driven rain can cross the top of the stack, yes. The saddle ensures water is delivered into the back gutter rather than across the crown—vital in complete lead for chimneys systems.
How do I avoid staining on render below a new apron?
Finish cleanly, wipe down, and apply a thin, even coat of patination oil the same day. Avoid over-application; focus on edges and drips.
What’s the fastest way to turn my measurements into a basket?
Use the mobile-first shoppable lead chart. It translates lead for chimneys details into codes, widths and quantities, then links straight to products—ideal on site.
Conclusion & buying links
Lead for chimneys lasts for decades when each element—apron, step soakers, back gutter and saddle—does its job with the right code, laps and movement. Plan the set-out, keep pieces manageable, underlay the wide parts, finish with patination oil, and hose-test before pointing. Do it once, do it right, and hand over a dry, tidy stack.