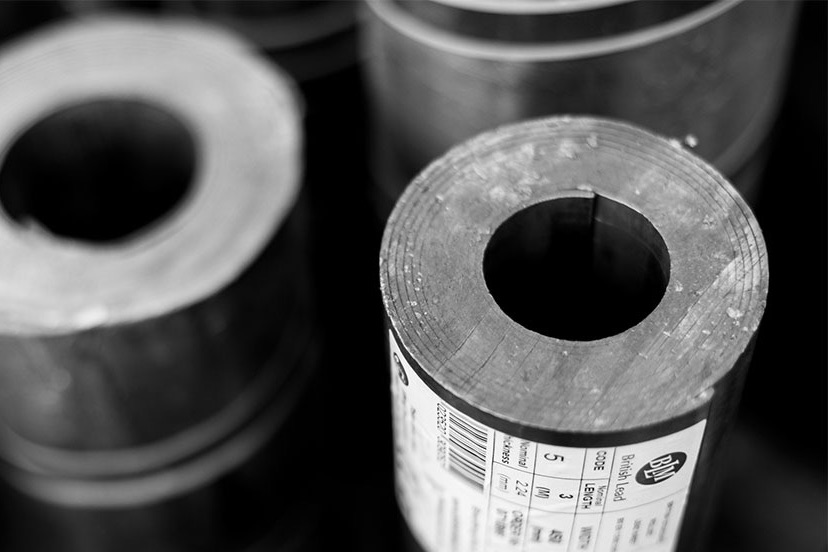
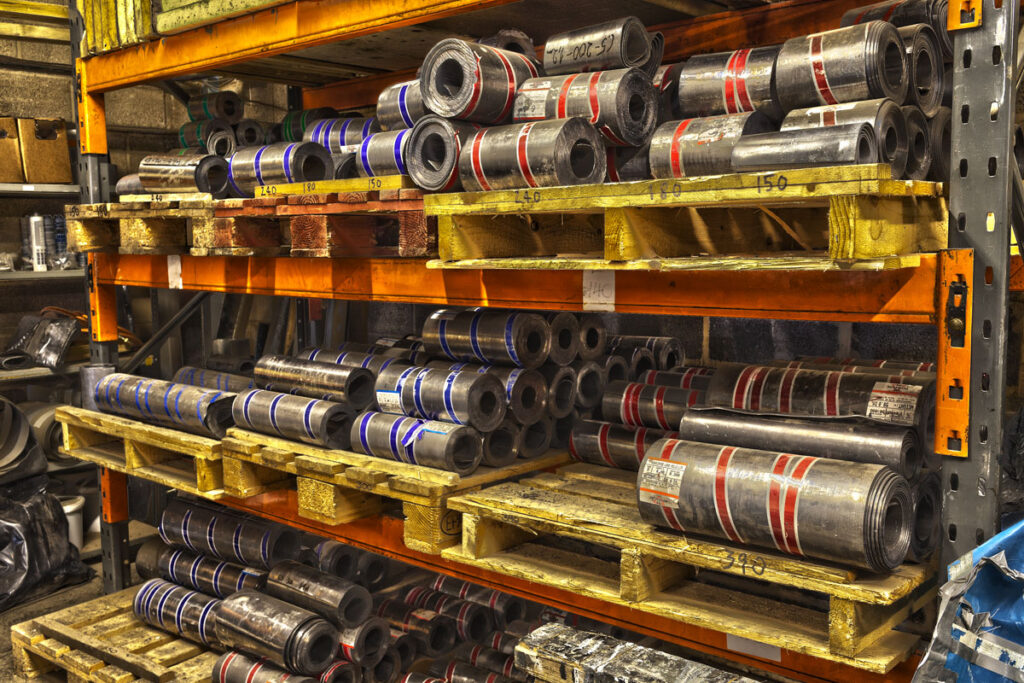
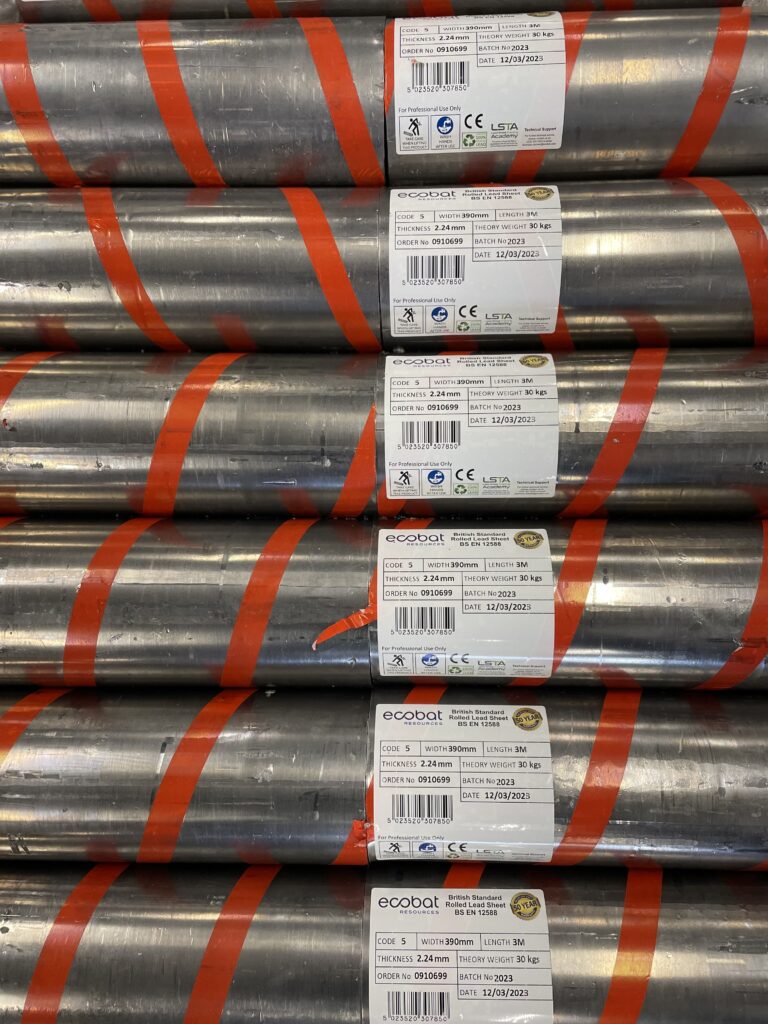
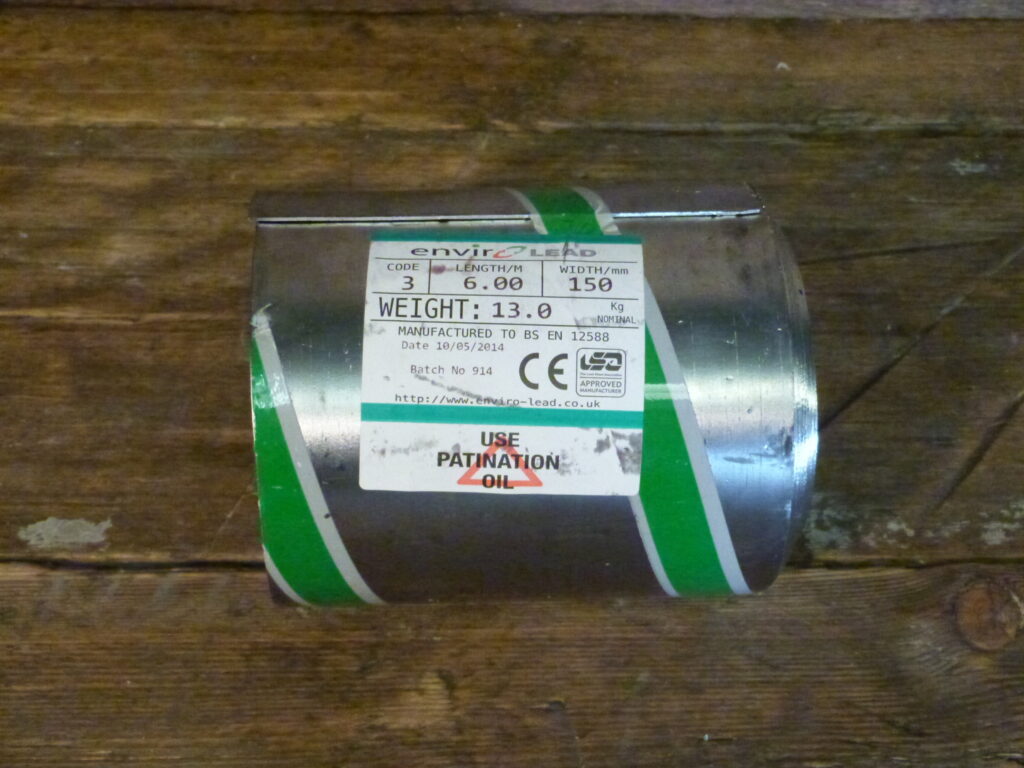
Code 3 Lead
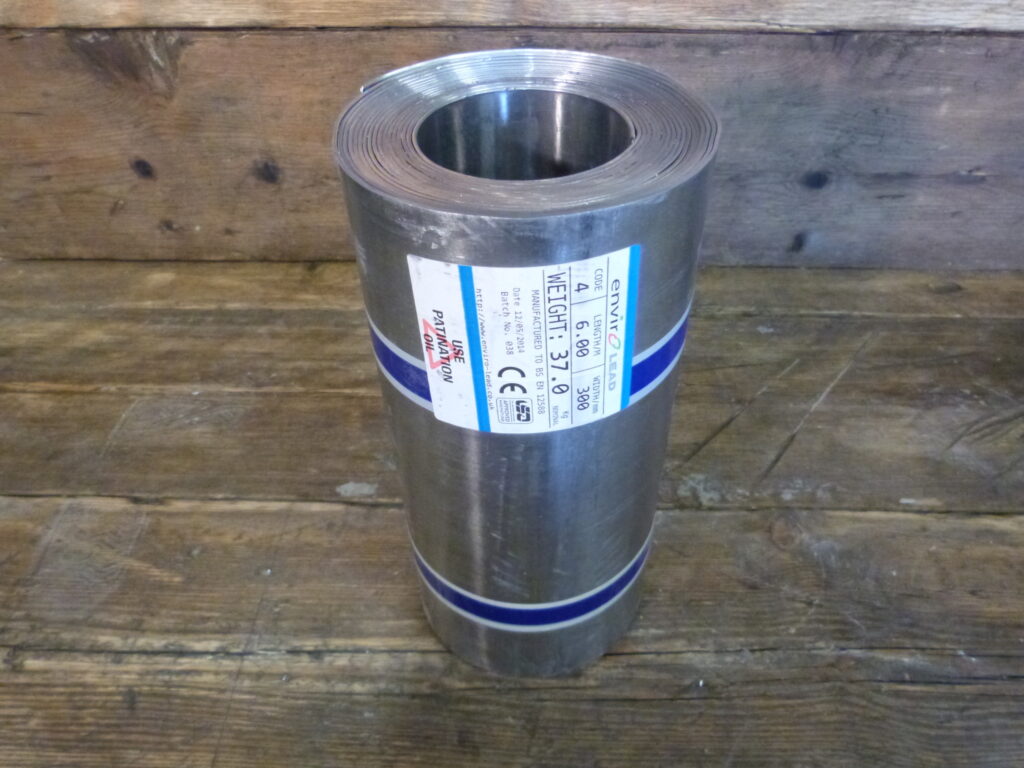
 Code 4 Lead
 Code 5 Lead
 Code 6 Lead






The Supporting Act: Copper Strips in Lead Roofing


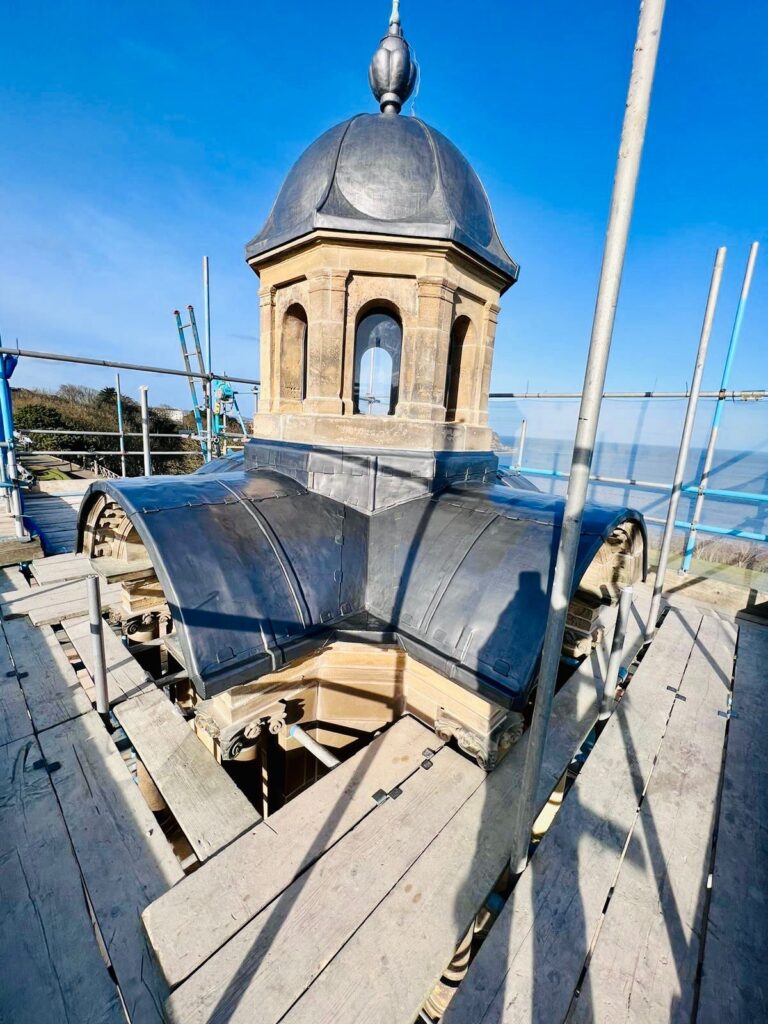
Copper roof strips play an important role for many leadwork and lead roofing applications.
Lead, with its exceptional weatherproofing properties, has been a trusted roofing material for centuries. But lead itself requires some supporting players to ensure a long-lasting and secure roof system. This is where copper strips come in, playing a crucial role behind the scenes.
The Synergy of Lead and Copper
While lead boasts exceptional durability, it can be susceptible to damage from certain elements, particularly fresh concrete and some types of wood. These materials contain alkalis that can slowly corrode lead over time. Here's where copper strips step in:
- Separation Barrier: Copper strips are often used to create a physical separation between the lead sheet and underlying alkaline materials. This prevents direct contact and protects the lead from potential corrosion.
- Fixing and Securing: Copper strips, due to their malleability, are ideal for creating custom-made clips and fixings that securely hold lead sheets in place. This is particularly important on vertical or inclined surfaces where lead sheets could potentially lift or move in high winds.
- Details and Flashings: Copper strips offer excellent workability, allowing them to be formed into intricate shapes for creating watertight flashings around chimneys, roof valleys, and other vulnerable areas. This ensures a seamless integration between lead sheets and other roof elements.
Choosing the Right Copper Strips
Not just any copper strip will do for lead work. Here are some key factors to consider:
- Material: High-conductivity copper (C11000 or similar) is the preferred choice. It offers the best combination of malleability for forming and strength for secure fixings.
- Thickness: The thickness of the copper strip will depend on the specific application. For fixing clips, thinner strips (around 0.5mm) may be sufficient, while flashings might require thicker strips (0.7mm or more) for added rigidity.
- Compatibility: Ensure the copper strips are compatible with the lead sheet being used. Some lead sheet manufacturers may have specific recommendations for compatible copper types.
Installation Expertise
While copper strips themselves are not overly complex materials, their proper integration into a lead roof system requires specialized skills and knowledge. Always rely on a qualified lead roofing contractor for installation. They will ensure the copper strips are used correctly and effectively to create a secure and long-lasting lead roof.
Copper strips may seem like a minor element, but they play a vital role in the overall performance and longevity of a lead roof. By choosing the right material and employing skilled professionals, you can ensure your lead roof continues to offer its exceptional weatherproofing capabilities for decades to come.
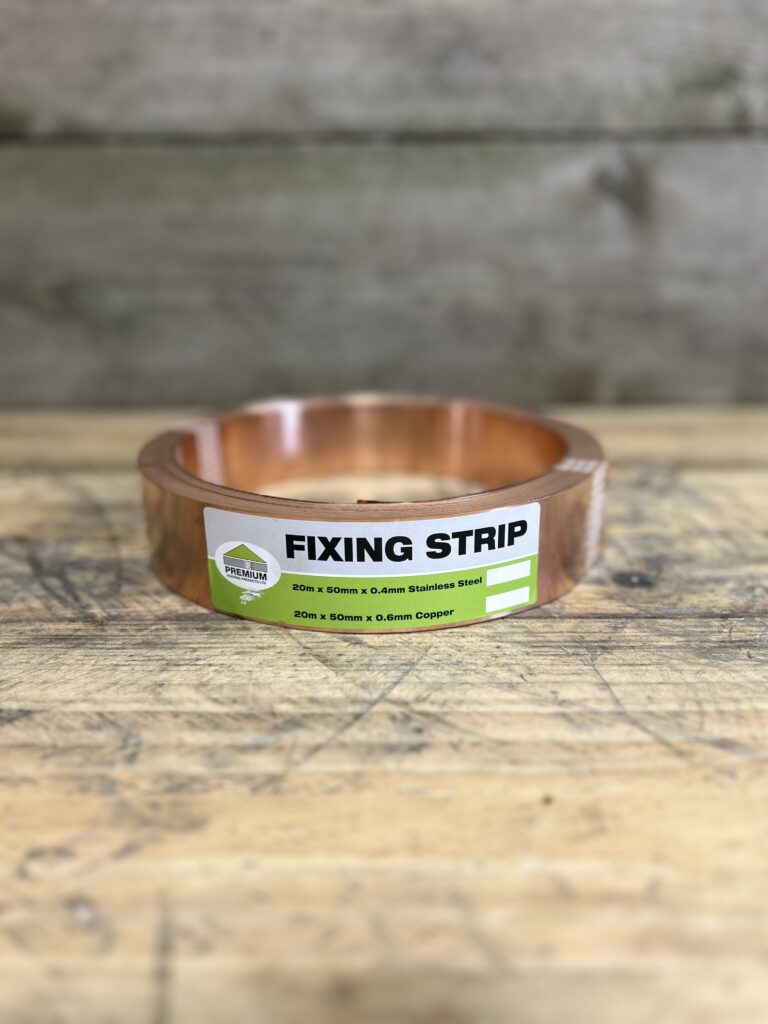
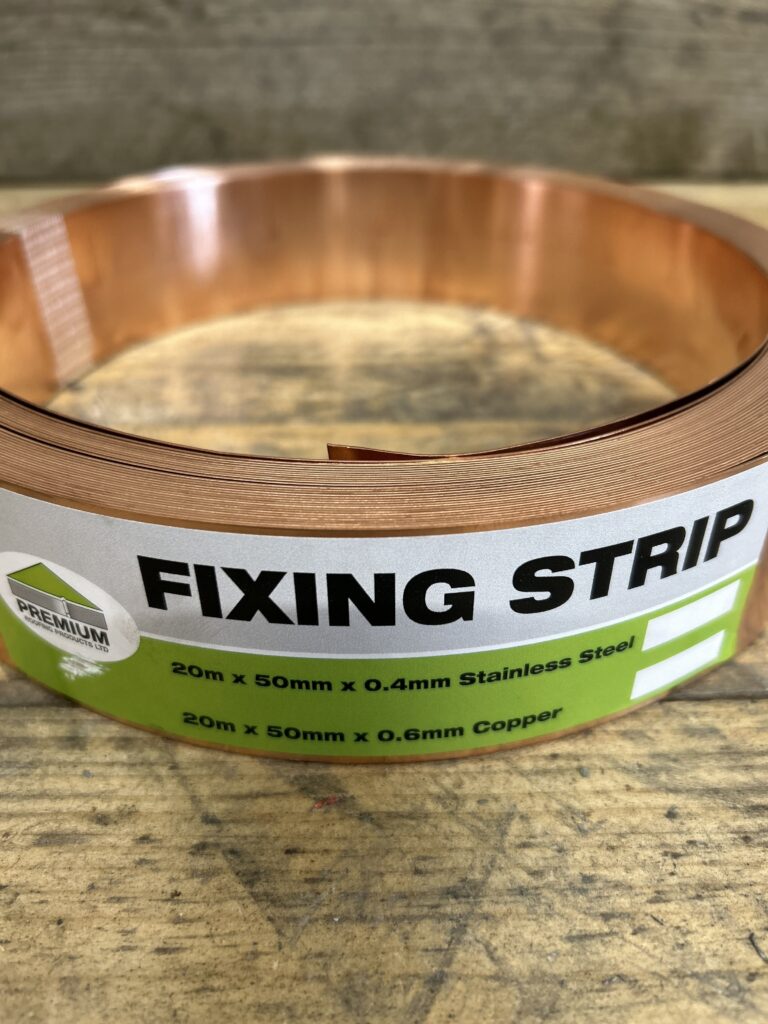
Copper Roof Strips — Natural Moss & Algae Control
In stock
£128.09 each| Product | Copper Roof Strips |
|---|---|
| Purpose | Moss & algae control for roofs — rainwater activates the copper surface, helping reduce biological growth over time |
| Best for | Slate roofs, clay & concrete tiles, shaded or north-facing pitches, roofs prone to moss and lichen build-up |
| Installation | Fix just below the ridge or beneath ridge tiles; leave a visible strip so rainwater can wash down the roof surface |
| Good practice | Maintain clear drainage paths; avoid direct contact with zinc or aluminium; separate dissimilar metals where required |
| Pair with | Stainless or copper fixings · Patination oil (for adjacent lead) · Rolled lead flashing |
| Typical use | Installed during reroofing, ridge repairs or maintenance to help reduce ongoing cleaning requirements |
| Category | Roof Accessories > Copper Roof Strips |
Copper Roof Strips — The Supporting Act in Lead Roofing (2025)
Copper roof strips are simple, tough and reliable. Used correctly at cappings, perimeter edges and exposed details, they provide discreet restraint against wind uplift without pepper-nailing the lead. This guide shows where they shine, how to space and fix them, and how to integrate them with clips, nails and underlay for a durable, quiet roof.
Prefer supply & fit? See Lead Lads service areas, installation pricing, or partner GNR Roofing.
In this guide
- What are copper roof strips for?
- Where to use copper roof strips (and where not)
- Spacing, orientation & fixings
- Perimeter edges, cappings & wind uplift
- How they work with clips, nails & underlay
- Quick basket: mobile-first procurement
- QA checks & common mistakes
- Related guides & tools
- FAQs (Copper Roof Strips)
- Structured data
What are copper roof strips for?
Copper roof strips are narrow copper bands used to provide discreet restraint at edges and raised features in lead roofing. Rather than punching a line of nails through the field of the sheet, you can clip or secure the edge over a copper strip so the sheet is retained against wind uplift yet free to move with temperature. Copper is springy, corrosion-resistant and easy to form, making it ideal for this subtle, long-life role.
- Edge restraint: Copper roof strips help retain skirts at perimeters without over-fixing.
- Wind control: They reduce chattering and flutter on exposed edges.
- Durability: Copper’s resilience and compatibility with lead make it a dependable “supporting act.”
Where to use copper roof strips (and where not)
Best uses for copper roof strips
- Parapet & perimeter edges: Neat restraint on long, exposed runs.
- Cappings & trims: Under capping folds where a tidy line is critical.
- Raised features: Around upstands where wind can catch the return.
- Heritage detailing: A subtle way to control movement without visible pepper-nailing.
When not to rely on copper roof strips
- Chases as restraint: For chase restraint, consider dedicated chase fixings/ wedges and **hall clips**; copper roof strips are better suited to perimeter edge detailing.
- Primary structure: They don’t replace correct sheet sizing, drips, or movement joints.
- Unsupported spans: Not a solution for oil-canning—address deck and sheet geometry first.
Spacing, orientation & fixings
Set out copper roof strips with a repeatable spacing and a fixing pattern that retains without locking movement.
- Orientation: Run the strip parallel to the edge; keep it straight for a crisp sightline.
- Centres: Use sensible clip/nail centres based on exposure—closer on very exposed sites.
- Fixings: Use compatible leadwork fixings (copper/stainless). Keep heads low and smooth.
- Underlay first: Maintain a continuous slip layer under the sheet (Lead Underlay & Tapes) so movement is free and silent.
Perimeter edges, cappings & wind uplift
Exposed edges are where sheets lift, chatter and wear first. That’s exactly where copper roof strips earn their keep. They give you a tidy, continuous bearing for clips and small returns, cutting vibration and helping the edge sit quiet through storms.
- Set the line: Snap a straight line and install the strip flush with the intended return.
- Fix lightly: Secure the strip; keep the surface smooth to avoid printing through.
- Clip smartly: Use stainless/copper clips at planned centres to retain the edge without pinning the field.
- Dress & finish: Ease the return, check for hum/whistle points, and finish visible edges with patination oil.
How copper roof strips work with clips, nails & underlay
The best leadwork behaves like a team: the underlay lets the sheet move, the clips retain the edge, and copper roof strips provide a clean, continuous base so restraint is even and invisible.
With clips
- Clips hold the return over the copper roof strips to resist uplift.
- Clip centres reflect exposure and edge length; don’t over-concentrate fixings.
With nails
- Where nails are required, use compatible metals and keep heads low.
- Never pepper-nail the field—retain at edges and joints only.
Need a refresher on typical sheet thicknesses and weights when planning restraint? See the Lead Weight Chart.
Quick basket: mobile-first procurement
- Start: Shop Copper Roof Strips for perimeter restraint and cappings.
- Add fixings: Leadwork Fixings (stainless/copper clips, nails, wedges).
- Add lead: Rolled Lead Sheet (BS EN 12588) sized via the shoppable lead chart.
- Underlay: Lead Underlay & Tapes for a continuous slip layer.
- Finish: Patination Oil on visible edges at handover.
Prefer supply & fit? See Lead Lads prices or partner GNR Roofing.
QA checks & common mistakes
QA for copper roof strips
- Straight, consistent lines; no wandering edges.
- Compatible fixings; heads low, surfaces smooth.
- Clips at planned centres; no field pepper-nailing.
- Underlay continuous; no rough fibres printing through.
- Edges dressed, quiet and well-oiled at handover.
Common mistakes to avoid
- Using copper roof strips as chase restraint: Use hall clips and chase wedges for that job; copper roof strips excel at perimeter edges and cappings.
- Over-fixing: Locks movement and invites fatigue—retain, don’t restrain the field.
- Skipping the slip layer: Increases noise and abrasion—always include underlay.
- Ragged lines: Poor sightlines draw the eye—snap lines and check alignment every few metres.
Related guides & tools
11 Lead Flashing Mistakes & Fixes Lead Bay Window Roof — Codes, Drips & Falls Wood Cored Roll — Ridges & Standing Rolls Shoppable Lead Chart
FAQs (Copper Roof Strips)
Where should I use copper roof strips on a lead roof?
Primarily at perimeter edges, cappings and raised features that see wind uplift. They’re ideal for neat, discreet restraint.
Do copper roof strips replace clips or nails?
No—they complement them. The strip provides a clean bearing; clips and selective fixings do the retaining.
Can I use copper roof strips in a masonry chase?
Use dedicated chase wedges and hall clips for chase restraint. Copper roof strips are better for perimeter and capping edges.
What else should I buy with copper roof strips?
Leadwork fixings, underlay, rolled lead sheet and patination oil.
Is there a fast way to size and buy the lead alongside?
Yes—use the shoppable lead chart to convert your set-out to a basket in minutes.
Quiet edges, clean lines
Use copper roof strips where they matter most: perimeter edges and cappings. Retain cleanly, keep movement free, and finish like a pro—then build your basket in a few taps.