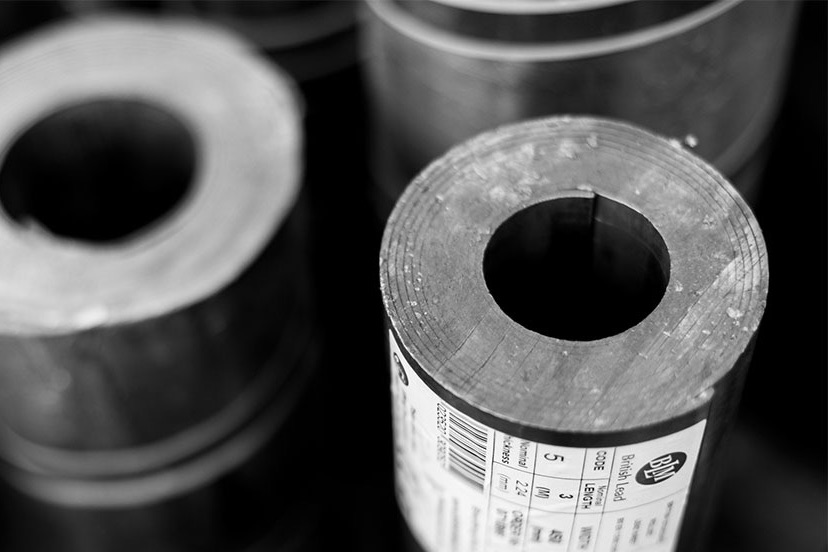
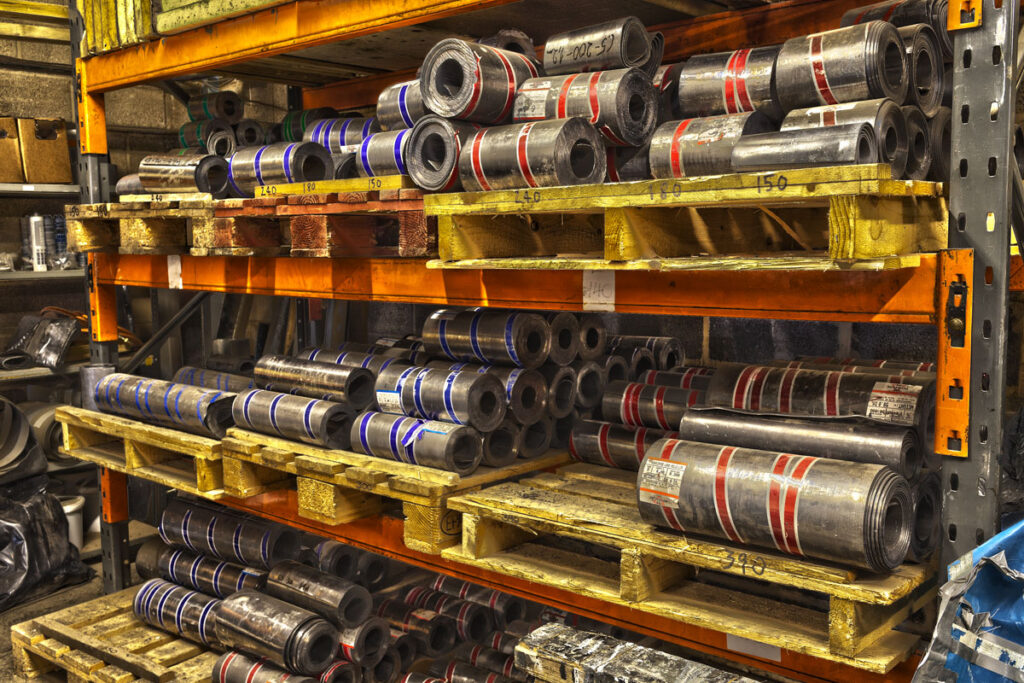
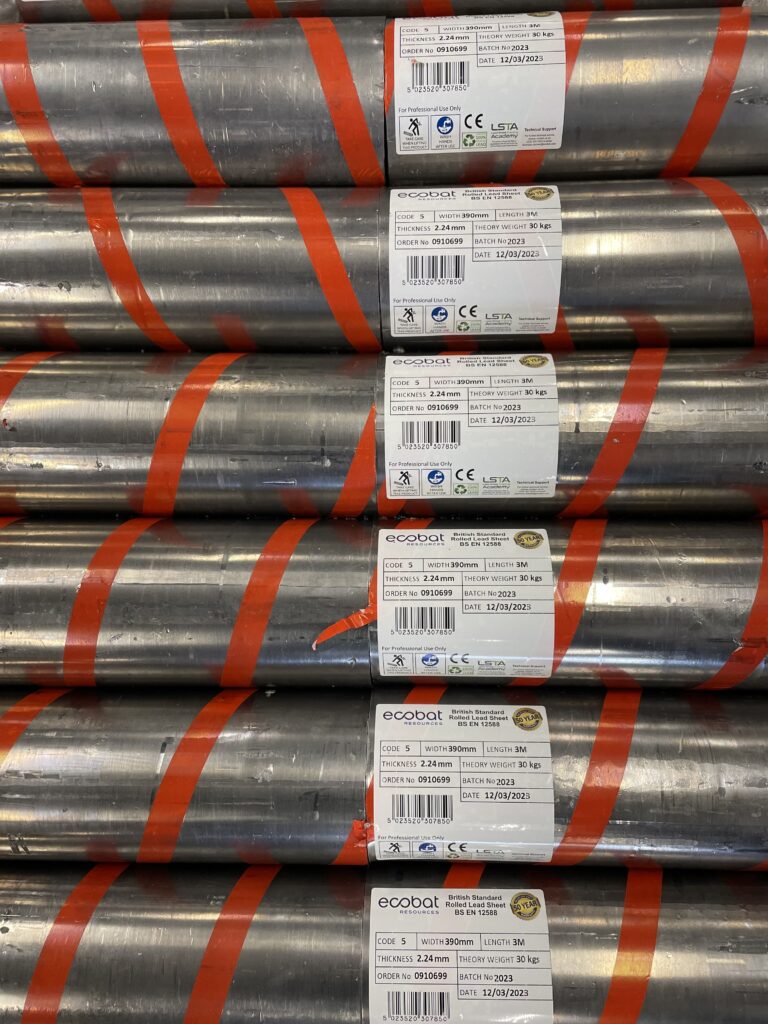
Code 3 Lead
 Code 4 Lead
 Code 5 Lead
 Code 6 Lead






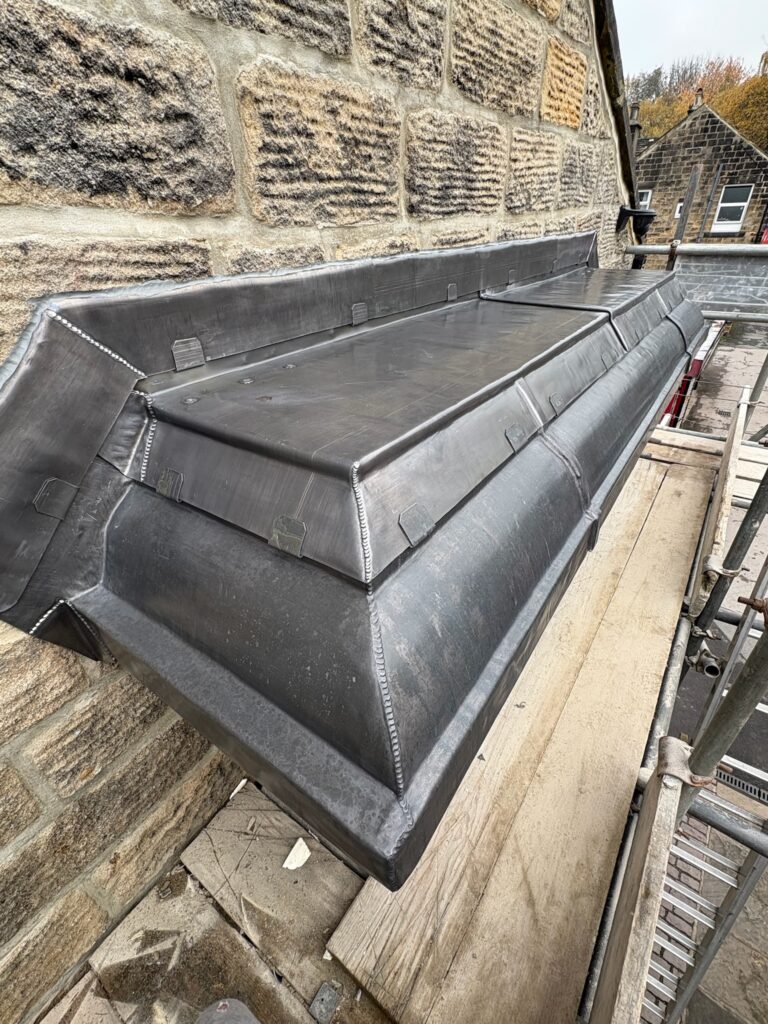
Lead Bay Window Roof 2025: Complete Guide

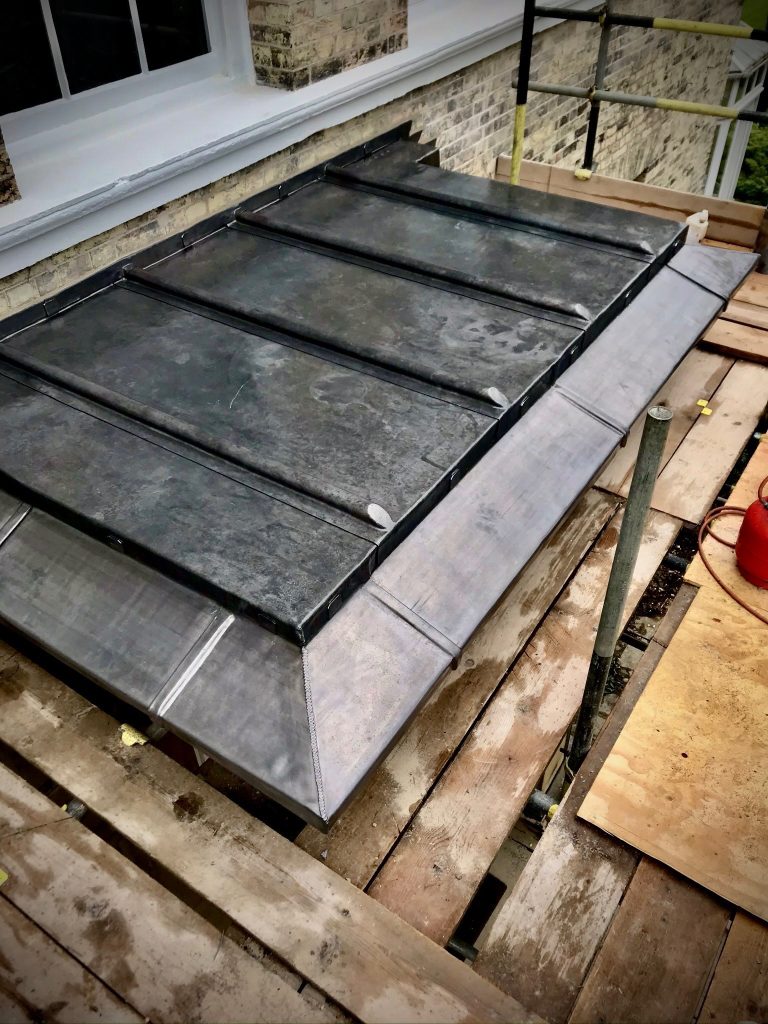

Lead Bay Window Roof: The Complete Guide
Breathe New Life into Your Bay Window with a Lead Roof Replacement Kit
The charming jut of a bay window adds undeniable character to a home. But like any exterior feature, its roof can succumb to the elements over time. If your lead bay window roof is showing signs of wear – leaks, cracks, or sagging – don't despair! Replacing it can be a surprisingly straightforward process, and the results will enhance both the beauty and longevity of your home.
Traditional Elegance Meets Modern Convenience
Lead remains a popular choice for bay window roofs for good reason. It's incredibly durable, lasting for decades with proper maintenance. Additionally, lead offers a timeless aesthetic that complements a variety of architectural styles.
The Lead Shop understands the importance of a seamless replacement project. That's why we offer a one-click "Add to Basket" lead bay window roof replacement kit. This comprehensive kit includes all the essential materials you'll need, including:
- High-quality lead sheet in various thicknesses to suit your specific roof requirements.
- Pre-formed wood rolls for faster installation, especially around complex angles.
- Specialist lead sealant ensure a watertight seal.
- Detailed instructions and helpful resources to guide you through the process.
The Replacement Process – Simplified
Replacing a lead bay window roof typically involves:
- Safety First: Ensure the work area is clear and secure yourself with appropriate personal protective equipment (PPE) like gloves and safety glasses.
- Careful Removal: Meticulously remove the existing lead, taking care not to damage the surrounding areas.
- Preparation is Key: Clean and prepare the roof surface for optimal adhesion.
- Laying the New Lead: Using the pre-formed rolls or cut lead sheets, carefully lay the new lead over the prepared surface.
- Securing the Seal: Employ lead welding techniques or specialist fixings to create watertight seams and secure the lead to the surrounding walls.
While replacing a lead roof requires some DIY expertise, The Lead Shop is here to help! Our comprehensive resources, including detailed instructions and helpful videos, will guide you through each step.
However, if you're unsure about tackling the project yourself, The Lead Shop also provides a network of trusted roofing contractors. With a simple click, you can be connected with a local professional who can handle the replacement for you.
Don't let a weathered lead bay window roof detract from your home's beauty! With The Lead Shop's one-click kit and helpful resources, you can breathe new life into this classic architectural feature, ensuring its elegance and functionality for years to come.
Lead Bay Window Roof — 2025 Complete Guide
A practical, trade-level guide to designing and installing a lead bay window roof: which code to choose, how to set falls and drips, where to put joints and outlets, how to size pieces for movement, and how to build a basket quickly with our shoppable chart.
Prefer supply & fit? See Lead Lads areas, installation pricing, or heritage partner GNR Roofing — Lead Bay Roof.
In this guide
Overview: what makes a good lead bay window roof?
A well-built lead bay window roof looks simple because the hard decisions were made on paper: sensible piece sizes, correct code, clean falls, well-placed joints and clear water paths. The result is quiet, durable and attractive with crisp edges and no staining below.
- Movement: Keep pieces within sensible dimensions so thermal movement is controlled without stress.
- Water: Give water an obvious route with consistent falls, drips at changes of plane and clear discharge points.
- Edges: Dress clean arrises, avoid tight pinches, and keep outlets unobstructed.
Lead codes & piece sizing
Rolled lead sheet (BS EN 12588) is specified by “code” (thickness/weight). For a lead bay window roof, common choices are:
| Element | Typical Code | Notes |
|---|---|---|
| Bay field (pans) | Code 5 | Stiff, dressable—popular for domestic bays & dormers |
| Arris/drip details | Code 5–6 | Step up where faces are larger or more exposed |
| Valleys/box edges | Code 6 | Extra stiffness for water load and wear |
| Standing rolls (if used) | Code 5 | Over wood cored roll where specified |
Need a refresher on thicknesses and weights? See Lead Codes Explained and the Lead Weight Chart.
Falls, drips & arrises
A reliable lead bay window roof has easy-to-follow water paths and tidy changes of plane:
- Falls: Establish a consistent fall from wall to edge or to a sump/outlet; avoid backfalls near mullions or mitres.
- Drips: Use drips to manage changes of level and to break long pieces; step height should be neat and repeatable along the bay.
- Arrises: Dress crisp edges; don’t pinch water paths at corners—arrises should guide flow, not trap it.
- Substrate: Even deck with a continuous slip layer (Lead Underlay & Tapes); no proud fixings.
Joints: welts, wood rolls & step heights
Joints in a lead bay window roof do two jobs—control movement and shepherd water. Choose the joint type for the geometry and look:
Welts & seams
- Low-profile appearance for finer bays and dormers.
- Use to join pans at logical breaks; keep seams out of ponding zones.
- Keep seam direction with the fall so water naturally crosses.
Standing rolls
- Use wood cored roll where a heritage roll-top aesthetic is desired.
- Rolls create a strong line and introduce regular movement points across the field.
- Set out on a consistent module; align with bay geometry for symmetry.
Whatever joint you choose, keep step heights consistent and avoid placing joints where downpipes or glazing drips concentrate water.
Outlets, sumps & edges
Small bays often fail at outlets and perimeter details, not in the field. Keep these habits:
- Sumps: Widen and deepen small catchments at outlets; keep the approach free of lumped joints.
- Outlets: Position sensibly—clear of glazing drips and wind-driven splash zones. Don’t block with heavy folds or returns.
- Perimeter upstands: Maintain sensible heights at walls; keep turn-ins tidy and avoid “dog-ears.”
- Edges: Clean arrises; no sharp pinches that can stress the sheet as it moves.
Weights, lifts & handling
Use the Lead Weight Chart to plan safe lifts for your lead bay window roof:
- Example: Code 5 × 600 mm × 3 m ≈ 45.72 kg (15.24 kg/m × 3 m). Team-lift or hoist accordingly.
- Staging: Store panels flat on bearers; avoid dragging across scaffold boards.
- Finish: Wipe down; apply a thin, even coat of patination oil on visible edges at handover.
Take-off to basket: a fast workflow
- Open the shoppable lead chart to map codes, widths and piece lengths from your set-out.
- Add rolled lead sheet (BS EN 12588) for the bay pans and perimeter details.
- Add underlay & tapes for a continuous slip layer.
- Add fixings (copper/stainless nails, clips, wedges).
- Finish with patination oil for visible edges.
Prefer an installed solution? See Lead Lads pricing or partner GNR Roofing — Lead Bay Roof.
QA checklist & common mistakes
QA for a lead bay window roof
- Piece sizes sensible for movement; no over-wide or over-long pans.
- Falls consistent; no backfalls at mullions or mitres.
- Drips/step heights consistent; joints placed out of ponding zones.
- Underlay continuous; deck smooth; fixings flush.
- Outlets clear; sumps shaped; edges and arrises crisp.
- Visible edges clean and lightly oiled at handover.
Common mistakes to avoid
- Oversized pans: Restrict movement and invite fatigue cracks.
- Backfalls: Water traps near glazing drips or mitres.
- Clumsy joints at outlets: Heavy folds that obstruct discharge.
- No slip layer: Abrasion and “printed” fixings over time.
Related guides & tools
Lead Weight Chart Lead Codes Explained Wood Cored Roll — Ridges & Standing Rolls 11 Lead Flashing Mistakes & Fixes
FAQs (Lead Bay Window Roof)
Which code is best for a lead bay window roof?
Code 5 is a common choice for domestic bays. Step to Code 6 for valleys/edges or more exposed sites.
Should I use standing rolls or welts?
Welts give a low-profile, modern look; standing rolls over wood cored roll give a heritage profile and introduce regular movement points. Choose by aesthetics and geometry.
How do I stop staining on the window below?
Clean down and apply a thin coat of patination oil to visible edges; ensure water discharges cleanly away from the façade.
What about outlets on small bays?
Use a sump to manage flow and keep joints away from the outlet throat. Don’t block discharge with heavy folds.
Is there a quick way to buy everything I need?
Yes—use the shoppable lead chart to select codes/widths/lengths, then add underlay, fixings and patination oil.
Buy once, drain cleanly
Design your lead bay window roof with the right code, clean falls and tidy joints—then convert your take-off to a basket in minutes with our mobile-first tools.