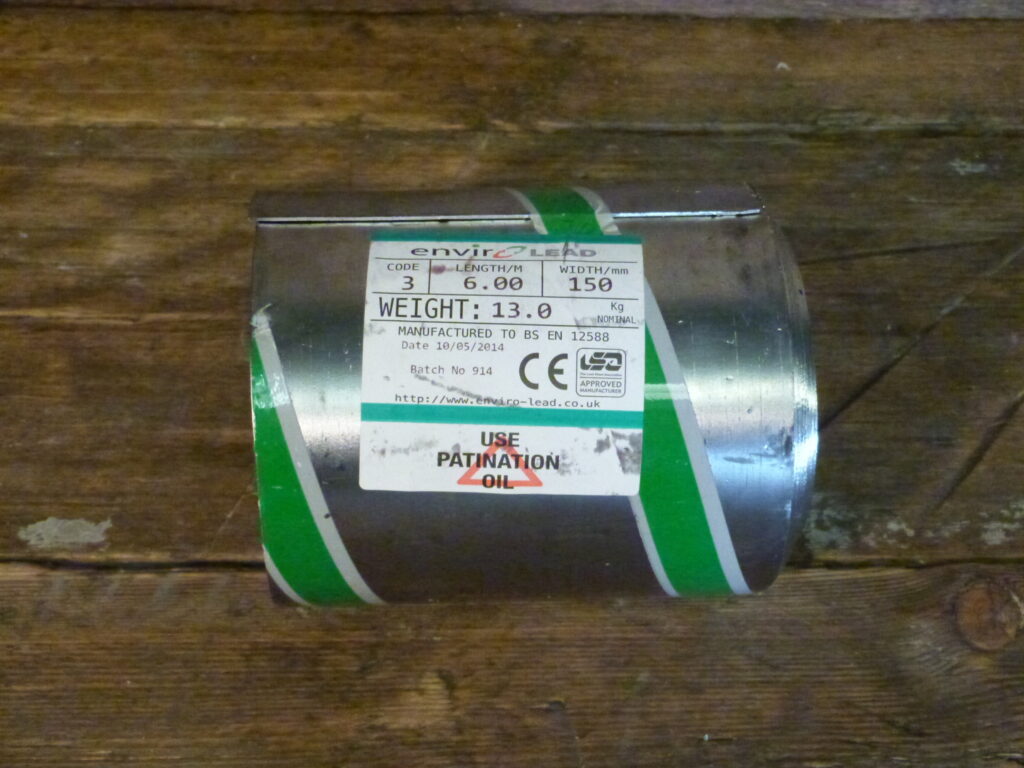
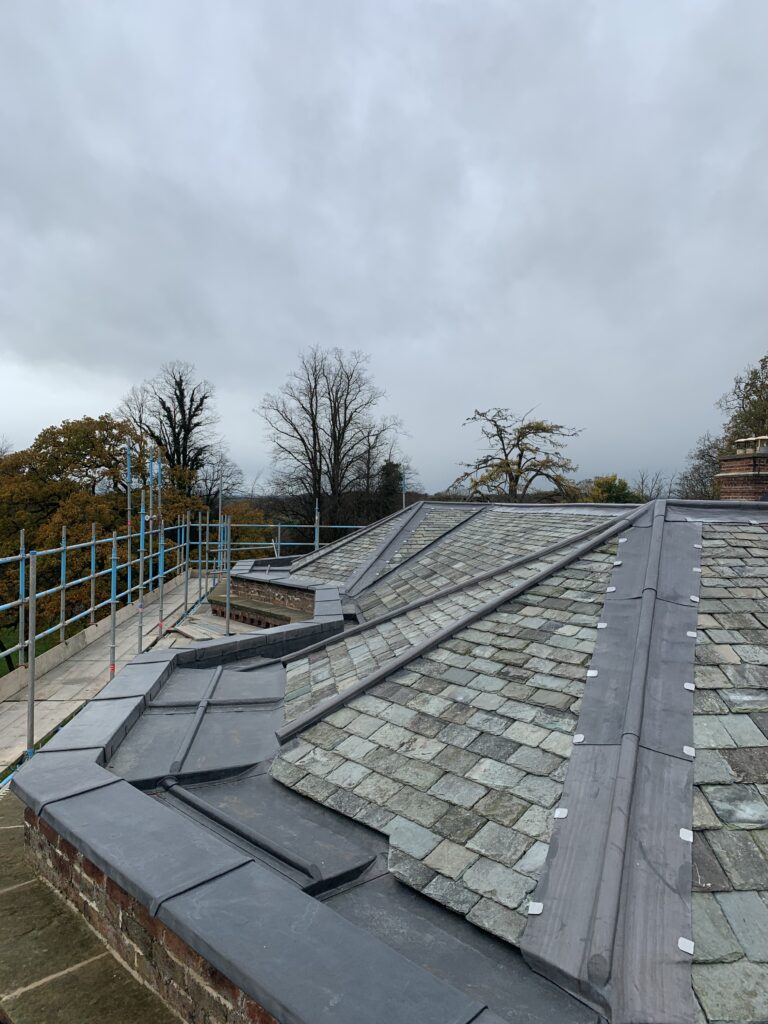
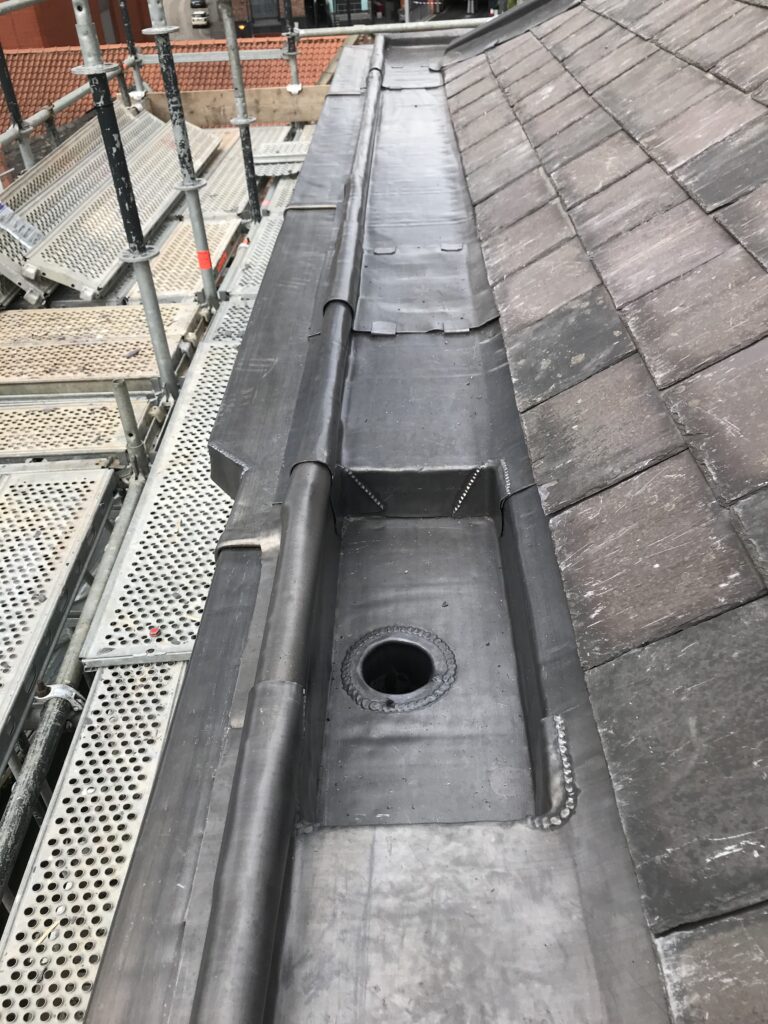
Code 3 Lead
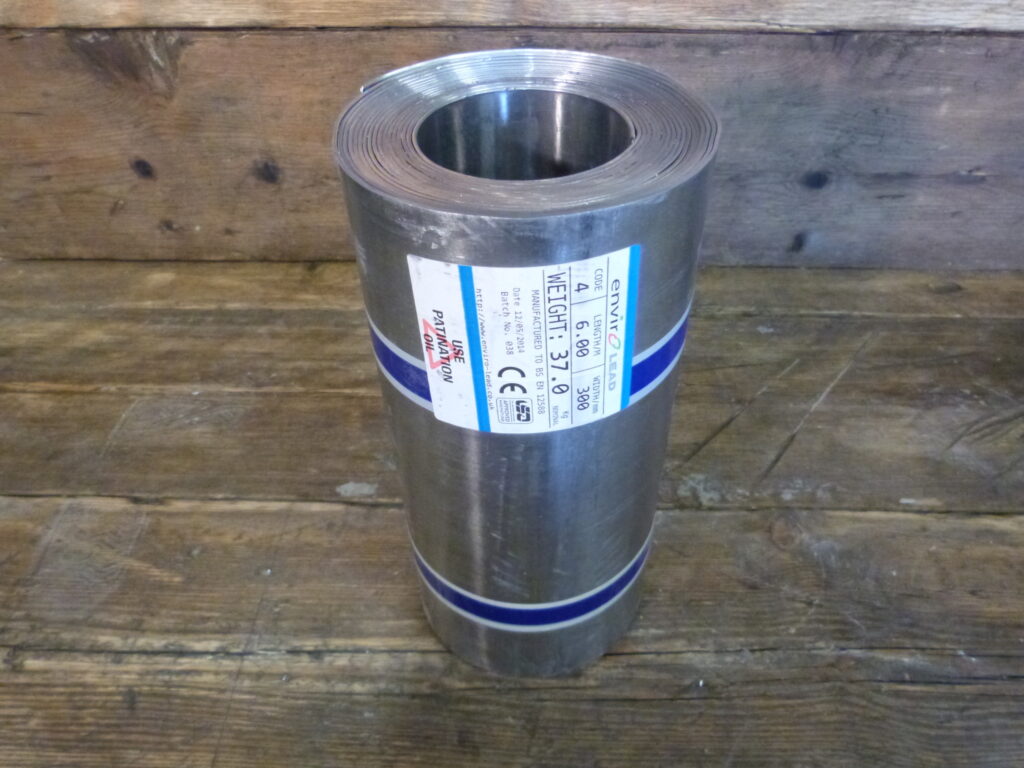
 Code 4 Lead
 Code 5 Lead
 Code 6 Lead






Wood Cored Roll


Mastering the Art of Lead Work: The Essential Guide to Wood Roll
Lead has been a trusted material in roofing and flashing for centuries, offering exceptional durability and weather resistance. But achieving a flawless lead installation requires the right techniques and materials. Enter the unsung hero – the wood roll.
What is Wood Roll?
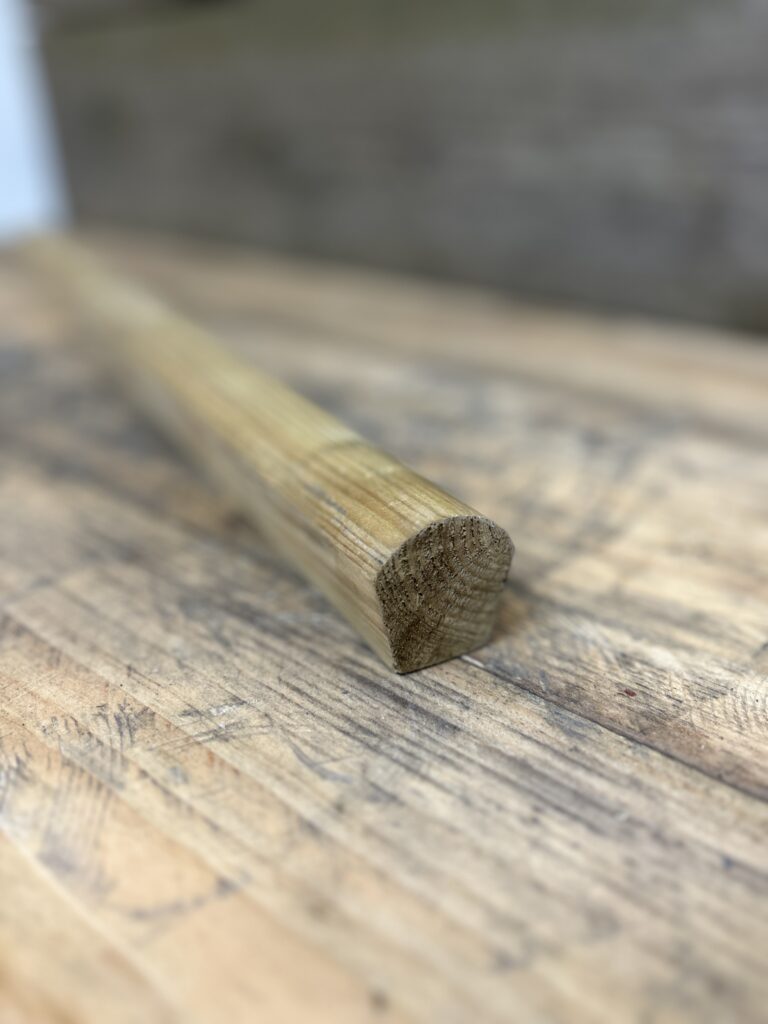
Wood roll, also known as wood core roll, is a treated timber strip specifically designed for lead work. It serves as a backing for lead sheet joints, providing several crucial benefits:
- Creates a Strong Foundation: The wood core offers a stable base for the lead sheet, ensuring proper shaping and preventing sagging.
- Expansion and Contraction: Lead naturally expands and contracts with temperature fluctuations. The wood core accommodates this movement, preventing stress on the lead and potential leaks.
- Watertight Seal: The wood core, when properly installed with a lead cloak, forms a watertight joint, keeping the elements at bay.
- Aesthetic Appeal: Wood roll creates clean and defined lead sheet joints, enhancing the overall visual appeal of your roof or flashing.
Types of Wood Roll:
There are two main types of wood roll available:
- Standard Wood Roll: This is the most common type, featuring a flat profile ideal for straight lead sheet joints.
- King Roll: This roll has a rounded profile, making it suitable for curved lead work like valleys or hips.
Applications of Wood Roll:
Wood roll finds application in various lead work projects, including:
- Flat Roof Joints: Creates a watertight and aesthetically pleasing joint for flat roof lead sheets.
- Pitched Roof Flashings: Provides a secure base for lead flashings around chimneys, rooflights, and other penetrations.
- Lead Cladding: Offers a stable backing for lead sheet cladding on walls.
Working with Wood Roll:
Here's a basic overview of using wood roll for lead work:
- Measure and Cut: Measure the required length of wood roll and cut it using a saw.
- Fix to Substrate: Secure the wood roll to the underlying structure using appropriate fixings, following the manufacturer's recommendations.
- Form Lead Sheet: Dress the lead sheet over the wood roll, creating a cloak around it.
- Secure the Lead: Fix the lead sheet to the wood roll and surrounding area using lead welding or appropriate joining techniques.
Safety First:
Always prioritize safety when working with lead. Wear appropriate personal protective equipment (PPE) like gloves, safety glasses, and a dust mask when handling and cutting wood roll. Additionally, lead work should only be undertaken by qualified professionals due to the potential health risks associated with lead exposure.
Conclusion:
Wood roll is an essential tool for achieving professional-looking and long-lasting lead work. By understanding its benefits, applications, and proper installation techniques, you can ensure the success of your next lead roofing or flashing project. Remember, if you're unsure about any aspect of lead work, it's always best to consult a qualified professional.

Wood Cored Roll (Lead Roofing) — 2025 Guide
This is a practical, trade-level guide to wood cored roll for roll-top ridges, hips and standing roll details in leadwork. We cover common sizes, spacing, how to set out and fix cores, how to dress and clip the lead, QA checks, and the pitfalls to avoid—then we link you straight into a mobile-first buying path.
Need supply & fit? See Lead Lads service areas, installation prices or partner GNR Roofing.
In this guide
What is wood cored roll and where is it used?
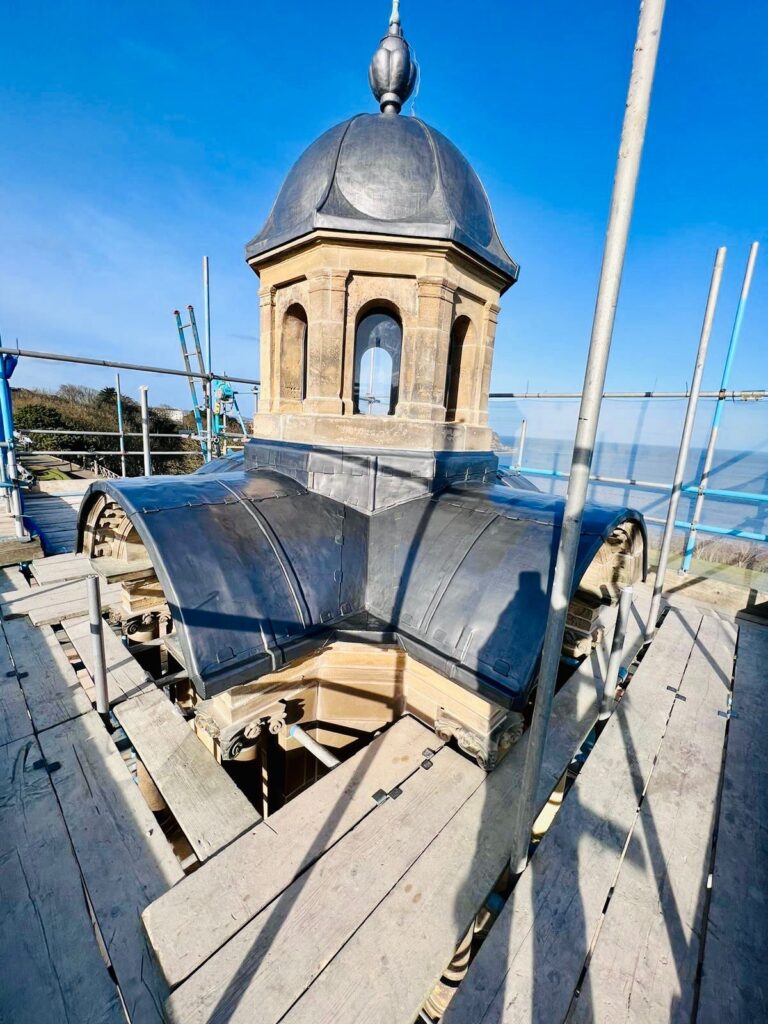
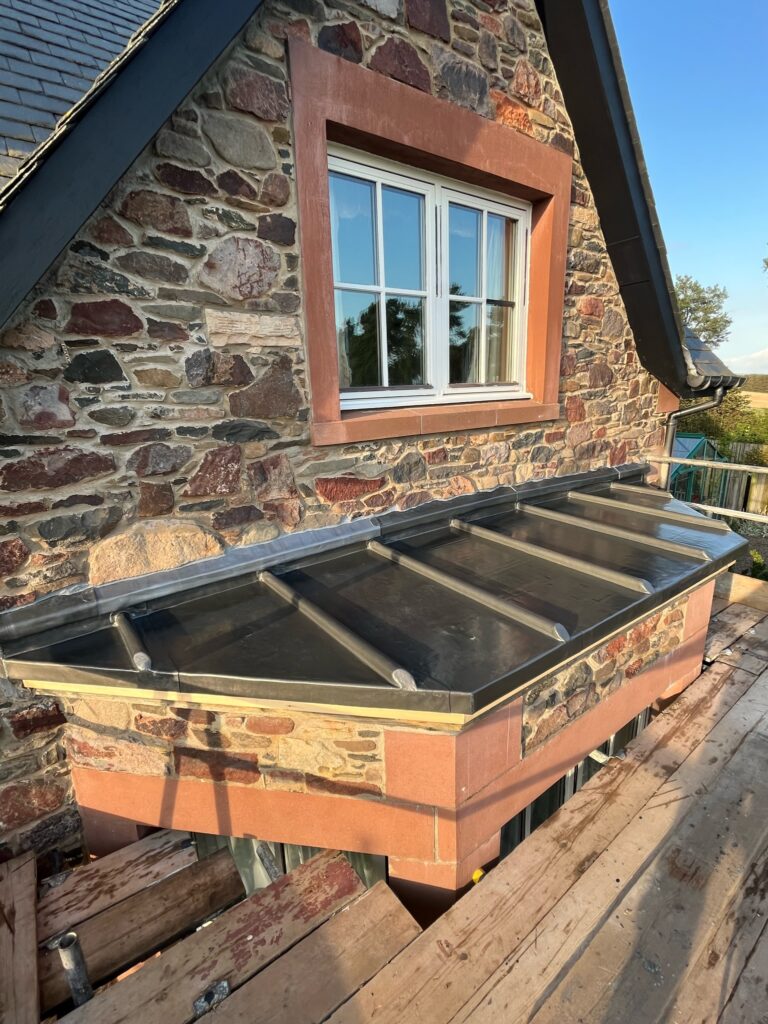
Wood cored roll is a shaped timber core (often a rounded or triangular section with a radiused crown) used as the former beneath roll-top ridges, hips and standing roll details in lead roofing. The core gives the roll its consistent geometry so the finished lead is crisp, repeatable and free of “flat spots.” You’ll see wood cored roll on traditional roll-top ridges, on decorative hips, and as periodic standing rolls across larger lead bays to control movement, manage water and create heritage visual lines.
- Ridges & hips: The wood cored roll creates the raised centre or hip line; the lead sheet is dressed over and clipped neatly either side.
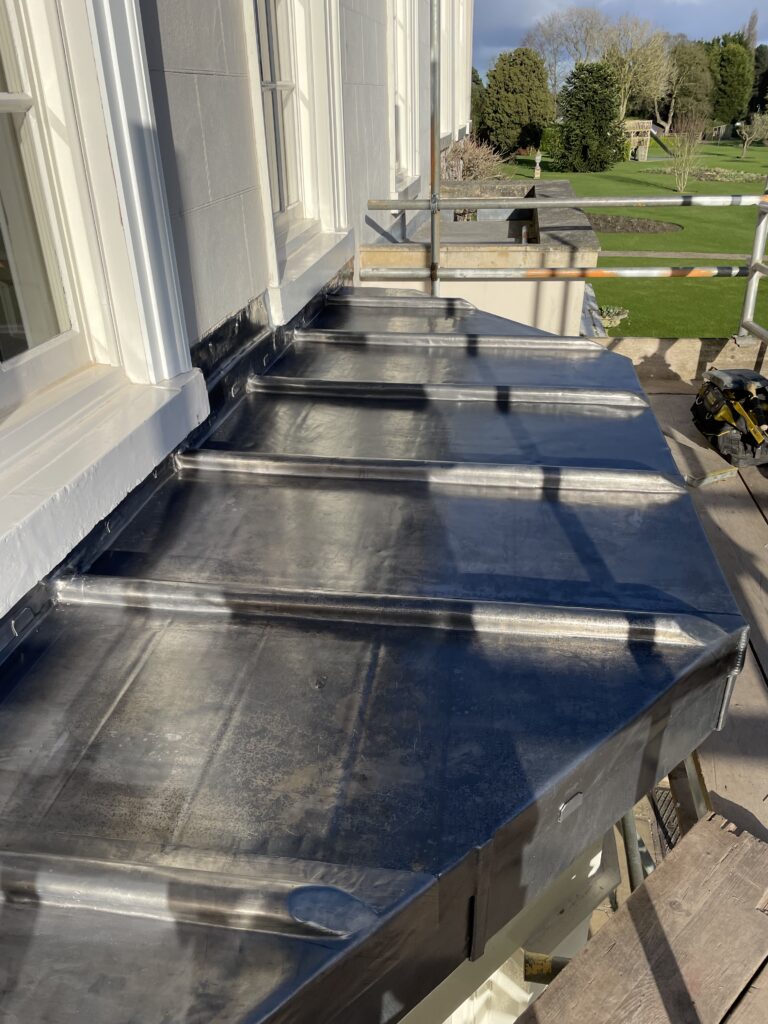
- Standing rolls on bays: Repeated rolls set at a designed spacing reduce apparent width, introduce movement joints and add stiffness to the field.
- Heritage value: A true, repeatable roll section is a visual hallmark on period buildings and high-spec contemporary work.
Common sizes & spacing for wood cored roll
You’ll choose the wood cored roll size to suit the roof scale, ridge/hip width and desired visual prominence. Common nominal crown sizes are in the ~40–50 mm band, with larger features used for grand ridges. Spacing between standing rolls on bays depends on bay width and movement strategy.
| Core crown (approx.) | Where it’s used | Notes |
|---|---|---|
| ~38–40 mm | Small ridges/hips; modest bays | Clean proportion on smaller roofs; crisp but not dominant |
| ~44–50 mm | Standard ridges/hips; larger bays | Most common “heritage” look with strong shadow line |
| 50 mm+ | Grand ridges; feature hips | Use where building scale supports a bolder roll |
Set-out & fixing the core
Good outcomes with wood cored roll start with straight, repeatable cores and a slip-friendly build-up beneath.
- Substrate: Sound, even deck with a continuous slip layer (Lead Underlay & Tapes). Avoid rough fibres telegraphing through.
- Strike a centre line: For ridges and hips, snap a line so the wood cored roll sits true end-to-end—no wandering crowns.
- Fixing: Secure cores neatly to the deck/arrises with appropriate fixings. Keep heads low/flush so they don’t “print” through the lead.
- End conditions: Trim and ease the lead-contact edges. Avoid sharp arrises that can bruise the sheet during dressing.
- Movement planning: If standing rolls divide a wide bay, set out panel widths, drip locations and step heights before you cut the first sheet.
Dressing lead over the core & clipping
Dressing over wood cored roll is where the craft shows—clean, symmetrical curves and tidy restraint without locking movement.
- Sheet choice: Pick rolled lead sheet (BS EN 12588). Use our Lead Codes Explained guide to choose a code suited to panel size and exposure.
- Dressing: Work evenly from the crown, alternating sides. Don’t chase wrinkles; ease and re-lay as needed so both skirts sit equally.
- Clipping/retention: Use stainless or copper clips at sensible centres. Clips restrain edges without pepper-nailing the field.
- Ends & mitres: Where the roll meets a ridge piece or finial, form clean mitres; consider a small stop-end detail that sheds water back to the field.
- Finish: Wipe down; a thin, even coat of patination oil on visible edges at handover improves early appearance.
Roll-top ridges & hips: sequencing
On ridges and hips, the wood cored roll becomes the visual spine. Keep the sequence tight so the geometry stays true:
- Install underlay and set the core dead straight on the line.
- Offer the sheet, check drape and crown symmetry before committing.
- Dress the crown first, alternating sides in small, even passes.
- Clip edges; avoid locking the field. Fixings should retain, not restrain expansion/contraction.
- At junctions (e.g., hip to ridge), use neat lap/mitre details that maintain cover and allow drainage.
QA checks & common mistakes
Quality checks for wood cored roll
- Cores straight and true, consistent crown width along the run.
- Continuous slip layer under all sheets; no rough edges telegraphing.
- Even dressing—no flats on the crown, no bias to one side.
- Clips at appropriate centres; no pepper-nailing through the field.
- Clean mitres at ends; water paths protected; no pinch-points.
- Visible edges wiped and lightly oiled at handover.
Common mistakes to avoid
- Wandering cores: A drifting crown ruins the sightline—strike and follow a line.
- Harsh arrises: Sharp timber edges bruise sheet during dressing—ease contact edges.
- Over-fixing: Locking movement causes fatigue cracks—use clips and selective restraint.
- Untidy mitres: Poor end details collect water and look wrong—plan the junctions.
Quick basket: mobile-first procurement
Build a basket for a wood cored roll ridge, hip or standing-roll bay in minutes:
- Open the shoppable lead chart to select codes, widths and panel lengths.
- Add rolled lead sheet (BS EN 12588) for the ridge/hip sheets and bay panels.
- Add leadwork fixings (stainless/copper clips, nails, wedges as required).
- Add underlay & tapes for a continuous slip layer under the whole run.
- Finish with patination oil on visible edges at handover.
Prefer supply & fit? Check Lead Lads prices and partner GNR Roofing (heritage ridge/hip specialists).
Related reading on this site
Lead Codes Explained (BS EN 12588) Lead Bay Roofs — Codes, Drips & Falls 11 Lead Flashing Mistakes & Fixes
FAQs (Wood Cored Roll)
Which lead code should I use over a wood cored roll?
Choose based on panel size and exposure—reference our Lead Codes Explained guide. Larger panels and exposed sites tend to step up a code.
How far apart should standing rolls be on a bay?
Space rolls to create consistent panel widths that control movement and suit the bay visually. Keep a regular module across the field.
Can I fix through the field of the sheet near the roll?
Avoid pepper-nailing. Use clips to retain edges and allow movement. Fixing strategy should restrain without locking the panel.
Do I need a slip layer under roll-top ridges and hips?
Yes—use a continuous underlay so the sheet can move freely and to prevent abrasion. See Lead Underlay & Tapes.
What finish should I apply?
Wipe down and apply a thin coat of patination oil to visible edges at handover to manage early appearance.
Buy once, set out straight
True sightlines and clean geometry start with the core. Choose the right wood cored roll, set it dead straight, clip smartly and finish cleanly—then rely on our shoppable chart to build a basket fast.