Code 3 Lead
 Code 4 Lead
 Code 5 Lead
 Code 6 Lead






Lead Expansion Joints: Movement Design (BS 6915)

Lead Expansion Joints — Movement Design (BS 6915)
Lead expansion joints are the difference between a roof that looks perfect on day one and a roof that still looks perfect ten winters later. This guide shows how to size bays, space joints and detail laps per BS 6915—then helps you buy the exact materials in minutes.
Further reading: Lead Sheet Training Academy (LSTA) and NFRC guidance for good practice.
In this guide
Why lead expansion joints matter
Lead moves. Temperature swings, solar gain, cold nights and substrate moisture cycles make sheet metal “breathe”. Without properly spaced lead expansion joints, that movement concentrates at laps and fixings, causing ripples, fatigue cracks, split welts and noise. Adding the right joint at the right spacing dissipates stress and keeps work tidy for decades.
Thermal movement: the simple physics
Lead’s coefficient of thermal expansion means each metre changes length with temperature. On a south-facing bay or a sun-soaked dormer, expansion adds up quickly. Lead expansion joints break long runs into controlled segments so the sheet slides or flexes at pre-planned points rather than tearing at the weakest seam.
Bay sizing rules of thumb (BS 6915 context)
Exact bay dimensions depend on exposure, colour (solar absorption), substrate, code (thickness) and detail, but practical ranges used by experienced fixers align with BS 6915 principles:
- Flat bays (Code 5–6): limit widths to manageable handling; set lengths to avoid over-long runs. Use lead expansion joints between bays.
- Aprons & back gutters: keep widths within spec and provide movement at stop ends and abutments.
- Parapet & cornice cappings: joint at regular centres; allow for thermal bowing under sun load.
Our Shoppable Lead Chart helps you pick codes and lengths that naturally coordinate with joint spacing, reducing on-site cutting and waste.
Common joint layouts (flat roofs, bays, aprons)
There are several ways to arrange lead expansion joints, and your choice will balance weathering, appearance and movement:
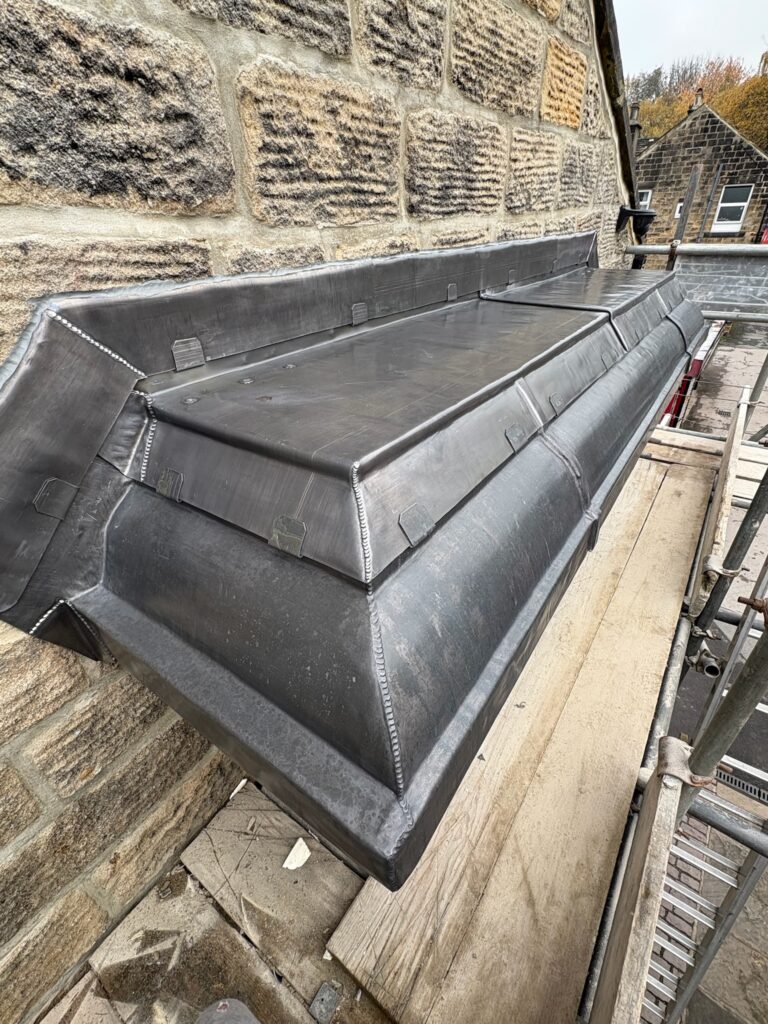
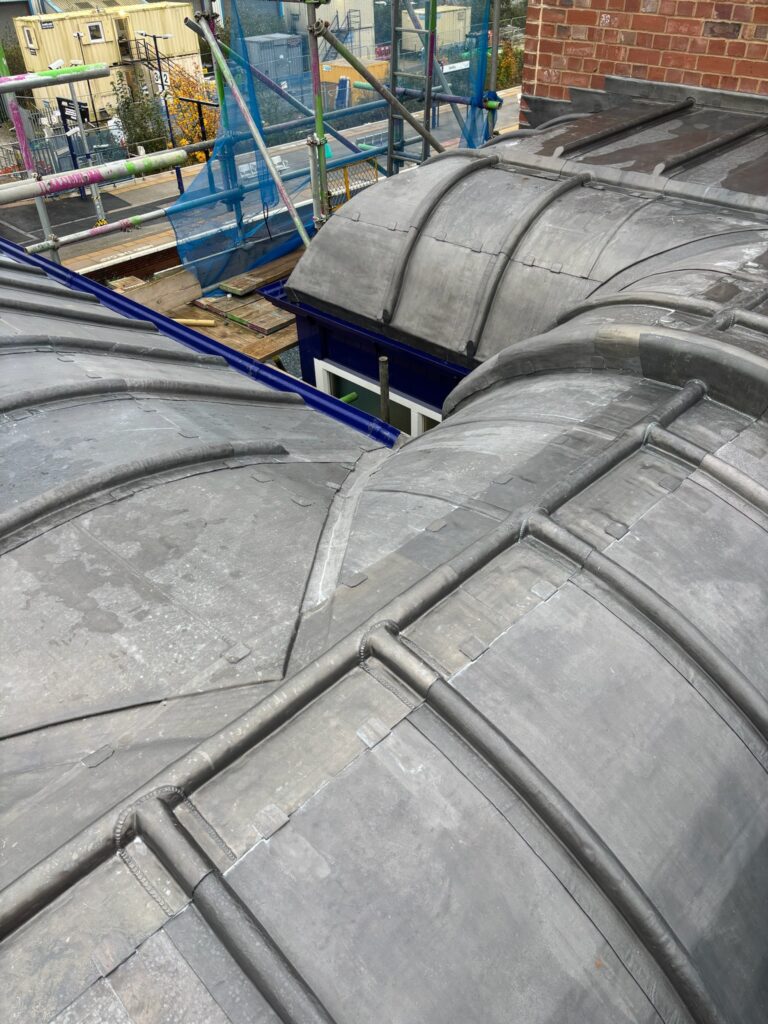
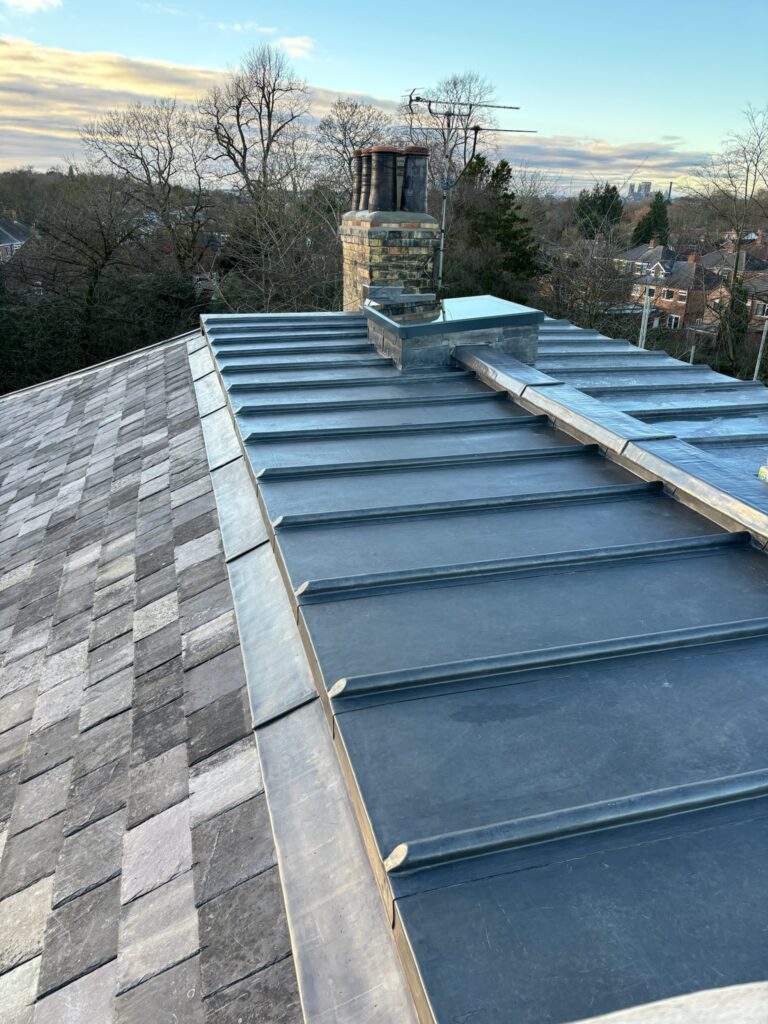
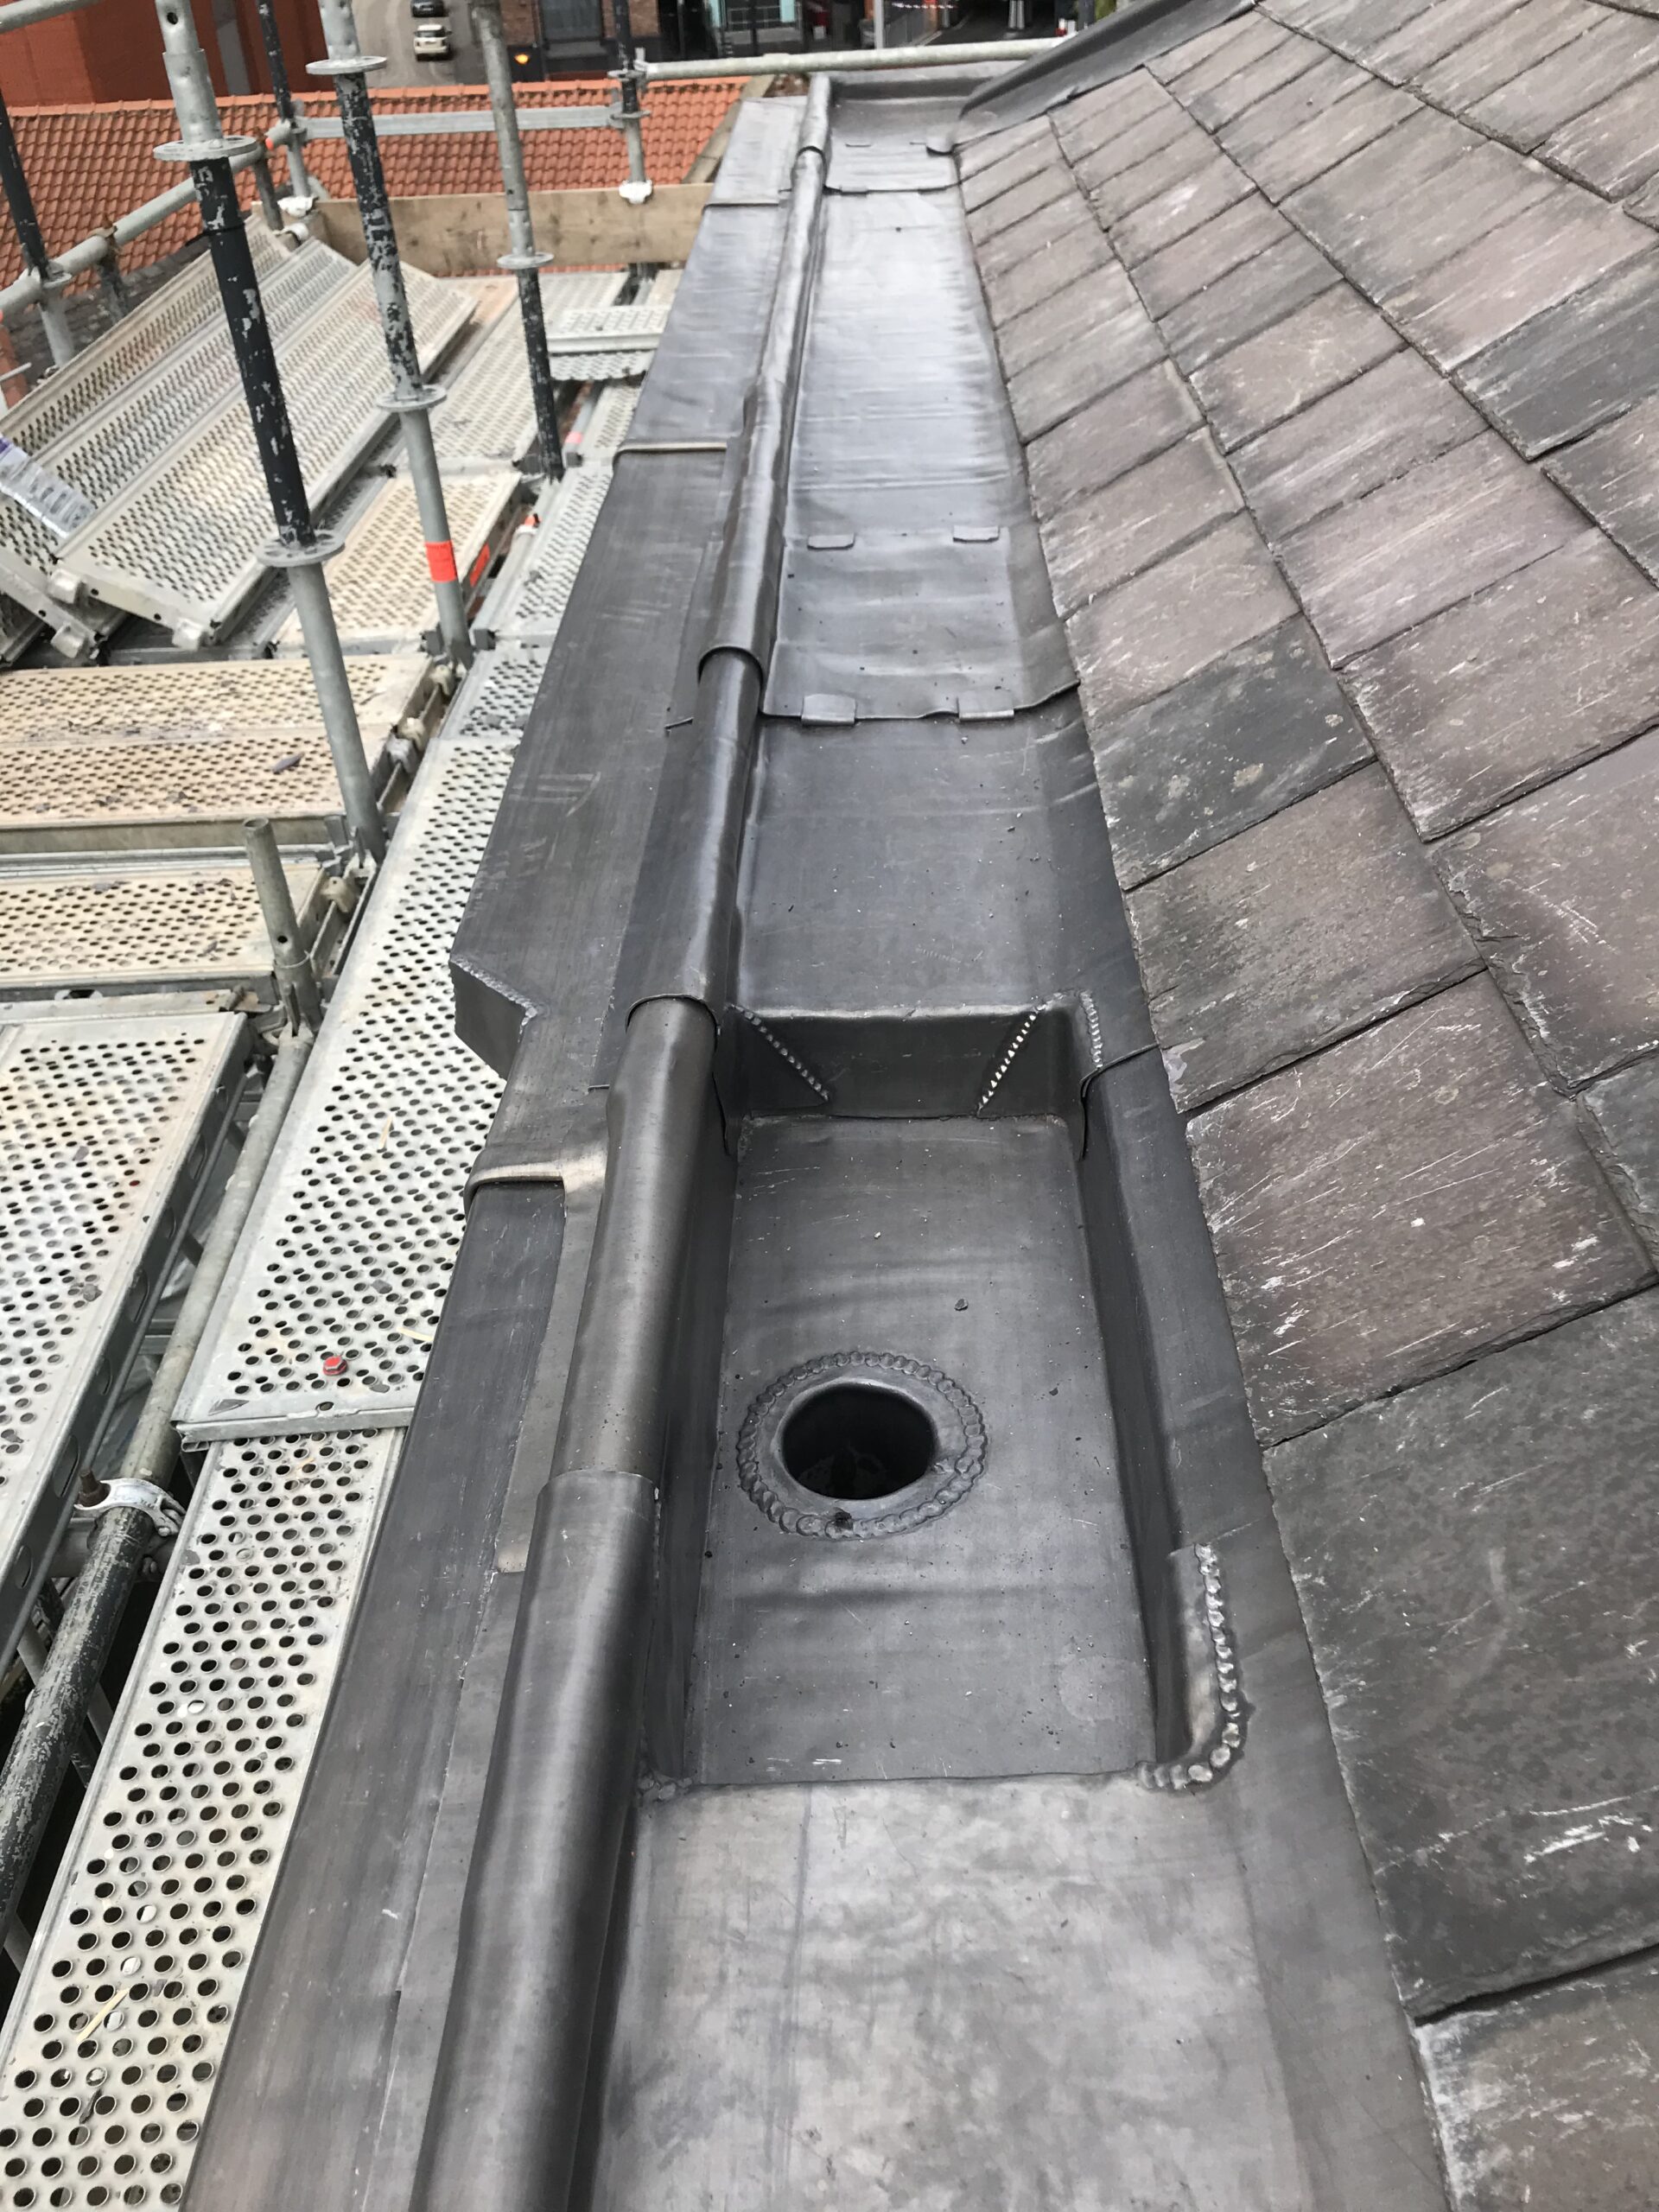
- Wood-cored roll joints: classic “roll cap” lines that both look traditional and give movement capacity. Great for bays, porches and heritage work.
- Butt joints with cover strips: two bays butt with a capped strip that sheds water while covering the gap needed for movement.
- Welts & drips with expansion allowance: designed so the working welt can flex minutely and the drip sheds water without pinching the sheet.
Materials that make joints work
Rolled lead sheet (BS EN 12588)
Start by selecting the right code and width. Correct code reduces “oil canning” and extends fatigue life when paired with well-spaced lead expansion joints. Shop: Rolled Lead Sheet.
Wood-cored roll
Provides the form and backing for traditional roll joints and caps; allows controlled movement and a generous lap detail. Shop: Wood-Cored Roll.
Copper strips
Used to restrain at perimeters and edges where a continuous clip is preferred; allows the sheet to expand away from the fixed line. Learn more: Copper Strips in Lead Roofing.
Underlay & building paper
Underlay separates lead from resinous timber and evens micro-movement. It’s a key partner to lead expansion joints because it reduces “stiction”. Shop: Lead Underlay & Building Paper.
Fixings & clips
Use correct nail material/length and spacing; incorporate stainless or copper clips where the detail requires restraint with freedom to move. Shop: Leadwork Fixings.
Patination oil
Apply to clean, dry surfaces to reduce staining at joints and laps. It won’t “fix” joint spacing, but it keeps completed details looking professional. Shop: Patination Oil.
Detailing movement joints step-by-step
- Plan centres: set joint spacing based on code, exposure and bay width/length. Err on the generous side for sun-exposed, dark-finished areas.
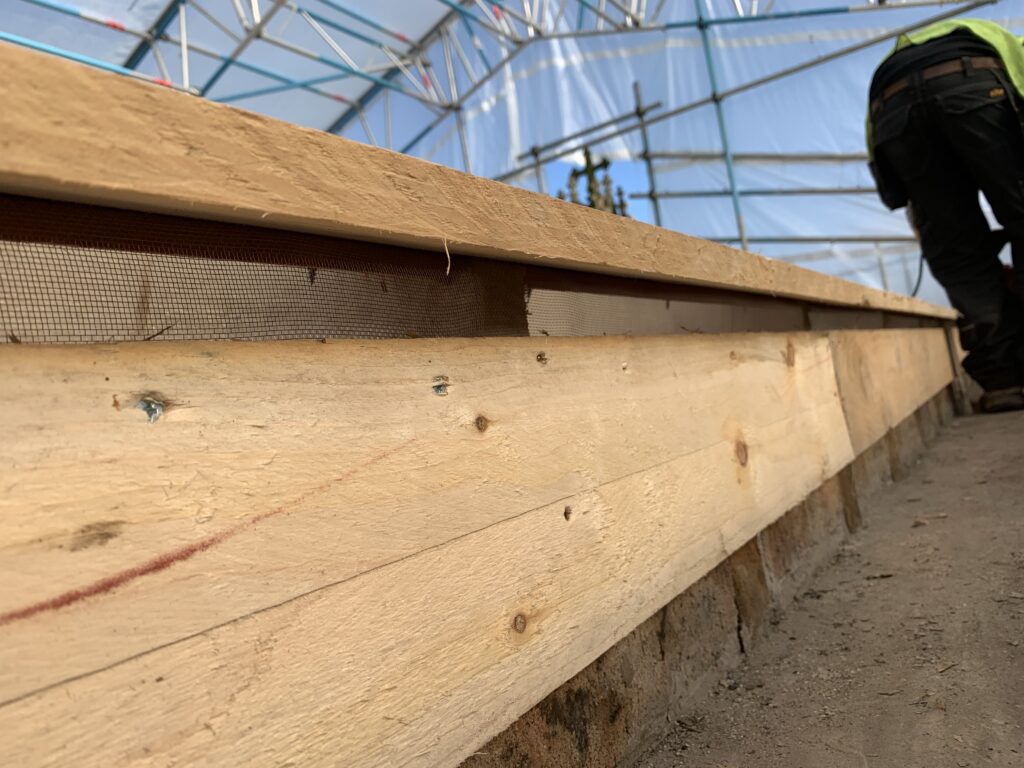
- Prepare deck: smooth, ventilated and dry. Fit underlay to reduce binding; joints in the deck should not telegraph through the sheet.
- Set rolls/strips: install wood-cored rolls or mark cover-strip centres. Keep lines true—lead expansion joints are a visual feature on heritage work.
- Form bays: offer up each bay allowing for expansion at both ends. Pre-form drips and check that welts are not over-tight.
- Fix correctly: fix high on the bays per detail, never through the field where movement is highest. Use clips or copper strip restraint at edges.
- Weather the joint: roll caps or cover strips should shed water cleanly. Test with a hose if unsure; look for free drainage across the joint.
- Finish: clean down, apply patination oil to exposed faces, and record centres for future maintenance.
Site checks & troubleshooting
- Ripple before fix: check underlay drag; lightly lift and reset. Over-tight welts can lock movement—ease and re-form.
- Noise in wind/sun: inspect clips and restraint lines; lead expansion joints may be too far apart. Add an intermediate joint if practical.
- Edge staining: confirm patination oil coverage and runoff paths. Clean and recoat as needed.
- Crack at a seam: look for a rigid fix near the joint. Remove the offending fix and install a joint detail that allows sliding.
Quick-buy grid
Need training or a refresher? See LSTA. Industry updates: NFRC.
FAQs — lead expansion joints
How often should I place lead expansion joints on a flat bay?
It depends on exposure, colour and code. Keep bays manageable in width/length, and use regular joint centres. When in doubt, add a joint rather than stretching a bay.
Wood-cored roll or cover-strip joint?
Rolls provide a traditional look and generous movement. Cover strips are lower-profile and quick on modern builds. Both are valid when detailed correctly.
Do I need underlay beneath bays and joints?
Yes—underlay reduces drag and isolates the sheet from resinous timber, improving the performance of lead expansion joints.
Can I fix through the field of a bay?
No. Fix high or at designated points so the bay can expand/contract. Field fixings lock movement and create stress points.
Patination oil and joints—does it help?
Patination oil doesn’t affect movement but protects appearance, especially near joint lines and drips. Apply to clean, dry metal.