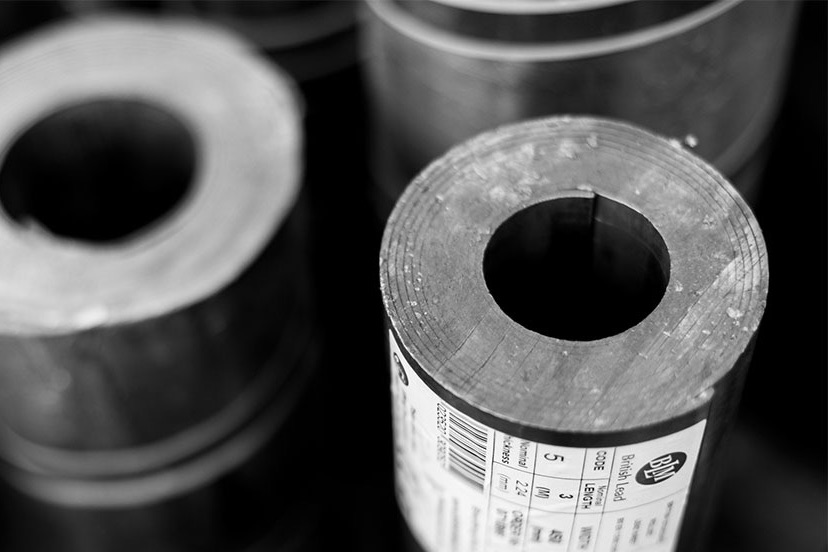
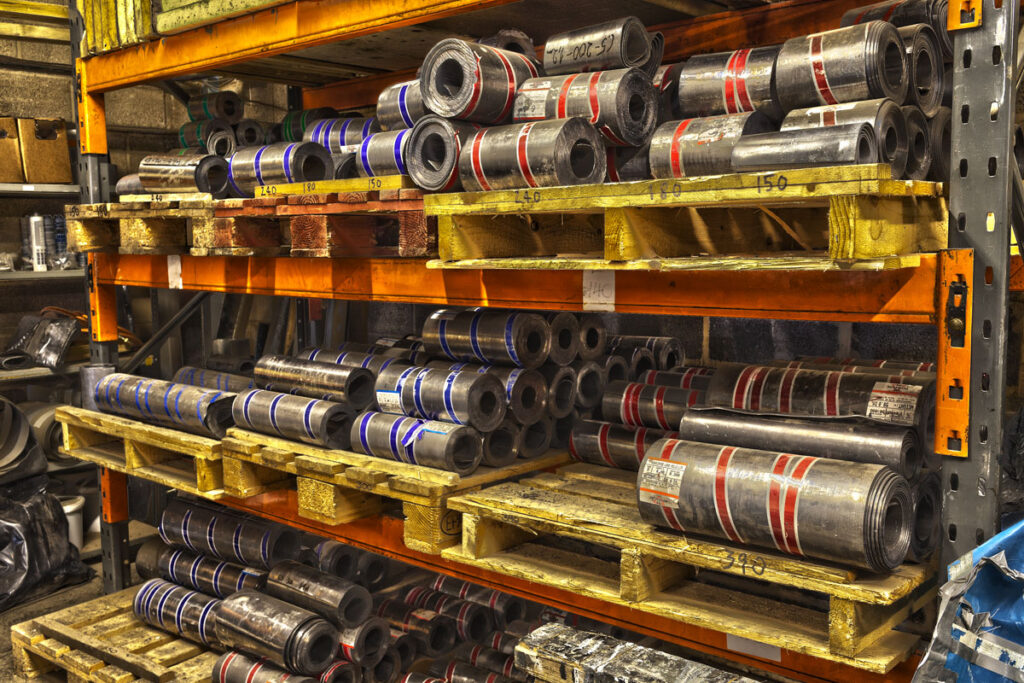
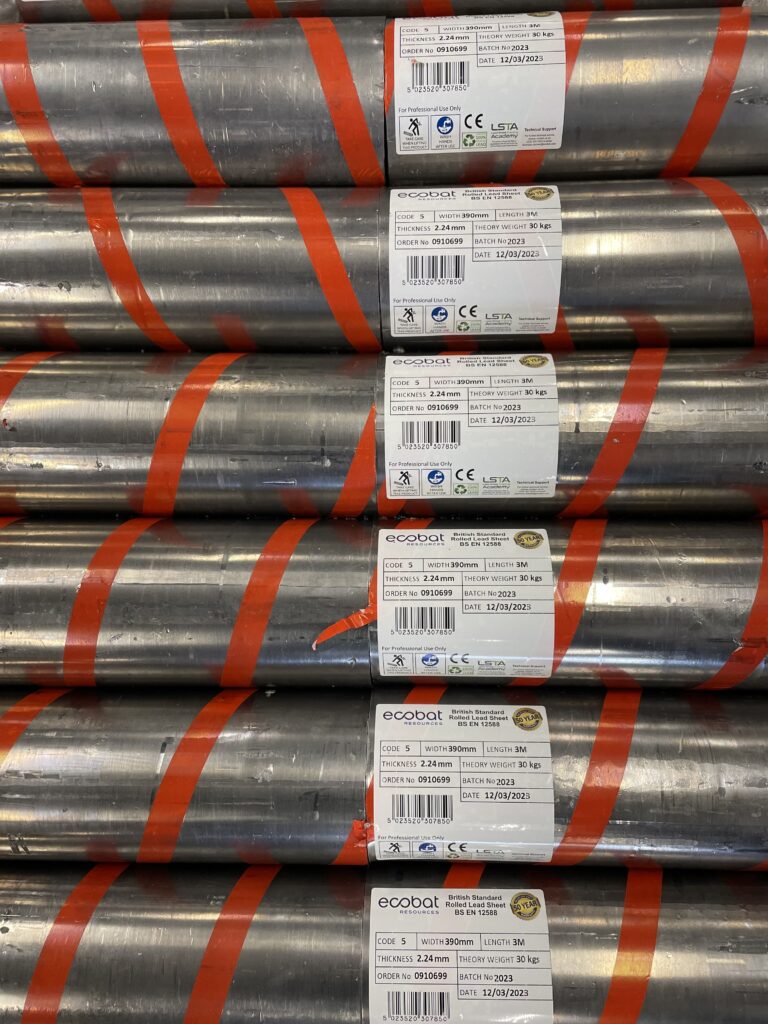
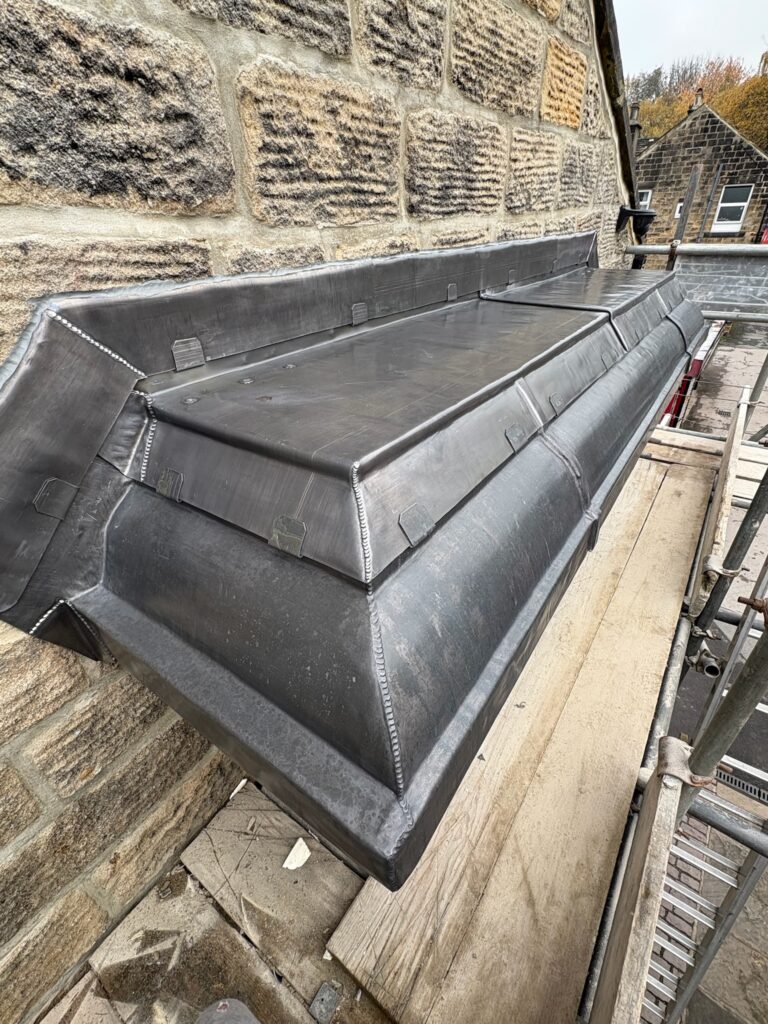
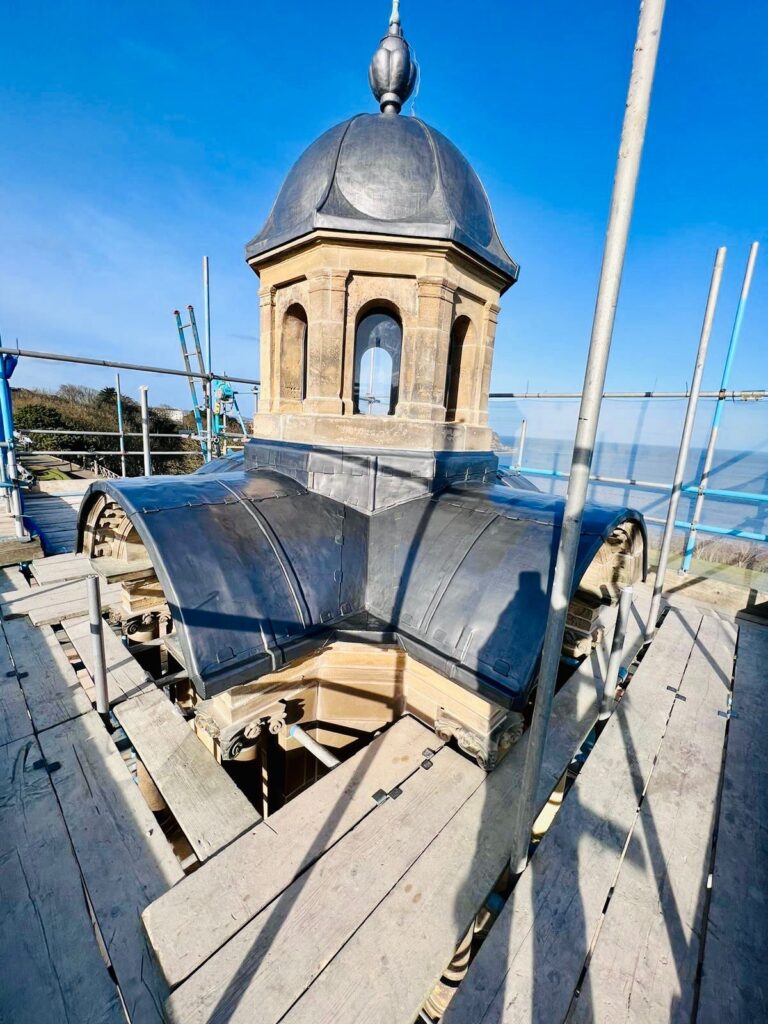
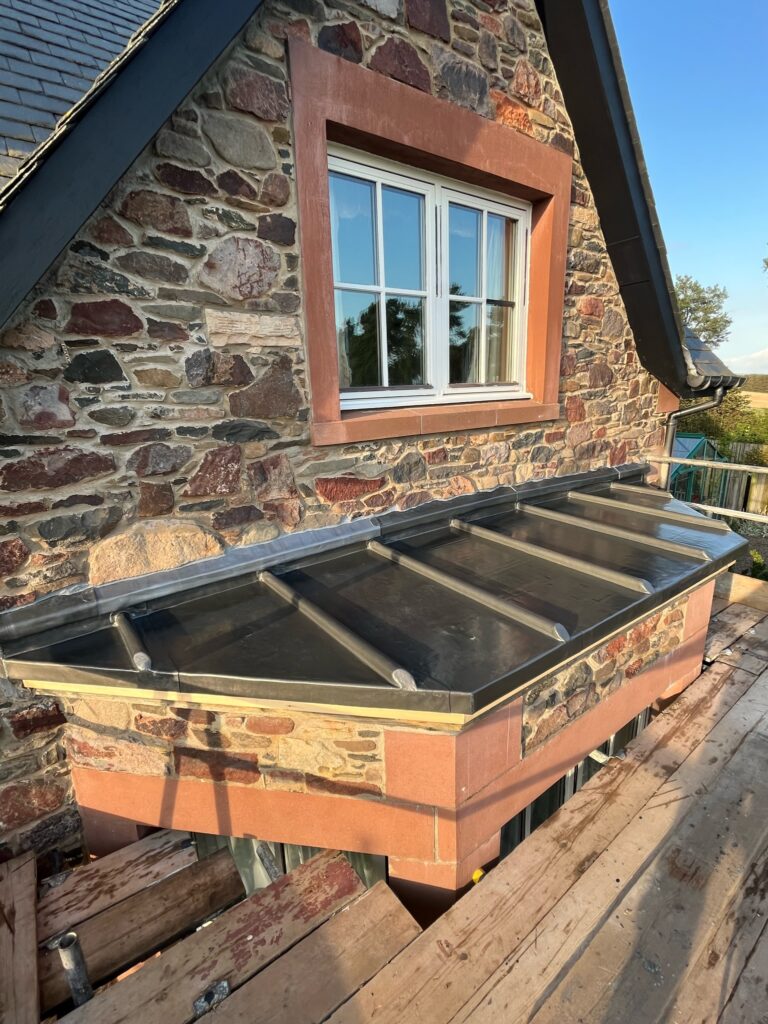
Code 3 Lead
 Code 4 Lead
 Code 5 Lead
 Code 6 Lead






Lead Bay Roofs: Sizing, Drips & Codes


Lead Bay Roof: Sizing, Drips & Codes (2025)
A well-detailed lead bay roof looks sharp, runs quietly in rain, and lasts for decades. The secret is planning: pick the right code, break the surface into manageable bays, space drips or wood core rolls, use a continuous slip layer, and fix only where allowed so the sheet can move. This guide is the fast, field-tested path from measurements to checkout—built by lead workers for lead workers.
Need an installer for your lead bay roof? Get a quote via The Lead Lads service pricing or our heritage partner GNR Roofing. Training & best practice: Lead Sheet Training Academy.
In this guide
- Why a lead bay roof lives or dies by set-out
- Choosing codes for your lead bay roof
- How to size bays, joints & lengths
- Drips, wood core rolls & falls
- Underlay, bedding & noise control
- Perimeter details: eaves, abutments, parapets
- Fixings, clips & movement zones
- Step-by-step workflow
- Common mistakes on a lead bay roof
- Buying guide & quick basket
- FAQs
- Structured data
Why a lead bay roof lives or dies by set-out
A lead bay roof is a shallow, highly visible area that catches wind, rain and foot traffic during maintenance. Failures usually trace back to three things: bays too large for the code, no slip layer so the sheet grinds and drums, and fixings placed where the metal must slide. Plan the grid before you cut—size bays to control expansion, place drips to manage water and movement, and choose a code with stiffness to resist chatter.
Choosing codes for your lead bay roof
On domestic work, Code 5 is a reliable baseline for a lead bay roof. When spans grow or exposure is high, step up to Code 6 for added stiffness and dent resistance. Code 4 is usually reserved for lighter flashings rather than the main bay sheets.
| Bay scenario | Recommended Code | Why |
|---|---|---|
| Small porch/canopy bay, sheltered | Code 5 | Dressable and stable; good noise control with underlay. |
| Large or exposed lead bay roof | Code 6 | Extra stiffness reduces drumming and damage. |
| High footfall/service access nearby | Code 6 | Better dent resistance where ladders may rest. |
Need the thickness/weight refresher for codes 3–8? See Lead Codes Explained (BS EN 12588).
How to size bays, joints & lengths
Movement is the master variable on a lead bay roof. Keep sheets to sensible lengths and break the surface into regular bays with neat joints.
- Piece length: Keep individual sheets sensible (often ≤1.5 m). Shorter pieces move less and are easier to dress.
- Bay width: Plan widths to suit falls and the drip/roll pattern; avoid wide “drum skins.”
- Joint placement: Stagger joints relative to water concentration; never put a joint where outlets pool.
- Visual rhythm: Consistent bay sizes and drip spacing make a lead bay roof read crisp from the street.
Drips, wood core rolls & falls
Drips and wood core rolls divide the lead bay roof into smaller, better-behaved panels and guide water. A gentle, uninterrupted fall keeps water moving without ponding.
- Drip spacing: Regular spacing breaks up the sheet and reduces capillary creep. Increase spacing on bigger surfaces.
- Wood core rolls: Use where traditional appearance is desired or where you want added stiffness along the seam.
- Falls: Ensure a continuous fall to outlets. Recess or notch timber work as needed so drips don’t hold water.
- Eaves detail: Form neat drips so water clears fascias and gutters; avoid reverse falls at the last batten.
Underlay, bedding & noise control
The simplest way to quieten a lead bay roof and prolong its life is a continuous slip layer. It reduces abrasion under thermal movement and damps rainfall noise.
- Slip layer: Add compatible lead underlay under all bays, especially with Code 6.
- Even bedding: Avoid proud fixings and ridges that telegraph through the sheet.
- Thermal break: Timber substrates that move differently to lead benefit from the underlay to reduce shear.
Perimeter details: eaves, abutments, parapets
Eaves
At the eaves of a lead bay roof, finish with a consistent drip that clears the fascia/gutter junction. Don’t allow the sheet to tuck so far that water tracks back under wind pressure.
Abutments
Where the bay meets a wall, treat the junction like an apron flashing with a clean chase and movement-friendly set-out. See Lead for Chimneys for apron/soaker principles that also apply here.
Parapets & upstands
Keep upstands tall enough for splash in storms. Cap parapets properly; if a coping projects, ensure drips throw water clear of the face below.
Fixings, clips & movement zones
Fix only where allowed and leave sliding zones free. Over-fixing is a primary cause of fatigue on a lead bay roof.
- Clips & nails: Use copper/stainless fixings in designated zones (e.g., behind welts/rolls). Never fix in areas that need to move.
- Sealants: Point neat chases, but don’t glue the sheet to the substrate; movement must remain free.
- Protection: During shared scaffold phases, protect finished bays from grit and tool damage.
Step-by-step workflow
- Measure & plan: Mark bay sizes, drip spacing and falls. Sketch the lead bay roof grid before you cut.
- Choose code: Code 5 baseline; step to Code 6 for bigger panels/exposure.
- Underlay: Specify continuous slip layer over the field.
- Cut & form: Pre-form drips/rolls. Keep piece lengths sensible (often ≤1.5 m).
- Fix correctly: Use copper/stainless fixings only where permitted.
- Hose-test: Run water from above; check falls, drips and joints.
- Finish: Wipe and apply patination oil to visible edges for an even early appearance.
Common mistakes on a lead bay roof (and the quick fixes)
- Oversized bays: Split with more drips/rolls; shorten piece lengths.
- No underlay: Add a continuous slip layer to stop abrasion and noise.
- Reverse fall at eaves: Reshim substrate; reform eaves drip to clear water cleanly.
- Over-fixing: Remove rogue fixings in sliding zones; resecure in permitted areas.
- Staining on render below: Clean, dry and apply patination oil thinly to drips and edges.
More field errors and fixes: 11 Lead Flashing Mistakes & Fixes and Flat Roofs: Bay Sizing & Drips.
Buying guide & quick basket
From set-out to checkout in minutes (mobile-first)
- Open the tool: Use the shoppable lead chart to translate your lead bay roof grid into codes, widths and roll lengths.
- Select rolls: Rolled Lead Sheet — Code 5–6 for bay fields.
- Add underlay: Lead Underlay & Tapes across the field and under large panels.
- Fixings: Copper/Stainless fixings & clips for allowed zones.
- Finish: Patination oil to tidy visible edges and reduce early staining.
Rather hire it out? Book via The Lead Lads service pricing or GNR Roofing. Training and formal standards: Lead Sheet Training Academy.
Related internal reading
Flat Roofs: Bay Sizing & Drips Lead Codes Explained (BS EN 12588) Lead Valleys Guide Patination Oil Guide
FAQs
Which code is best for a lead bay roof?
Code 5 is the common baseline; step to Code 6 on larger or exposed bays for stiffness and quieter performance—paired with continuous underlay.
How big should each bay be?
Keep pieces sensible (often ≤1.5 m in length) and use regular drips/rolls to break up wider surfaces. The goal is controlled movement and tidy water management.
Do I need underlay under a lead bay roof?
Yes—use a continuous slip layer to cut abrasion and drumming. It’s the simplest upgrade for longevity and comfort inside the room below.
What causes noise on a lead bay roof?
Large, unstiffened panels and no underlay. Fix with tighter bay spacing, wood core rolls where appropriate, and a full slip layer.
How do I stop staining on render or fascias below?
Apply patination oil thinly to visible edges on day one and ensure eaves drips clear the face below.
Conclusion & buying links
A durable, quiet lead bay roof comes from smart set-out: right code, regular bays, tidy drips/rolls, continuous underlay and permitted fixings only. Hose-test before sign-off, apply patination oil to edges, and you’ll hand over a bay that looks sharp and stays that way.