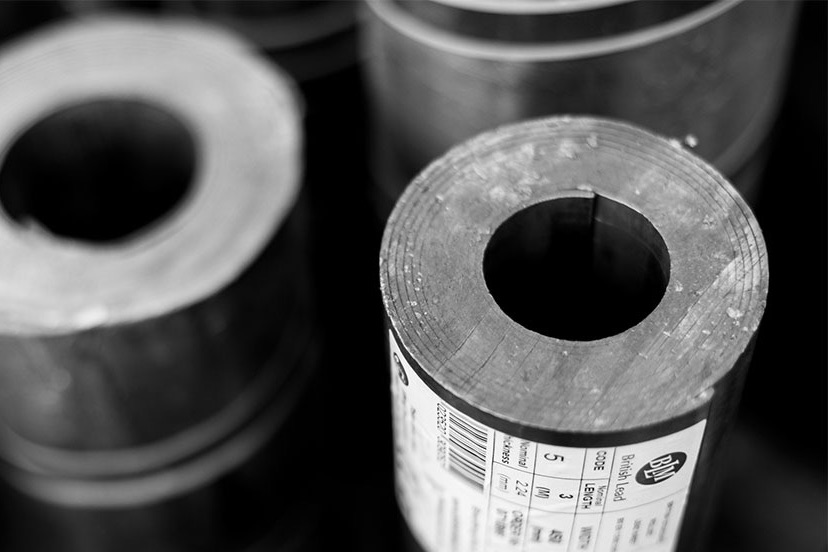
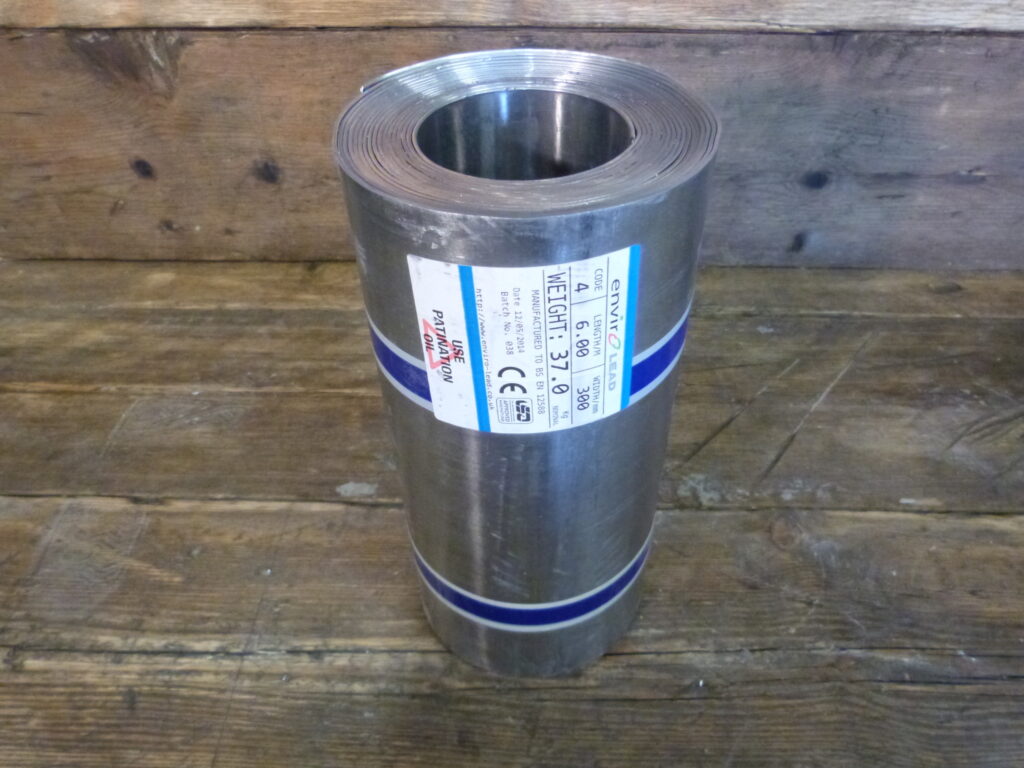
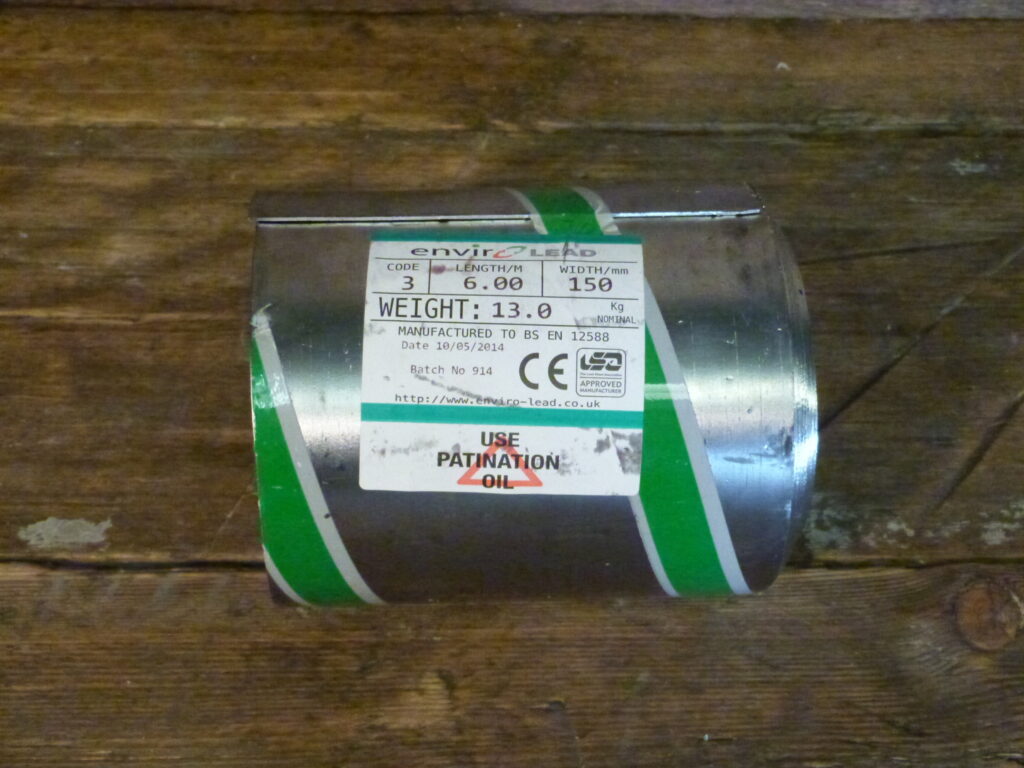
Code 3 Lead
 Code 4 Lead
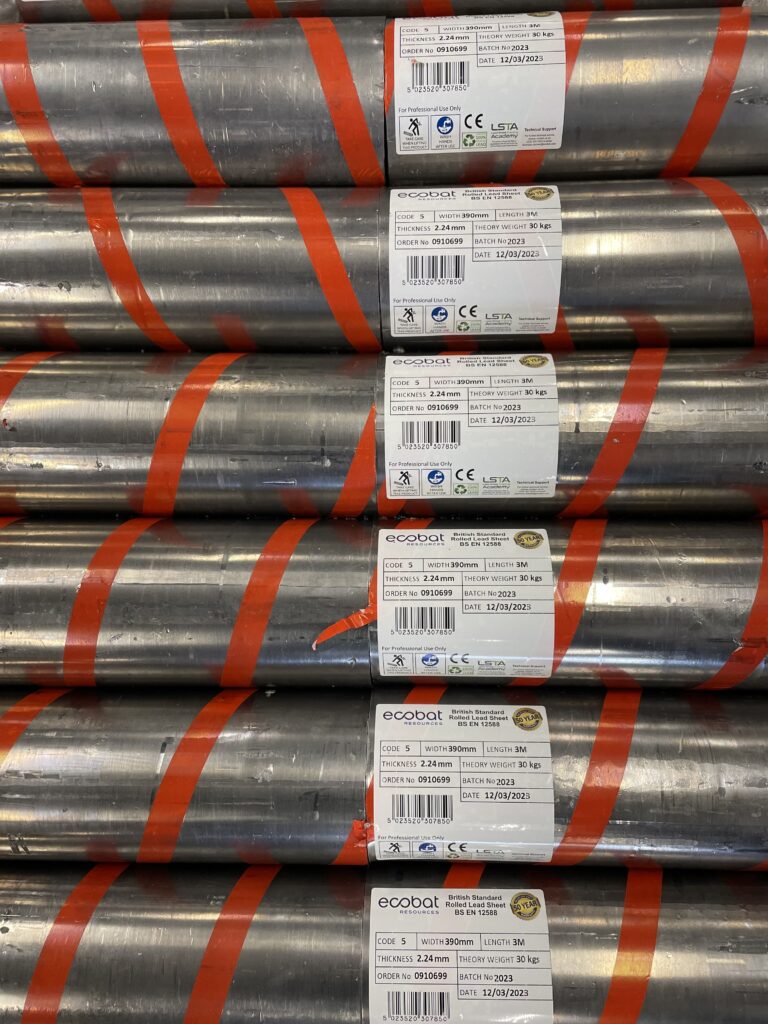
 Code 5 Lead
 Code 6 Lead






Building Paper 2025: The Unsung Hero of Leadwork


The Unsung Hero of Lead Roofing: Building Paper Underlay
Lead roofs, with their timeless elegance and incredible durability, have graced buildings for centuries. But beneath the beautiful lead sheets lies a hidden hero: building paper underlay. This seemingly simple material plays a vital role in ensuring the longevity and performance of your lead roof.
Why Use Building Paper Under Lead?
Lead, while a robust material, is susceptible to a specific type of damage: chemical attack from alkaline substances. Fresh concrete, screed, and some types of wood contain alkalis that can slowly corrode the underside of the lead sheet. This can lead to premature roof failure and costly repairs.
Building paper acts as a protective barrier between the lead and these alkaline materials. Here's how it works:
- Separation Layer: Building paper creates a physical separation between the lead and the underlying structure, preventing direct contact.
- Neutralization: Some building papers are treated with a neutralizer that helps to counteract the effects of any residual alkalis that may permeate the paper.
- Moisture Management: Building paper can also help manage moisture between the lead and the substrate. While not a waterproof barrier, it allows some vapor to pass through, preventing moisture build-up that could lead to rot or corrosion.
Choosing the Right Building Paper
Not all building paper is created equal. When selecting an underlay for your lead roof, look for these key characteristics:
- BS 1521 Compliance: Ensure the paper conforms to the British Standard BS 1521 Class A. This standard specifies the performance requirements for building paper used in roofing applications.
- Material: Traditionally, a reinforced asphalt laminate was used. Today, some manufacturers offer options with a polyester or polypropylene base for improved strength and moisture resistance.
- Compatibility: Choose a paper specifically designed for use with lead. Some papers may contain additives that can react negatively with lead, so be sure to check compatibility information.
Installation Tips for Building Paper Underlay
- Substrate Preparation: The surface where the building paper will be laid should be clean, dry, and free of debris. Uneven surfaces may require smoothing to prevent punctures in the paper.
- Laying the Paper: Unroll the paper parallel to the eaves, ensuring a minimum 100mm (4 inches) overlap at the joints. Secure the overlaps with a waterproof adhesive tape specifically designed for roofing applications.
- Flashings and Details: Ensure proper integration of building paper with lead flashings and other roof details. Consult a qualified roofer for proper installation techniques.
Building paper underlay may seem like a minor detail, but it plays a critical role in the long-term health of your lead roof. By choosing the right paper and ensuring proper installation, you can be confident that your lead roof will perform beautifully for generations to come.
Additional Considerations:
- While building paper is the traditional choice, some lead sheet manufacturers offer specific underlay sheets made from polyester or non-woven materials. These can be a good alternative, especially for situations with high moisture exposure.
- Building paper is just one element of a well-designed lead roof system. Always consult with a qualified lead roofing specialist for a complete evaluation of your roofing needs.
By understanding the importance of building paper underlay and making informed choices, you can ensure your lead roof continues to be a stunning and functional feature of your building for years to come.

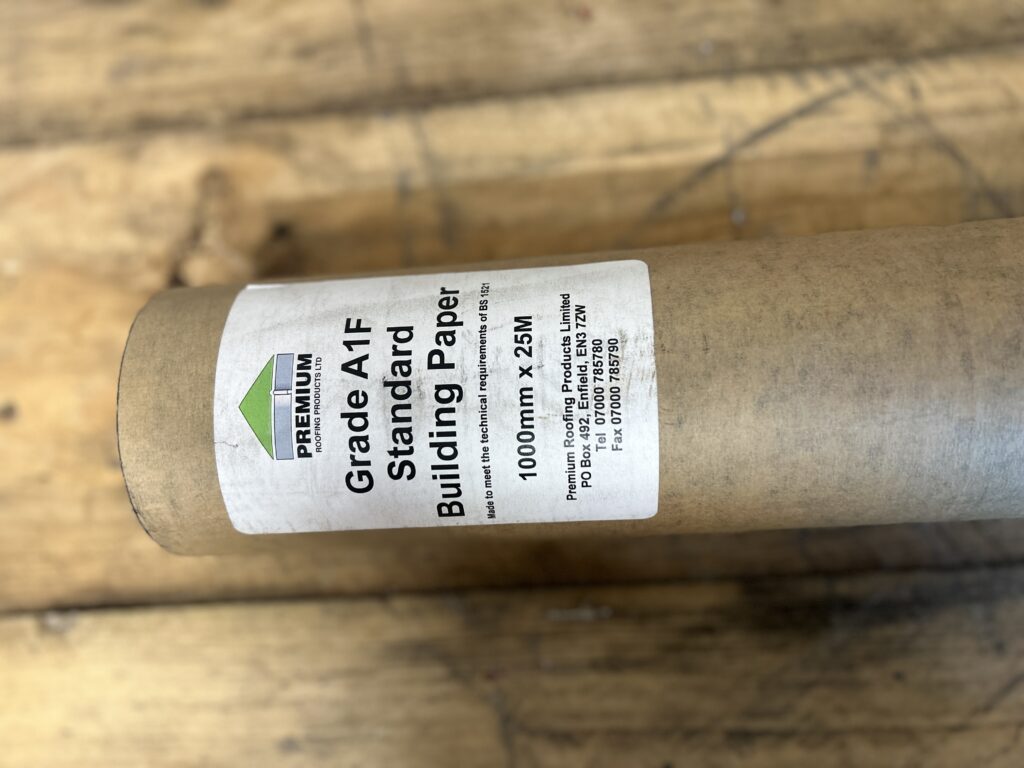
Building Paper Lead Underlay – Slip Layer for Leadwork
In stock
£81.97 each- Product: 1000mm Wide Building Paper for Leadwork Applications
- Purpose: Provides a protective barrier between lead sheets and underlying surfaces
- Application: Ideal for use in roofing, flashing, and cladding installations
- Waterproof: Helps prevent moisture damage to both lead and substrate
- Size: 1000mm wide, suitable for larger surface areas and easy cutting to fit
- Durable: Resistant to tearing and punctures, ensuring long-lasting performance
- Protection: Reduces the risk of corrosion by preventing contact between lead and incompatible materials like timber or concrete
Building Paper — The Unsung Hero of Leadwork (2025)
If lead is the armour, building paper is the liner. This guide explains what building paper does in lead roofing and flashing: slip, separation and protection. Learn which grades to choose, how to install it without telegraphing, and how to avoid the small mistakes that cause big callbacks.
Want supply & fit? See Lead Lads service areas, installation pricing, or partner GNR Roofing.
In this guide
- Why building paper matters in leadwork
- Grades, roll sizes & selection
- Installation: substrates, laps & corners
- Do’s & don’ts with building paper
- QA checks & common mistakes
- Use cases: bays, parapets, flashings
- Weights, coverage & logistics
- Quick basket: mobile-first procurement
- Related guides & tools
- FAQs (Building Paper)
- Structured data
Why building paper matters in leadwork
Building paper sits between the deck or masonry and the lead. It’s the low-friction, forgiving layer that lets sheet lead move as temperatures change, prevents abrasion and noise, and separates incompatible materials. Without building paper, even a beautifully dressed bay or flashing can scuff, bind or stain prematurely.
- Slip: Building paper provides a controlled slip layer so lead expands and contracts without tearing or telegraphing deck joints.
- Separation: Acts as a buffer between lead and rough substrates or incompatible materials.
- Protection: Cushions against minor deck imperfections and reduces creak or “oil-canning.”
Grades, roll sizes & selection
Choose a grade of building paper suited to the task. For lead bays, parapets and long flashings, installers favour a robust, consistent underlay with clean edges that won’t shed fibres into laps.
| Grade (typical) | Roll Size (example) | Where it’s used | Notes |
|---|---|---|---|
| General purpose building paper | 1.0 m × 20 m | Lead bays, parapets, dormers | All-round slip & separation under sheet lead |
| Heavier-duty building paper | 1.0 m × 25 m | High-traffic install zones, parapet edges | Extra toughness; good where handling is intensive |
| Narrow building paper | 300–600 mm × 20 m | Long flashings, cills, abutments | Less cutting; faster runs along masonry |
Browse options in Building Paper & Underlay and pair with the right sheet from Rolled Lead (BS EN 12588).
Installation: substrates, laps & corners
Good outcomes with building paper start with preparation and a simple sequence you repeat every time:
- Prep the deck: Plane proud edges, remove fixings, and sweep clean. Rough fibres and screw points will telegraph over time.
- Lay out building paper: Run sheets with the fall; avoid fishmouths. Use minimal, flat fixings only where needed to hold position.
- Laps: Overlap longitudinal runs; keep laps flat and away from outlets. Stagger laps between courses.
- Corners & arrises: Ease corners so building paper sits tight without bridging. This helps lead dress cleanly.
- Outlets & sumps: Keep building paper continuous into sumps and over outlets, then cut neatly—no ragged edges in the throat.
- Dress the lead: With the slip in place, lay and dress the sheet; avoid dragging the lead across exposed timber during positioning.
Do’s & don’ts with building paper
Do
- Use continuous building paper under all lead bays and long flashings.
- Keep laps flat, clean and staggered; set with the fall.
- Protect during install—temporary covers over high-traffic scaffold gates.
- Pair with correct lead code (see Lead Weight Chart).
Don’t
- Trap debris under building paper—it will print through.
- Bridge corners or leave fishmouths; water will find the path.
- Rely on sealant in place of neat laps and sound substrates.
- Drag lead across rough boards—use the slip layer and lift/lay cleanly.
QA checks & common mistakes
Quick QA for building paper
- Deck even and clean; no proud fixings; arrises eased.
- Building paper continuous; laps flat, aligned with fall, and staggered.
- Outlets clear; no ragged edges in throats or sumps.
- Lead dressed without snags; no noise or creak on thermal cycles.
Common mistakes
- Skipping the slip: Leads to abrasion and fatigue cracking over time.
- Bridged building paper: Traps water; creates soft spots and stains.
- Messy laps at outlets: Obstructs flow; early staining below.
- Using offcuts with torn edges: Fibres wick water; keep edges clean.
Use cases: bays, parapets, flashings
Lead bay roofs
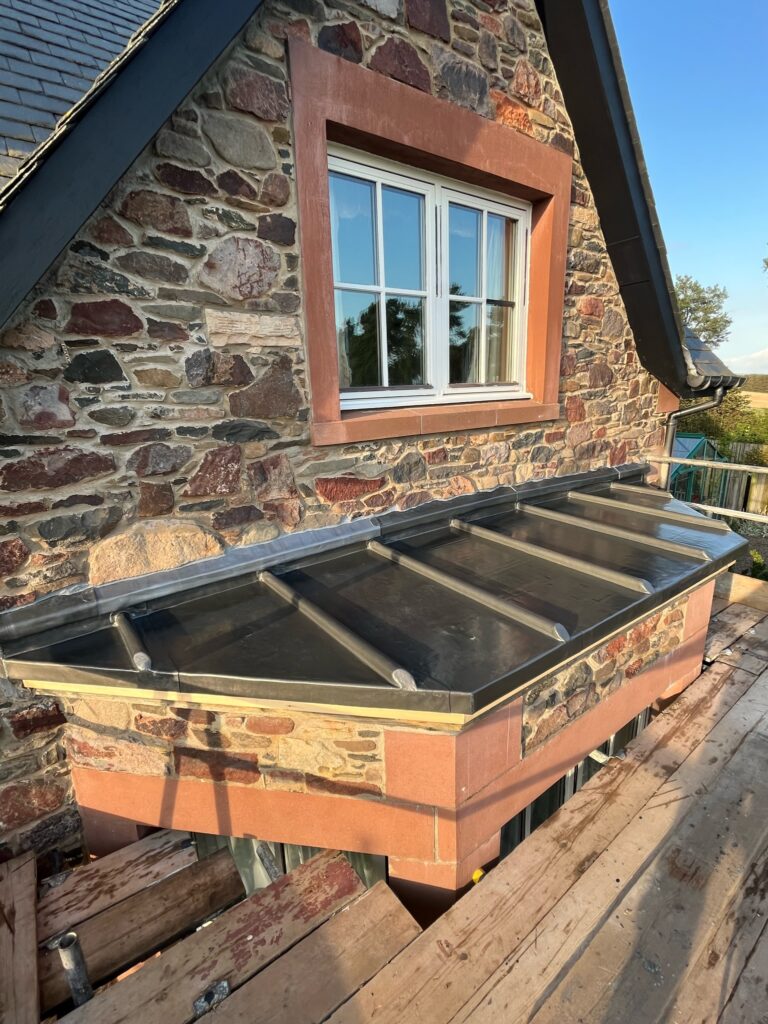
Lay building paper continuous into drips and arrises so pans dress smoothly. See Lead Bay Window Roof for codes, joints and outlets.
Parapet gutters & box gutters
Even more critical here—building paper reduces abrasion and noise at high flow. Keep laps well clear of sumps.
Long masonry flashings
Run narrow rolls of building paper under long flashings for clean, low-friction movement. Finish edges with patination oil.
Standing rolls over cores
When using wood cored roll, the slip layer helps the sheet settle evenly over the crown without bruising.
Weights, coverage & logistics
Plan labour and staging using coverage and lift weights. A typical 1.0 m × 20 m roll covers ~20 m² before laps; allow for staggered laps and offcuts in your take-off.
- Coverage planning: Map runs to minimise short offcuts at corners and around outlets.
- Storage: Keep building paper dry and flat; protect roll edges from damage.
- Sequence: Lay slip layer just ahead of the lead team so it stays clean.
Quick basket: mobile-first procurement
- Open: Building Paper & Underlay to choose roll width/length for your scope.
- Add lead: Rolled Lead Sheet (BS EN 12588) with sizes from the shoppable lead chart.
- Fixings: Clips, copper/stainless nails & wedges for the detail edges.
- Finish: Patination Oil for visible edges at handover.
Prefer an installed solution? See Lead Lads pricing or partner GNR Roofing.
Related guides & tools
Lead Bay Window Roof — Codes, Drips & Falls Lead Weight Chart (Codes 3–8) Wood Cored Roll — Ridges & Standing Rolls Shoppable Lead Chart
FAQs (Building Paper)
Do I really need building paper under every bay?
Yes. The slip and separation layer protects the sheet and improves movement. Skipping it shortens service life.
Can I join runs of building paper mid-bay?
Yes, with neat, flat laps set with the fall. Stagger laps between courses and keep them clear of outlets.
Will building paper stop creaking?
It significantly reduces friction noise during daily thermal cycles by allowing low-resistance movement.
Which roll width should I choose?
Use 1.0 m × 20 m for bays and parapets; narrow rolls (300–600 mm) suit long flashings and cills to reduce cutting.
What else should I buy with building paper?
Rolled lead sheet sized via the shoppable lead chart, fixings, and patination oil for visible edges.
Lay the foundation for flawless leadwork
The best-looking bays and flashings start with a clean deck and reliable building paper. Set the slip layer right and the rest dresses itself—then build your basket in minutes with our mobile-first tools.