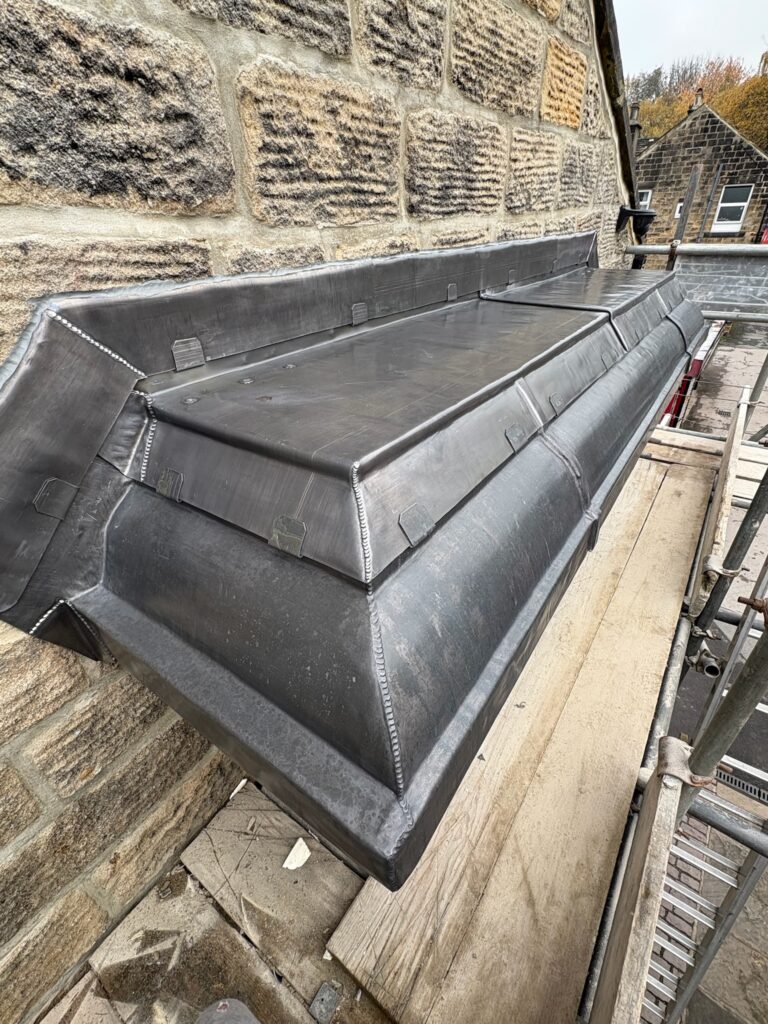
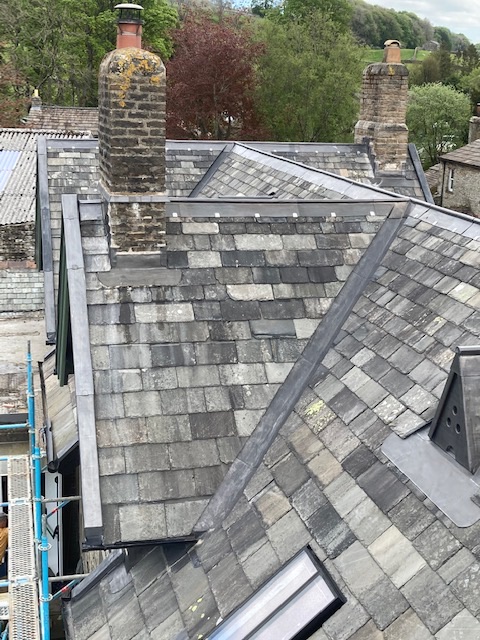
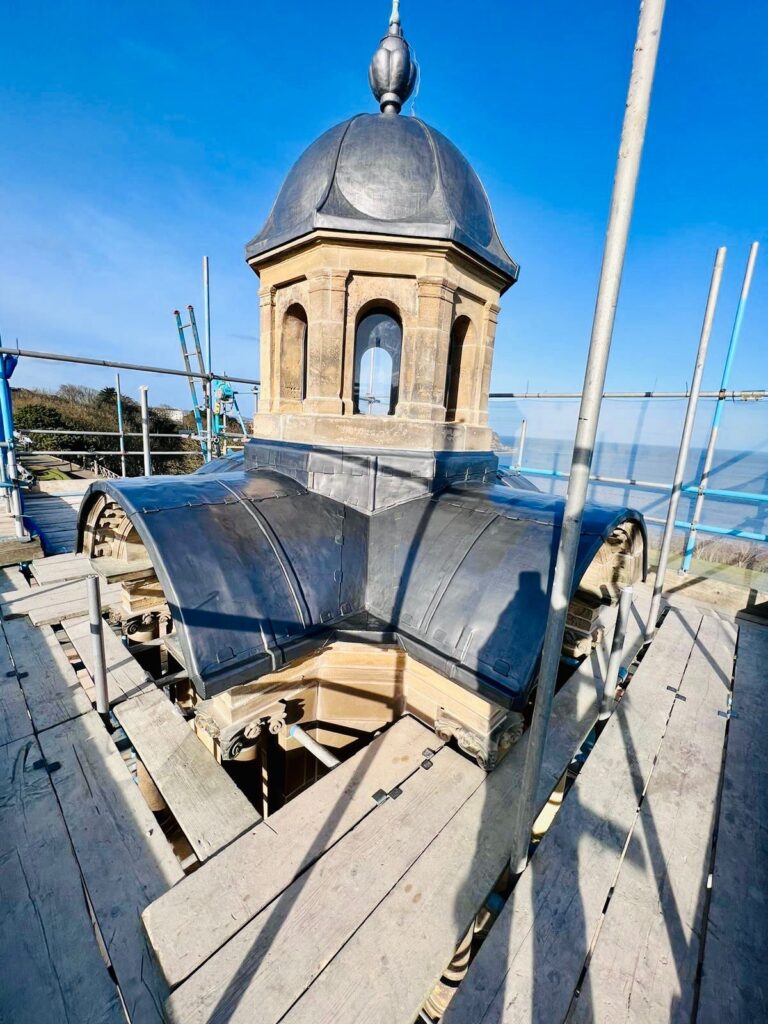
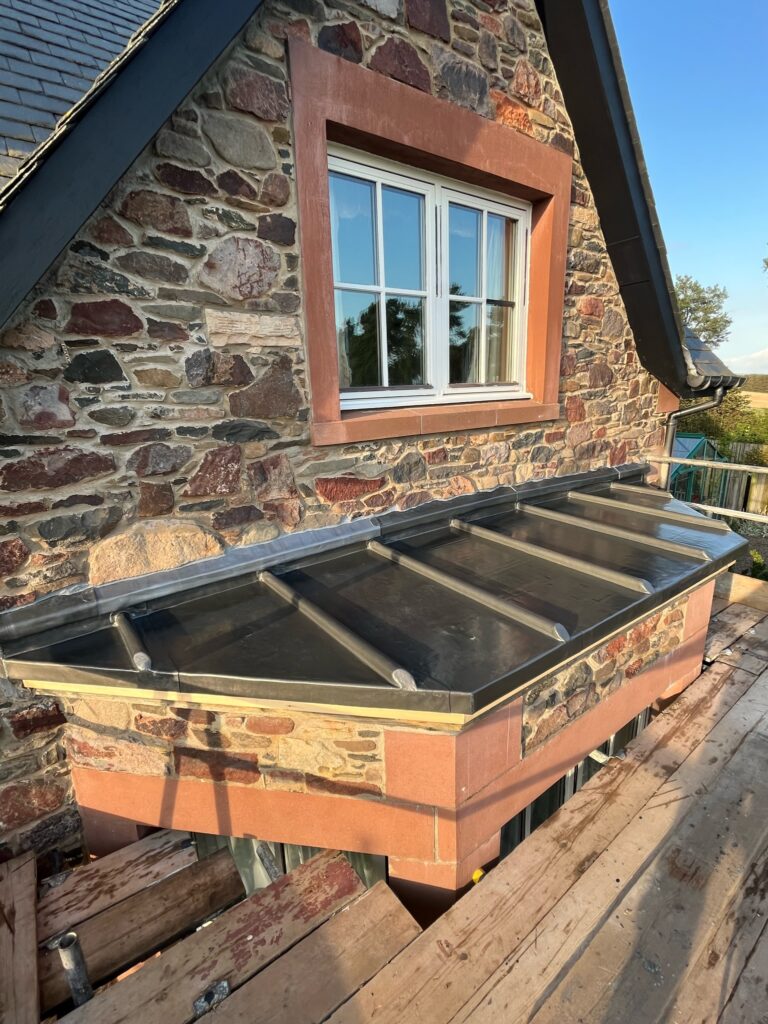
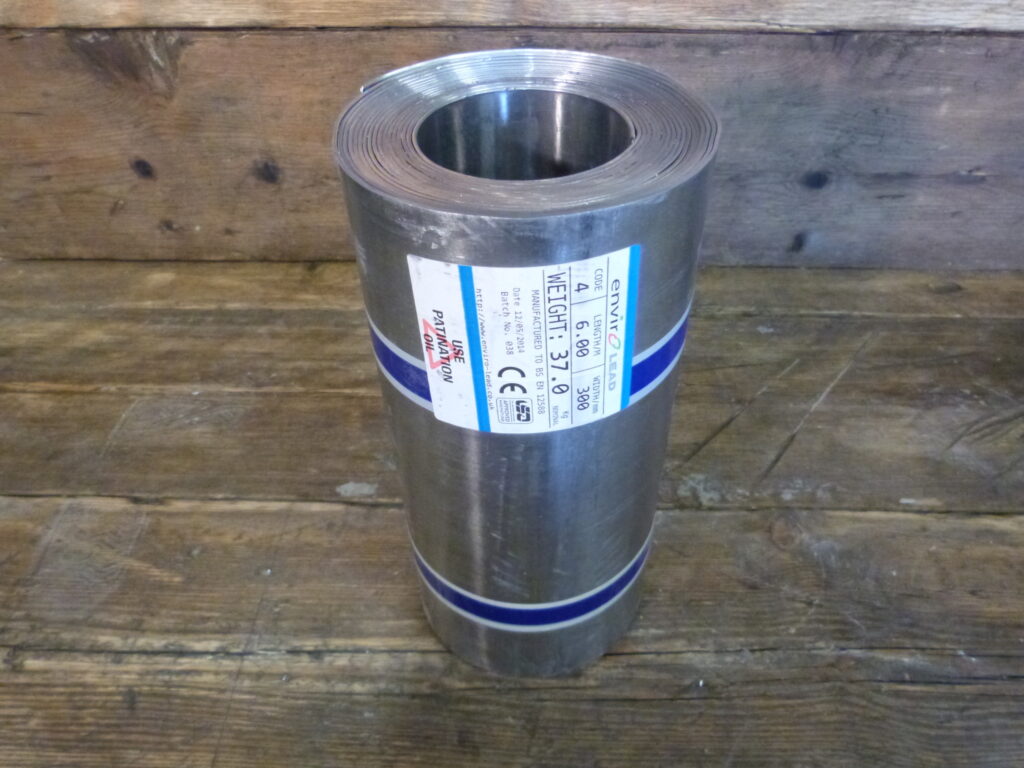
Code 3 Lead
 Code 4 Lead
 Code 5 Lead
 Code 6 Lead






11 Lead Flashing Mistakes (and the Fixes Pros Use) | The Lead Lads Shop


Why lead flashing fails (and how to stop it)
Whether it’s a porch abutment, dormer cheek or chimney, lead flashing has one job: shed water cleanly while allowing the metal to move. Get the code, chase, laps and fixings right and your detail will outlast most coverings. The 11 pitfalls below explain what goes wrong and how to fix it first time. If you want formal training, the Lead Sheet Training Academy publishes respected guidance and courses. Need installation help instead? Check The Lead Lads service pricing or our heritage partner GNR Roofing.
Mistake 1 — Wrong Code for Lead Flashing
Using too light a code for lead flashing makes it prone to oil-canning and fatigue; too heavy and tight bends may crack. As a planning cue, many abutments work well with Code 4; step up to Code 5 for exposed sites, wider pieces or back gutters. The right code balances stiffness and dressability.
Fix: Match code to span, exposure and bend geometry. Order the correct weight via our shoppable lead chart; step up a code where pieces are wide or spans are long.
Mistake 2 — Oversized Pieces (Too Long/Too Wide)
Extra-long or wide lead flashing pieces move a lot with temperature. Trapped movement splits corners and pulls out of chases. Keep individual lengths sensible (often ≤1.5 m) and break long runs with laps or cover plates.
Fix: Use more, smaller pieces with consistent laps. Where width is unavoidable, increase code and provide movement joints.
Mistake 3 — Not Allowing for Low Pitch / Splash Zones
At low pitch, splash and capillary action increase. Short laps on lead flashing will weep. You may also need higher upstands or a change in detail to get out of the splash zone.
Fix: Increase lap lengths and upstands at low pitch. See low-pitch tactics (coming soon): Conservatory & Porch Flashing.
Mistake 4 — Poor Chases (Shallow, Ragged, Inconsistent)
A shallow or ragged chase won’t hold. If wedge spacing is random, the line snakes and gaps appear. Good lead flashing starts with a clean, consistent chase that’s dust-free before pointing.
Fix: Mark a straight line, cut to consistent depth, vacuum dust, wedge at regular centres and point neatly. Learn the method: Chase, Wedge, Point.
Mistake 5 — Reverse Laps
Reverse laps creep in on step changes and around corners. One wrong overlap and the lead flashing routes water behind the detail.
Fix: Always lap with the fall; dry-fit complex corners; water-test from above before pointing up.
Mistake 6 — Short Cover Over the Roof Covering
On slates/tiles, the cover dimension of the lead flashing must get you out of the splash zone and well onto the course below. Short cover equals splash-back and staining.
Fix: Increase cover to suit pitch/exposure; form a small drip/welt at edges to defeat capillary creep.
Mistake 7 — Over-Fixing (Trapping Movement)
Screwing or nailing through areas that should slide is a classic way to tear lead flashing. “Helpful” beads of sealant can also act like glue and lock the sheet.
Fix: Use copper/stainless fixings only in designated zones; never pin sliding areas. Shop fixings: Fixings, Clips & Nails.
Mistake 8 — No Slip Layer / Abrasive Substrates
Rough substrates abrade from beneath and create noise. A missing slip layer under wider lead flashing accelerates wear.
Fix: Use a compatible slip layer/underlay, especially on wide abutments and back gutters. Browse: Lead Underlay & Tapes.
Mistake 9 — Weak Corners and Internal Angles
Tight internal angles concentrate stress. Poorly formed corners on lead flashing split first, especially where traffic or vibration exists.
Fix: Ease internal radii, avoid knife-edges, consider cover plates at complex intersections; step up code if spans are large.
Mistake 10 — Skipping Patination Oil on Visible Work
Fresh lead flashing can throw white carbonate staining onto stone/render. It’s cosmetic but looks like failure — and it upsets clients.
Fix: Wipe down and apply a light, even coat of patination oil on the day of install, especially at drips and edges. On heritage projects, match the finish expected by the specifier.
Mistake 11 — No Final Hose-Test
Tiny reverse laps and capillary points hide until the first storm. Skipping a controlled test means finding out the hard way.
Fix: Hose-test from above the detail, never upwards. Watch flow paths over the lead flashing, confirm there’s no back-wash, then point up once you’re satisfied.
Tools & materials that save time on lead flashing
- Chasing blade or grinder with dust control, pointing tools, and consistent wedges.
- Dressers, mallets, bossing sticks; snips for neat corners on lead flashing.
- Compatible slip layer/underlay for abrasion control and quieter bays.
- Copper/stainless fixings for movement-safe attachment zones.
- Patination oil for stain control on visible faces.
- Hose for final testing; clean rags; masking to keep brick/render tidy during works.
If you want an external refresher, the Lead Sheet Training Academy offers courses on detailing and safe practice — useful for newer hands on the team.
Quick-Buy: Rolled Lead, Fixings & Finishers
Build your basket in one go — optimised for phones so on-site leadworkers can order between drops.
Step-by-step workflow for reliable lead flashing
- Survey: Confirm pitch, exposure, covering type and any splash zones. Sketch the abutment and lap directions for the lead flashing.
- Chases: Mark a straight line; cut to consistent depth; vacuum dust. Dry-fit a short test piece to confirm fit and wedge spacing.
- Underlay: Install a compatible slip layer where width or abrasion risks exist.
- Cut & form: Keep individual lead flashing lengths sensible (often ≤1.5 m). Ease internal radii; avoid knife-edges.
- Fix zones only: Copper/stainless fixings in designated zones; leave sliding areas unpinned.
- Laps with fall: Lay pieces with the fall; increase lap lengths at low pitch/exposed sites.
- Finish: Wipe clean; apply patination oil to visible edges; point neatly.
- Hose-test: From above the detail, confirm clean paths and no reverse laps, then sign-off.
Case study — Abutment lead flashing on a 22° porch
A south-west facing porch at 22° kept staining the brickwork. The existing lead flashing used long pieces with short cover and no underlay. We replaced with Code 4 in ≤1.5 m lengths, added a slip layer, increased cover, formed a small welt, and pointed the chase neatly. A light coat of patination oil stopped early carbonate run-off. Final hose-test showed clean shed paths. The client’s follow-up after the first storm: “bone dry.”
Related Reading (internal)
- Lead Codes Explained: BS EN 12588 (Codes 3–8)
- Lead Flashing into Brickwork: Chase, Wedge, Point
- Lead Flashing at Low Pitch: Conservatories & Porches
- Lead for Flat Roofs: Bay Sizing, Joints & Drips
External references (authority)
- Lead Sheet Training Academy — guidance & courses
- The Lead Lads — installation pricing & services
- GNR Roofing — heritage leadwork services
Glossary for lead flashing
Cover: The distance the lead flashing overlaps onto the roof covering below. Chase: Groove cut into masonry to receive the flashing. Slip layer: Underlay that lets the lead move. Welt/Drip: Edge detail that defeats capillary creep and improves shed.
Lead Flashing: Frequently Asked Questions
What code is best for general lead flashing?
Code 4 is a common starting point for many abutments; step up to Code 5 for wider pieces or exposed sites. Always relate code to span and bend radii.
How long can a single piece of lead flashing be?
Keep individual lengths sensible (often ≤1.5 m) to manage movement, with tidy laps between pieces.
Do I need patination oil?
It isn’t structural, but one light coat reduces white staining and gives a professional finish on visible edges.
What causes leaks at chimneys?
Undersized back gutters, reverse laps, weak pointing and trapped movement are frequent culprits. Build the system: apron, step soakers, back gutter, saddle.