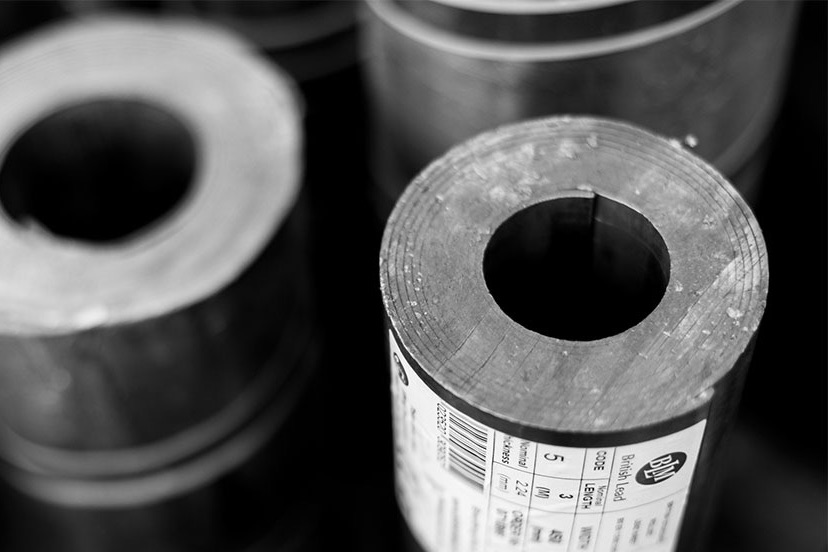
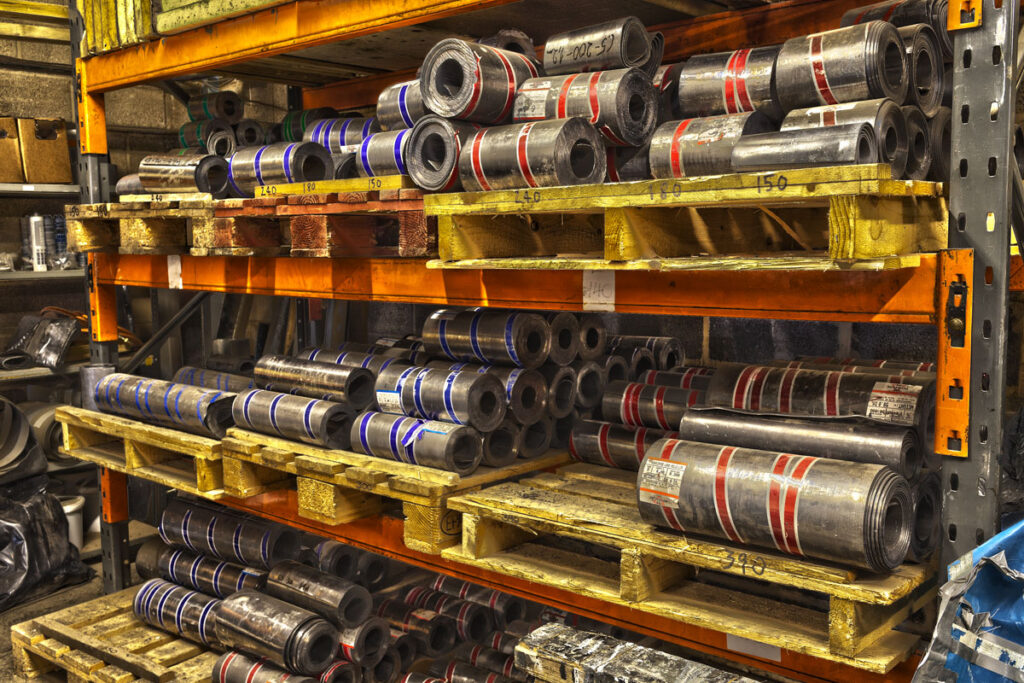
Code 3 Lead
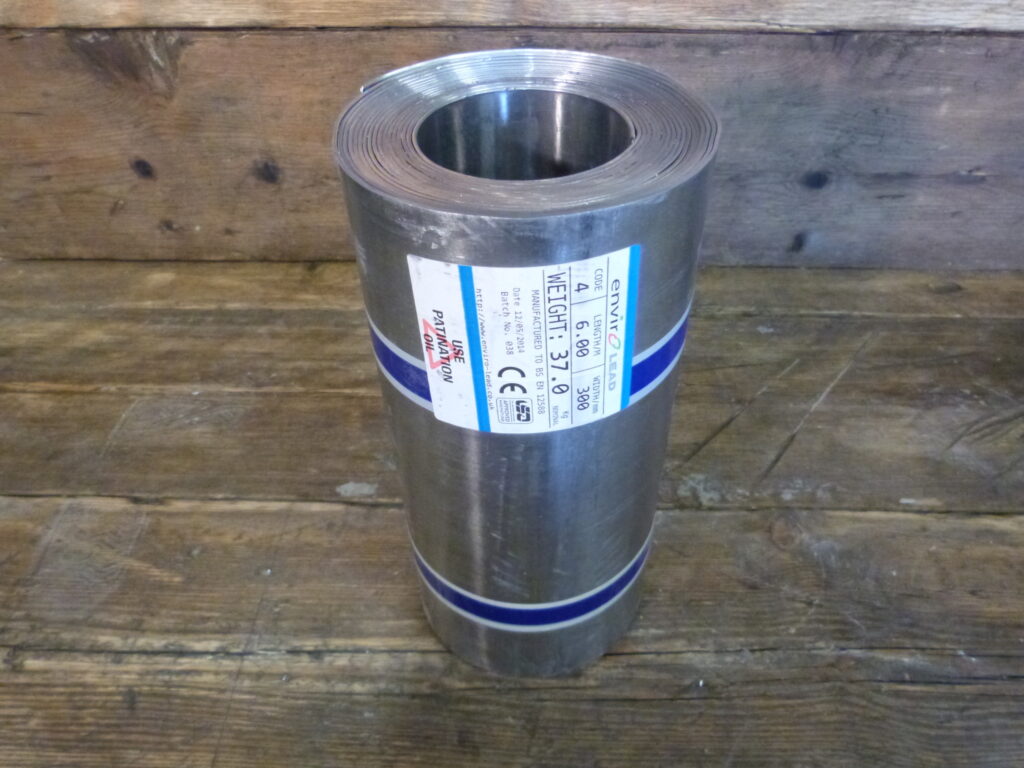
 Code 4 Lead
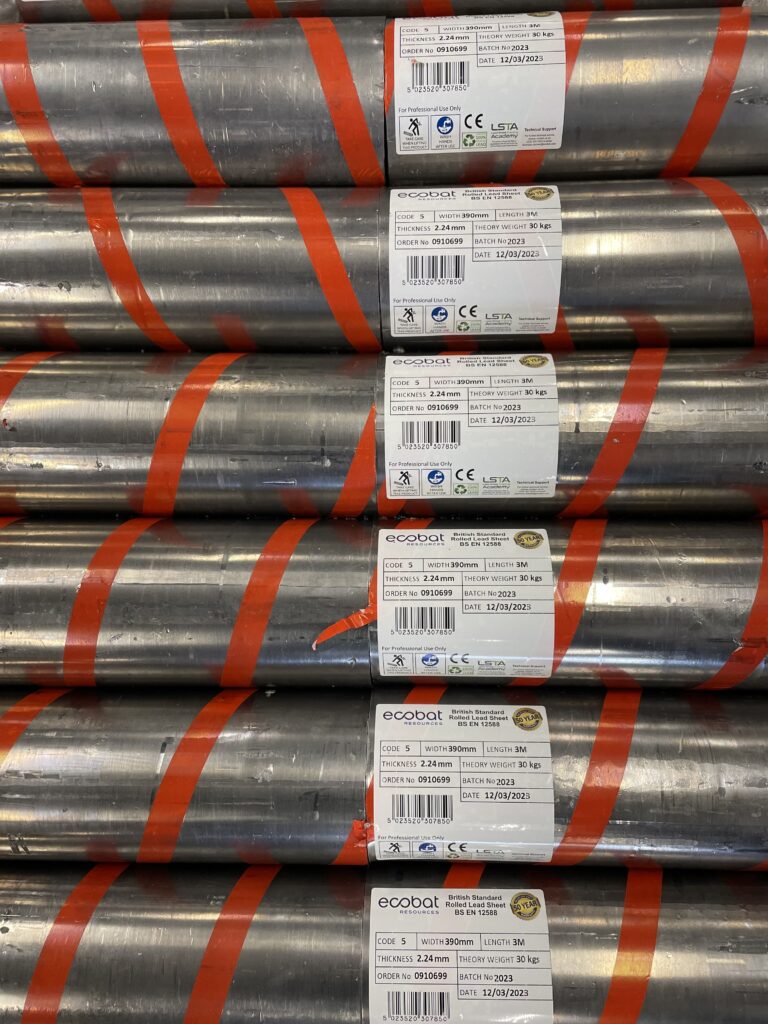
 Code 5 Lead
 Code 6 Lead






Lead for Dormers and Bay Roofs | Complete Guide to Codes, Detailing & Delivery


Lead for Dormers and Bay Roofs: Codes, Detailing & Nationwide Delivery
Choosing the right lead for dormers and bay roofs is essential for long-term performance and a clean architectural finish. This in-depth guide explains which codes to use, how to detail dormer cheeks and roof coverings, common mistakes to avoid, and how to order rolled lead sheet online with nationwide delivery from The Lead Lads Shop. We also link you to trusted installation partners for complex work.
👉 Order Rolled Lead Sheet for Dormers & Bay RoofsWhy Lead is Ideal for Dormers & Bay Roofs
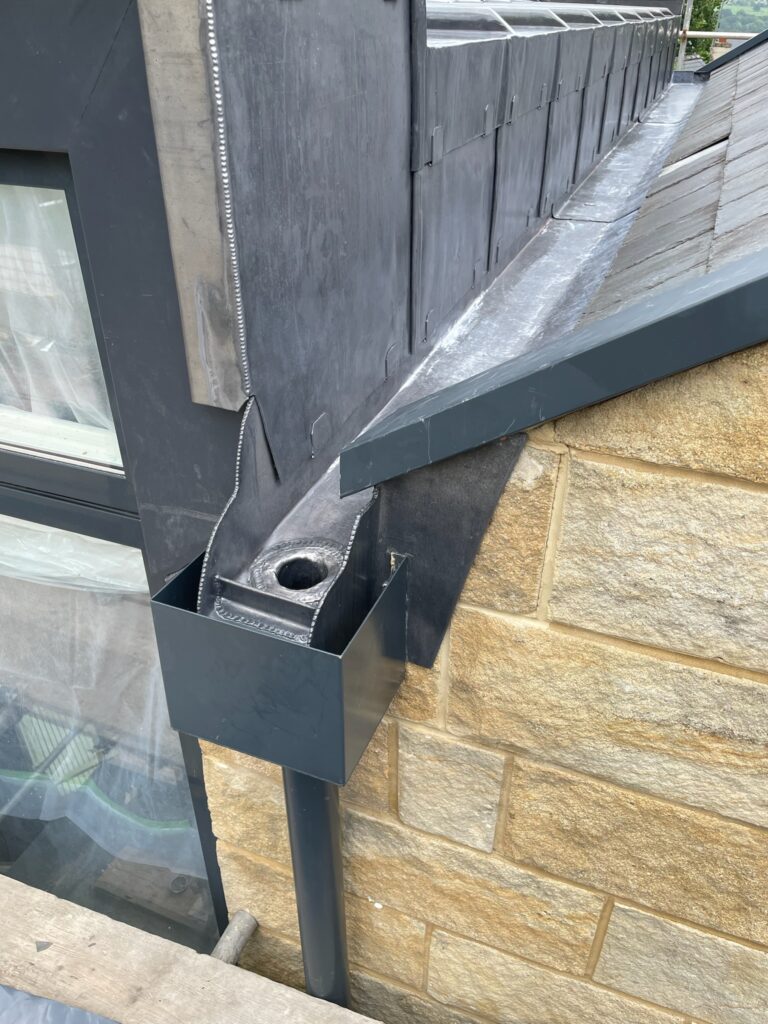
Detailing around dormers and bays is visually prominent and exposed to the weather. Lead for dormers and bay roofs remains the first choice because lead can be bossed to complex shapes, welded where required, and dressed into crisp, elegant seams that last for decades. When specified and installed correctly, lead delivers exceptional watertightness and a timeless finish that complements slate, tile, and heritage façades.
- Longevity: 50–100+ years of service life when detailed to best practice.
- Workability: Bossing and welding allow precise detailing around cheeks, aprons, and cills.
- Aesthetics: Clean arrises and traditional standing seams elevate bay façades and dormer fronts.
- Sustainability: Lead is 100% recyclable with a robust UK recycling loop.
Which Codes to Use (Dormers & Bay Roofs)
For most projects, you’ll select from Code 4, Code 5 and Code 6 depending on component size, exposure, and the degree of water loading.
| Element | Recommended Codes | Notes |
|---|---|---|
| Dormer cheeks / cladding | Code 4, Code 5 | Code 4 for most domestic; use Code 5 in exposed sites or larger cheek panels. |
| Dormer roofs (small/medium) | Code 5 | Standing seams or wood-cored rolls; observe bay limits per best practice. |
| Dormer roofs (large) / flat bay roofs | Code 6 | Greater thickness resists thermal movement and snow/water loading. |
| Aprons / cills / flashings | Code 4 | Most chimneys & abutments use Code 4; step up to Code 5 if heavily exposed. |
Designing Lead for Dormers and Bay Roofs
Good design is the foundation of long service life. With lead for dormers and bay roofs, focus on panel sizes, expansion, and water management.
- Panel / bay sizing: Keep bays within recommended limits; divide large surfaces with wood-cored rolls or standing seams.
- Falls & drips: Ensure positive falls on bay roofs; introduce drips to break water tension and control run-off.
- Upstands & cover widths: Provide adequate upstands at abutments and sufficient side laps over coverings.
- Movement: Allow for thermal expansion with clips and correct fixings; don’t fix lead rigidly.
Installation Overview (Dormer Cheeks, Roofs & Bay Tops)
Here’s a high-level overview for installing lead for dormers and bay roofs. For complex heritage or ornate work, use a specialist such as The Lead Lads or Neal Roofing.
+ Dormer Cheeks / Cladding
Use Code 4 or Code 5. Set out vertical/horizontal joints to create balanced panels. Use wood-cored rolls or welted standing seams for expansion. Dress corners carefully to maintain clean arrises, and use compatible fixings. Provide ventilation behind cladding where required to mitigate condensation risk.
+ Dormer Roof Coverings
+ Bay Roofs (Flat / Low-Pitch)
Bay roofs often sit over projecting windows and receive concentrated rainfall. Use Code 6 for larger bays or exposed sites, with well-defined falls to outlets. Introduce drips to break up water sheets, and ensure sound timber substrate with underlay for slip and expansion. Consider snow loads and specify wider drips where needed.
+ Flashings, Aprons & Cills
Aprons and step flashings around dormers are commonly Code 4. Cut flashings 25mm into joints; secure with wedges/clips and finish with lead-compatible sealant. Avoid over-fixing; allow for thermal movement, especially across wide faces or long runs.
Case Studies (Domestic, Heritage, Contemporary)
+ Domestic Terrace: Code 4 Cheeks, Code 5 Roof
+ Heritage Bay: Code 6 Bay Top with Drips
A listed townhouse bay required heavier-gauge sheet due to exposure. Code 6 was selected to improve durability, with defined falls and two intermediate drips. Joints were formed as wood-cored rolls to control expansion. Conservation officers accepted the specification and finish.
+ Contemporary Extension: Wide Bay Roof in Code 6
A modern rear extension incorporated a wide projecting bay. The design team chose Code 6 for the covering, dividing the surface into three bays with equal visual rhythm. Outlets were aligned with drips to manage intense stormwater events.
Common Mistakes (and How to Avoid Them)
+ Oversized Bays Without Rolls/Seams
Large, unbroken sheets will fatigue and split. Divide surfaces with wood-cored rolls or standing seams to keep bays within recommended limits. This is non-negotiable on wide bay roofs.
+ Using the Wrong Code
Code 4 is great for flashings and cheeks, but roofs often require Code 5 or 6. Underspecifying leads to early failure; overspecifying can make detailing harder than necessary.
+ Rigid Fixing / No Movement Allowance
Lead expands and contracts. Use clips and correct fixings; don’t nail tight. Provide laps and welts that maintain weathering as the metal moves.
+ Poor Falls, Ponding & Outlet Placement
Low falls or poorly placed outlets cause ponding, leading to accelerated oxidation and potential leaks. Design falls and align drips/outlets to manage water flow.
Measuring & Ordering (Quick Steps)
- Identify each element (cheeks, roof bays, aprons, cills).
- Select the appropriate code: Code 4 (flashings/cheeks), Code 5 (small/med roofs), Code 6 (large bay roofs/exposed sites).
- Break large surfaces into bays; calculate widths/lengths with seams/rolls included.
- Order online with nationwide delivery direct to site from The Lead Lads Shop.
Tools & Accessories That Help
- Bossing mallet, dresser and chase wedge for clean arrises.
- Lead knives / snips for accurate cuts.
- Clips and fixings that permit movement.
- Underlay/slip layer for smooth expansion under the sheet.
- Lead-compatible sealant for flashings and chases.
Who Should Install?
Competent roofers can deliver excellent results on straightforward dormers and bays. For ornate, large, or listed projects, use specialists such as The Lead Lads and Neal Roofing, who handle complex detailing, welding, and heritage compliance every day.
Frequently Asked Questions
+ What code lead is best for dormer cheeks?
+ What code lead should I use for a bay roof?
+ Can I use Code 4 for dormer roofs?
Generally no — it’s too light for roof coverings. Choose Code 5 for small/medium dormer roofs and Code 6 for larger spans.
+ How do I stop ponding on bay roofs?
Design adequate falls, place outlets thoughtfully, and introduce drips to break water sheets. Avoid oversized bays which can dish over time.
+ Do you deliver lead for dormers and bay roofs nationwide?
Yes — order online at The Lead Lads Shop for UK-wide delivery, including palletised supply for bulk orders.
+ Who can install complex lead dormers?
For intricate or listed work, we recommend The Lead Lads or Neal Roofing — both are trusted specialists in rolled lead sheet installation.