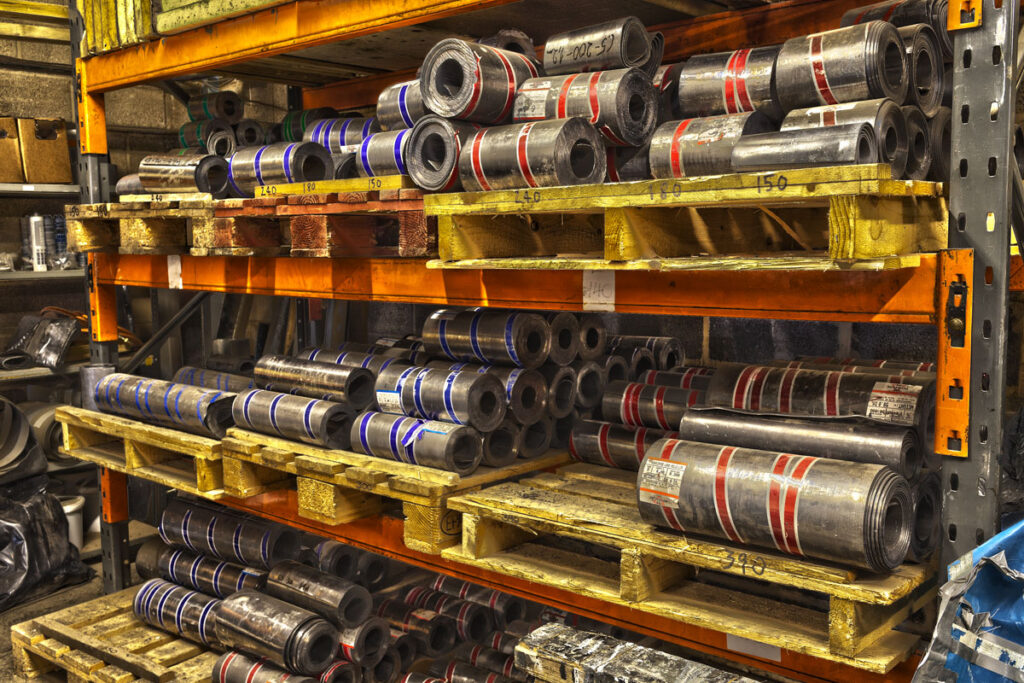
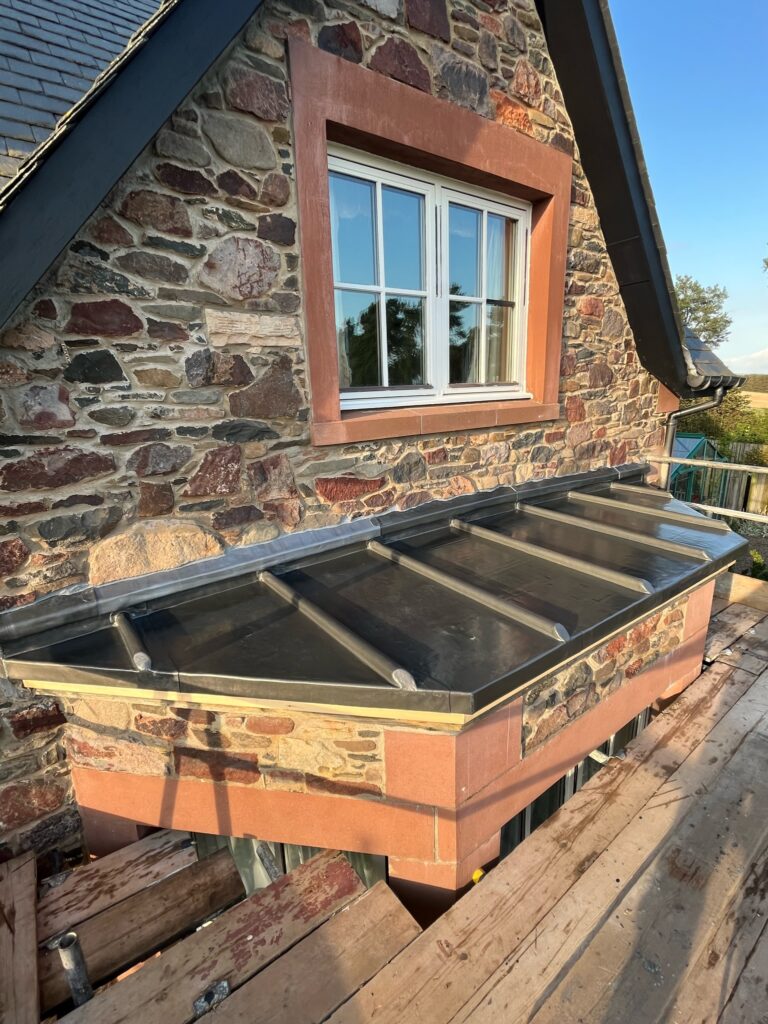
Code 3 Lead
 Code 4 Lead
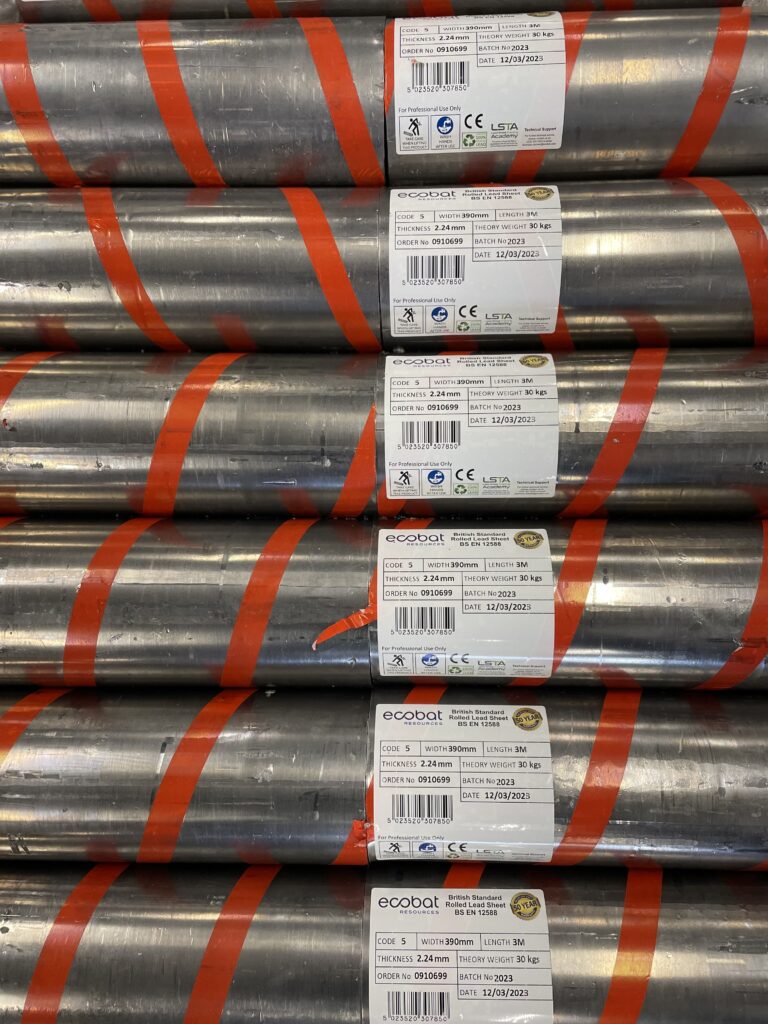
 Code 5 Lead
 Code 6 Lead






Lead Box Gutters: Codes, Widths & Falls


Lead Box Gutter: Codes, Widths & Falls (2025)
A well-detailed lead box gutter carries serious water quietly, shrugs off debris, and lasts for decades. The recipe is simple: choose the right code, set adequate width and fall, break the run into controlled lengths with sound joints, add a continuous slip layer, and fix only where permitted. This guide takes you from measurements to checkout—built by lead workers for lead workers.
Prefer a pro for your lead box gutter? Get a quote via The Lead Lads service pricing or our heritage partner GNR Roofing. Standards & training: Lead Sheet Training Academy.
In this guide
- What makes a lead box gutter different
- Choosing codes for your lead box gutter
- How to size widths & falls
- Joints, lap direction & piece length
- Sumps, outlets & overflows
- Underlay & noise control
- Fixings, clips & movement zones
- Step-by-step workflow
- Common mistakes on a lead box gutter
- Buying guide & quick basket
- FAQs
- Structured data
What makes a lead box gutter different
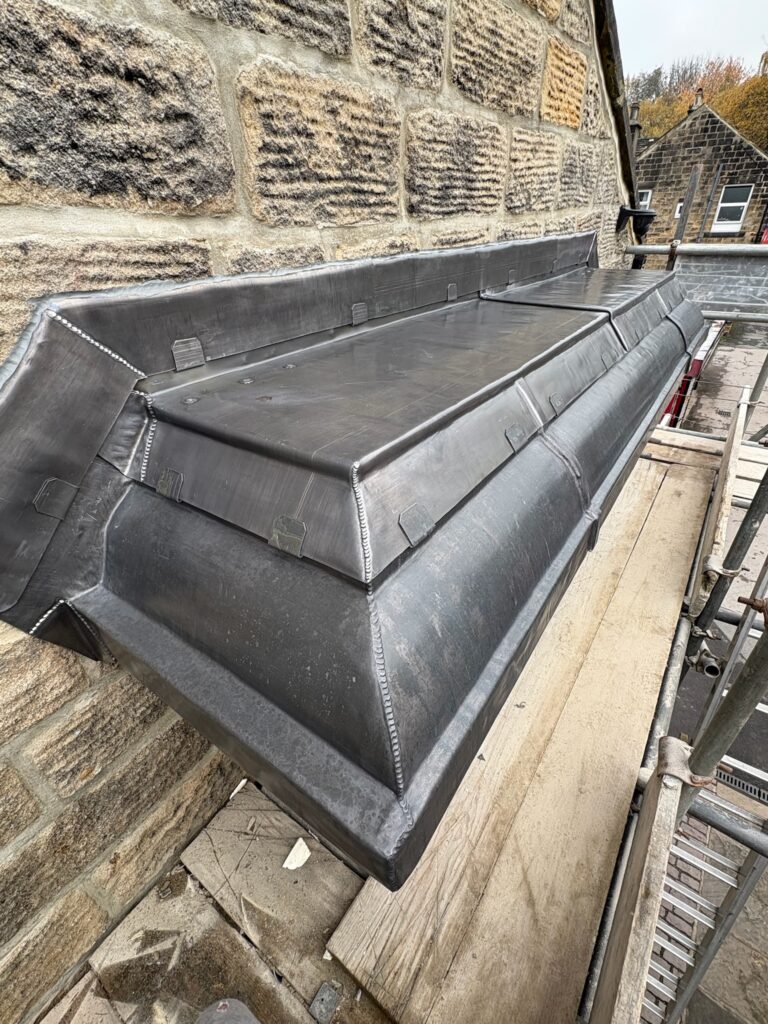
A lead box gutter sits between roof planes or behind parapets. It carries concentrated flow, holds debris, and experiences thermal swings. That means stiffer codes (6–7), controlled widths and falls, and careful joint placement. Done properly, the gutter runs quiet, resists denting and abrasion, and drains without ponding or choke points.
Choosing codes for your lead box gutter
Codes 6–7 are the norm for a lead box gutter because the sheet spans the trough and resists occasional foot traffic during maintenance. Code 6 balances dressability and stiffness; Code 7 adds dent resistance on wider gutters or exposed/coastal sites. Keep piece lengths sensible and pair with a slip layer to reduce wear.
| Scenario | Recommended Code | Why |
|---|---|---|
| Moderate width, sheltered | Code 6 | Stiff enough for run-of-the-mill box gutters. |
| Wide trough or exposed site | Code 7 | Extra rigidity and dent resistance; quieter under rainfall. |
| High-maintenance access | Code 7 | Better against ladder rests and occasional footfall. |
Need thickness/weight refresher for codes 3–8? See Lead Codes Explained (BS EN 12588).
How to size widths & falls
Width and fall determine hydraulic performance and noise. Plan generously; narrow gutters choke and drum. Use these planning values, then tune for pitch, catchment and exposure:
| Condition | Planning Width | Fall (minimum) | Notes |
|---|---|---|---|
| Typical domestic catchment | 300–360 mm | Consistent, positive | Room for flow and debris; keeps shoulders clear. |
| Large roofs/low pitch | 360–450 mm | Increase locally | More volume and slower velocity demand width. |
| Exposed/coastal | ≥ 360 mm | Increase | Wind-driven rain upslope; deeper margins help. |
Keep shoulders smooth and level; any high spot telegraphs through the sheet and creates noise. Ensure the lead box gutter discharges to a well-formed sump and outlet with overflow provision.
Joints, lap direction & piece length
Like all sheet work, a lead box gutter moves. Control piece length and lap direction to avoid fatigue.
- Piece length: Keep individual lengths sensible (often ≤1.5 m). Shorter pieces reduce stress and make handling easier.
- Laps in the fall: Always lap with the flow; increase lap length at low pitch or high exposure.
- Joint location: Avoid placing joints at sumps/outlets or where tributaries converge; stagger if possible.
Sumps, outlets & overflows
Every lead box gutter should end in a considered discharge: a sump transitions water into a downpipe or hopper, and an overflow gives you insurance in storms or blockages.
- Sump geometry: Form a neat depression that accelerates flow into the outlet without reducing free area.
- Outlet sizing: Don’t undersize; match to catchment. Consider leaf-guards where debris loads are high.
- Overflow provision: Design a safe overflow route so water sheds externally if the outlet blocks—protecting interiors.
Underlay & noise control
A continuous slip layer is the easiest way to prolong the life of a lead box gutter and quieten rainfall.
- Slip layer: Use compatible lead underlay across the trough and up the shoulders.
- Even bedding: Plane/pack substrates so the sheet sits true; no proud fixings beneath.
- Thermal behaviour: The underlay reduces shear between timber/masonry and the lead under movement.
Fixings, clips & movement zones
Fix only where allowed; sliding zones must remain free. Over-fixing is a common cause of cracking in a lead box gutter.
- Clips & nails: Use copper/stainless fixings in permitted locations (often at the shoulders or behind welts).
- No fixings in the trough: The water path must remain unobstructed and free to move.
- Sealants: Point neatly; don’t glue the sheet to the substrate.
Step-by-step workflow
- Scope & measure: Catchment, exposure, outlet positions; sketch the lead box gutter run with widths and falls.
- Choose code: Code 6 baseline; Code 7 for wide/exposed runs or maintenance access.
- Underlay plan: Specify continuous slip layer across trough and shoulders.
- Piece plan: Set ≤1.5 m lengths; place laps with the fall; keep joints out of sumps/outlets.
- Sump & overflow: Detail the discharge and a safe overflow path.
- Fixing plan: Use copper/stainless fixings in permitted zones only.
- Hose-test: From above the detail; confirm continuous fall and clean discharge.
- Finish: Wipe and apply patination oil to visible edges where appropriate.
Common mistakes on a lead box gutter (and quick fixes)
- Too narrow: Gutter chokes and over-tops—widen the trough and smooth shoulders.
- Code too light: Chatter and dents—step to Code 7, especially on exposed runs.
- No underlay: Abrasion and noise—add a continuous slip layer.
- Joints at sumps: Turbulence and leaks—move joints upslope and increase laps.
- Undersized outlet/no overflow: Back-ups in storms—upsize outlets and add an overflow path.
See more field errors and fixes in 11 Lead Flashing Mistakes & Fixes, plus related detailing in Lead Valleys and Lead Bay Roofs.
Buying guide & quick basket
From spec to checkout in minutes (mobile-first)
- Open the tool: Use the shoppable lead chart to convert your lead box gutter into codes, widths and roll lengths.
- Select rolls: Rolled Lead Sheet — Code 6–7 for gutters.
- Add underlay: Lead Underlay & Tapes across trough and shoulders.
- Fixings: Copper/Stainless fixings & clips in permitted zones.
- Finish: Patination oil for visible edges and tidy handover.
Need an installer? Book via The Lead Lads service pricing or GNR Roofing. Training & reference: Lead Sheet Training Academy.
Related internal reading
Lead Codes Explained (BS EN 12588) Lead Valleys Guide Lead Bay Roofs Guide Patination Oil Guide
FAQs
Which code is best for a lead box gutter?
Code 6 is a solid baseline; step to Code 7 for wider troughs, exposed sites or where maintenance access is likely. Always pair with a continuous underlay.
How wide should a lead box gutter be?
Plan 300–360 mm for typical catchments; 360–450 mm for larger roofs/low pitch; increase margins on exposed/coastal sites. Keep shoulders true and smooth.
How long can each piece be?
Often ≤1.5 m with laps in the fall direction. Keep joints away from sumps/outlets and turbulence points.
Do I need an overflow?
Yes—design a safe, external overflow route to protect interiors if the outlet blocks during storms.
Why use underlay under a lead box gutter?
Underlay reduces abrasion and noise and helps the sheet move freely over the substrate—extending service life.
Conclusion & buying links
A durable, quiet lead box gutter comes from right-first-time planning: adequate width and fall, Codes 6–7, controlled piece lengths and joints, a continuous slip layer, and permitted fixings only. Hose-test before you point, add overflow protection, and finish visible edges neatly. Do it once, do it right.