Code 3 Lead
 Code 4 Lead
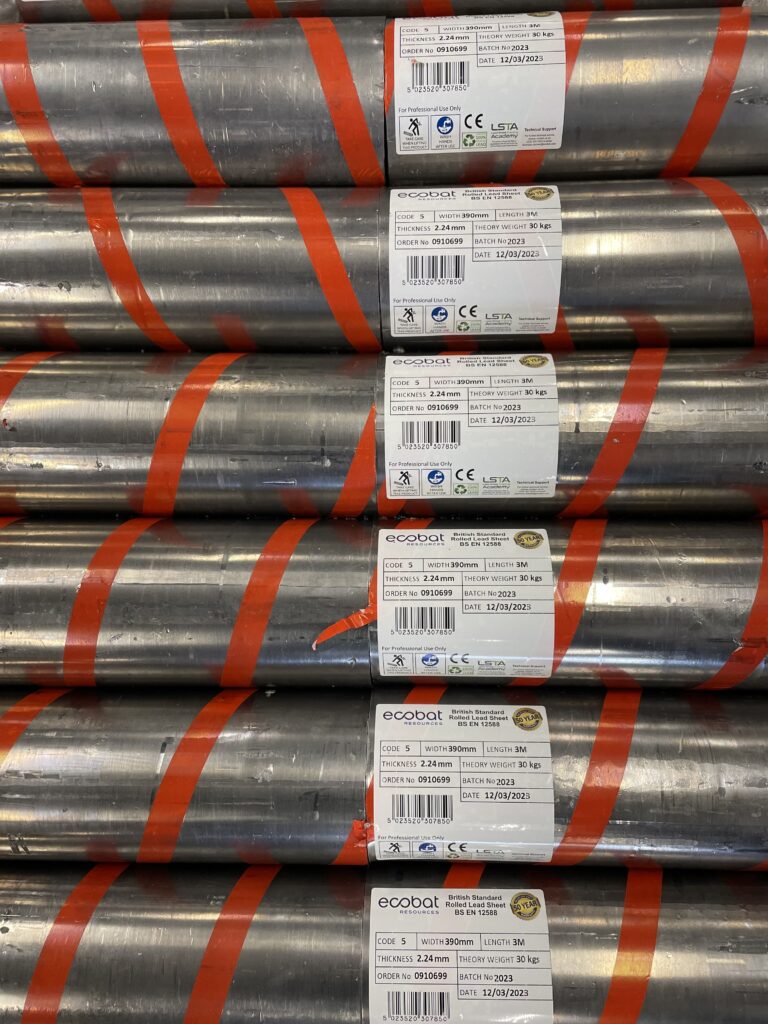
 Code 5 Lead
 Code 6 Lead






Lead Dormer Roofs: Codes, Bays & Details


Lead Dormer Roof: Codes, Bays & Details (2025)
A well-planned lead dormer roof looks sharp from the street, runs quietly in rain, and stays watertight for decades. The sequence is simple: pick the right code, break the field into manageable bays with drips or wood core rolls, detail cheeks and aprons cleanly, use a continuous slip layer, and fix only where allowed. This guide turns measurements into a basket—built by lead workers for lead workers.
Need an installer for your lead dormer roof? Get a quote via The Lead Lads service pricing or our heritage partner GNR Roofing. Formal training & details: Lead Sheet Training Academy.
In this guide
- What makes a lead dormer roof different
- Choosing codes for your lead dormer roof
- Bay sizing, joints & rhythms
- Drips, wood core rolls & falls
- Dormer cheeks: side flashings done right
- Dormer apron: cover, upstand & pointing
- Underlay & noise control
- Fixings, clips & movement zones
- Perimeter details: eaves, valleys & abutments
- Step-by-step workflow
- Common mistakes on a lead dormer roof
- Buying guide & quick basket
- FAQs
- Structured data
What makes a lead dormer roof different
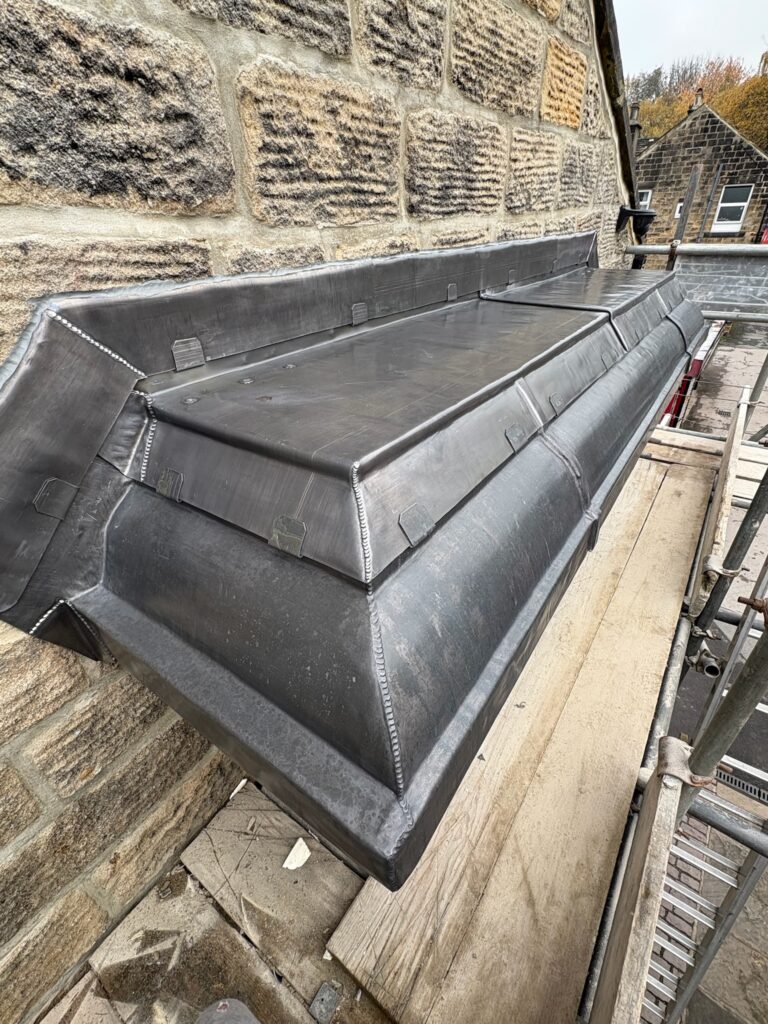
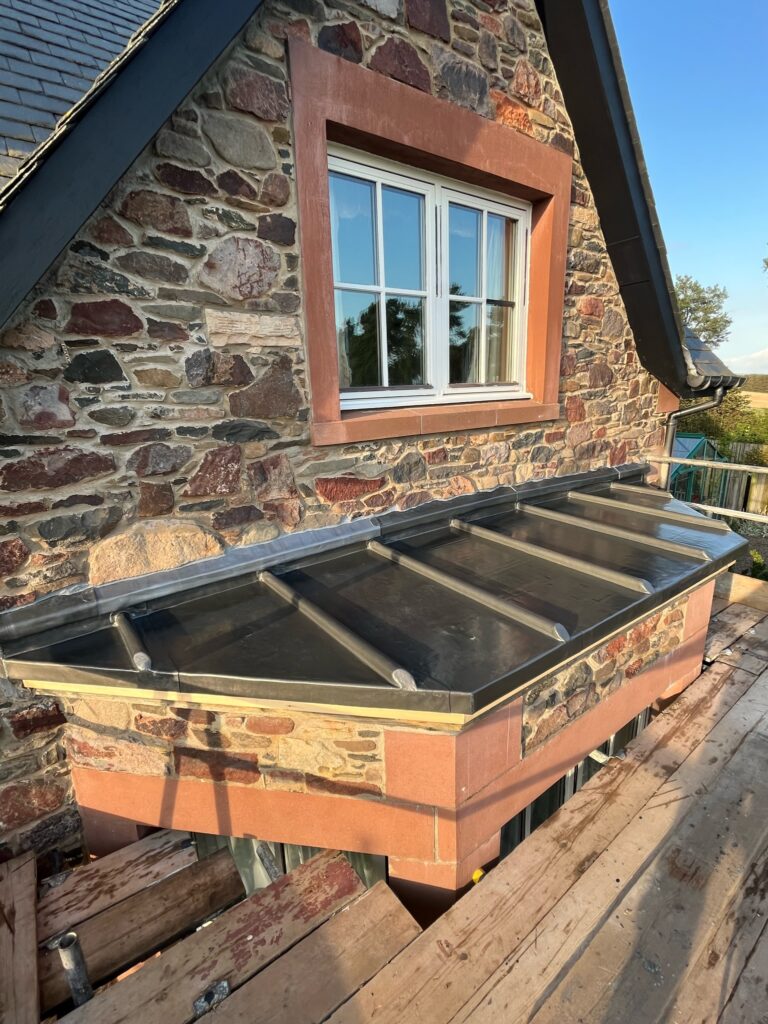
A lead dormer roof is a compact bay with high visibility and tricky junctions: cheek interfaces, an apron at the main roof, and often valleys each side. That means controlled bay sizing, tidy drips, consistent chases and a slip layer to prevent abrasion and noise. Get those right and the dormer blends in visually and performs quietly through storms.
Choosing codes for your lead dormer roof
On domestic work, Code 5 is a solid baseline for the field of a lead dormer roof. Where spans grow, exposure rises or traffic is likely (ladder rests, window cleaning), step to Code 6. Reserve Code 4 for smaller flashings (e.g., cheek step soakers) rather than the main field sheets.
| Dormer element | Typical Code | Why |
|---|---|---|
| Dormer roof field | Code 5–6 | Stiffness vs. dressability; Code 6 in exposed settings. |
| Cheek step soakers | Code 4 | Light enough for repeated forming; reliable cover. |
| Front apron | Code 4–5 | Dressable into the chase; step up for width/exposure. |
| Side/valley junctions | Code 5–6 | Higher hydraulic load; stiffness reduces chatter. |
Need thickness/weight numbers for codes 3–8? See Lead Codes Explained (BS EN 12588).
Bay sizing, joints & rhythms
Movement control is non-negotiable on a lead dormer roof. Keep sheets short, break the surface into regular bays, and align joints away from concentrated water.
- Piece length: Keep individual sheet lengths sensible (often ≤1.5 m). Shorter pieces move less and handle better.
- Bay pattern: Use drips or wood core rolls to create a clean, repeatable rhythm across the lead dormer roof.
- Joint placement: Stagger joints; avoid locations where valleys discharge or where the apron pools.
- Visual consistency: Even bay spacing looks premium from the street.
Drips, wood core rolls & falls
Drips and core rolls divide the lead dormer roof into manageable panels, control water, and add stiffness.
- Drip spacing: Regular spacing breaks up large panels, reduces capillary creep and keeps noise down.
- Core rolls: Use where a traditional look is desired or to stiffen long seams.
- Falls: Maintain a continuous, positive fall to the eaves; no reverse pockets at drips or near the apron.
Dormer cheeks: side flashings done right
Most leaks blamed on a lead dormer roof start on the cheeks. Treat cheeks like chimney sides: one step soaker per course, correct cover and upstand, and crisp, straight chases.
- One per course: Count courses and cut that number of soakers. Keep laps consistent.
- Code & size: Code 4 for soakers; size for pitch, cover and exposure.
- Chase line: Snap a straight line and cut chases cleanly; wedge at consistent centres.
- Interface: Ensure the cheek details deliver water onto the field without pinching valleys.
For a refresher on cheek principles, see Lead for Chimneys.
Dormer apron: cover, upstand & pointing
The apron is the client-facing edge of a lead dormer roof. Keep it neat and movement-friendly.
- Cover width: Increase cover at low pitch or exposed eaves to handle splash and wind-driven rain.
- Piece length: Keep lengths sensible (≤1.5 m) with laps set in the fall direction.
- Pointing: Hose-test first, then point chases neatly. Don’t glue sliding zones with sealant.
- Finish: Wipe and apply a thin coat of patination oil on day one to prevent early staining on light fascias/render.
Underlay & noise control
Large panes on a lead dormer roof can drum in rain. A continuous slip layer reduces abrasion and noise and helps the sheet move freely.
- Slip layer: Add compatible lead underlay across the field and under wider bays.
- Even bedding: Plane or pack substrates; remove proud fixings and ridges that telegraph through the sheet.
- Thermal behaviour: Underlay acts as a shear break between timber and lead, extending service life.
Fixings, clips & movement zones
Fix where allowed, and let the rest slide. Over-fixing is a common cause of fatigue and splits on a lead dormer roof.
- Clips & nails: Use copper/stainless fixings in permitted zones (behind welts/rolls, not in sliding areas).
- Sealants: Point for neatness, not adhesion. Movement is non-negotiable.
- Protection: During scaffold handovers, protect finished sheets from grit and ladder feet.
Perimeter details: eaves, valleys & abutments
Eaves
Form a consistent drip on the lead dormer roof so water clears fascias and gutters. Avoid reverse falls at the last batten.
Valleys
Dormers often generate short, intense valleys. Size them generously and consider welts; see the full Lead Valleys Guide.
Abutments
Where cheeks meet walls, treat like chimney sides with straight chases and correct cover. See Lead for Chimneys for principles.
Step-by-step workflow
- Measure & plan: Sketch the lead dormer roof, mark bay sizes and drip spacing, note cheek courses and apron width.
- Choose code: Code 5 baseline; step to Code 6 for exposure or wider panels. Confirm via Lead Codes Explained.
- Underlay plan: Specify continuous slip layer across the field and under wider bays.
- Piece plan: Keep lengths ≤1.5 m. Place joints away from valleys and apron pooling areas.
- Cheeks & apron: One soaker per course; tidy chase lines; apron with adequate cover and neat pointing.
- Hose-test: From above the detail. Confirm falls, drips and valley paths.
- Finish: Wipe and apply patination oil thinly on visible edges.
Common mistakes on a lead dormer roof (and quick fixes)
- Oversized bays: Add more drips/rolls and shorten piece lengths.
- No underlay: Drumming and abrasion—fit a continuous slip layer.
- Wavy chases on cheeks: Recut straight; re-wedge; maintain even upstands.
- Undersized apron cover: Increase cover, especially at low pitch or exposed eaves.
- Pinched valleys: Widen and add welts; keep tile/slate arrises clear of the water path.
More field errors and fixes: Lead Bay Roofs, Lead Valleys, and Lead for Chimneys.
Buying guide & quick basket
From set-out to checkout in minutes (mobile-first)
- Open the tool: Use the shoppable lead chart to convert your lead dormer roof into codes, widths and roll lengths.
- Select rolls: Rolled Lead Sheet — Code 5–6 for the field; Code 4 for soakers/apron as required.
- Add underlay: Lead Underlay & Tapes across the field and cheeks.
- Fixings: Copper/Stainless fixings & clips for permitted zones.
- Finish: Patination oil for visible edges and even early appearance.
Want it installed? Book via The Lead Lads service pricing or GNR Roofing. Training & standards: Lead Sheet Training Academy.
Related internal reading
Lead Bay Roofs Lead Valleys Lead Box Gutters Lead for Chimneys Lead Codes Explained (BS EN 12588)
FAQs
Which code is best for a lead dormer roof?
Code 5 is the common baseline; step to Code 6 on exposed sites or larger panels. Use Code 4 for cheek soakers and some apron work.
How big should each bay be on a lead dormer roof?
Keep individual sheet lengths sensible (often ≤1.5 m) and use drips/rolls to break up wider surfaces. The goal is controlled movement and tidy water management.
Do I need underlay?
Yes—continuous underlay reduces noise and abrasion and allows controlled movement, especially under Code 6 sheets.
How do I prevent staining on fascias/render below a dormer?
Form neat eaves drips that clear the face and apply patination oil thinly on day one.
How do cheeks interface with the field?
Cheek step soakers deliver water onto the field without pinching valleys; one per course, with crisp chases and consistent upstands.
Conclusion & buying links
A durable, quiet lead dormer roof is built on five habits: choose Code 5–6 for the field, set regular bays with drips or rolls, detail cheeks/apron like a pro, add a continuous underlay, and fix only in permitted zones. Hose-test before you point, finish visible edges neatly with patination oil, and hand over a dormer that stays dry and looks premium.