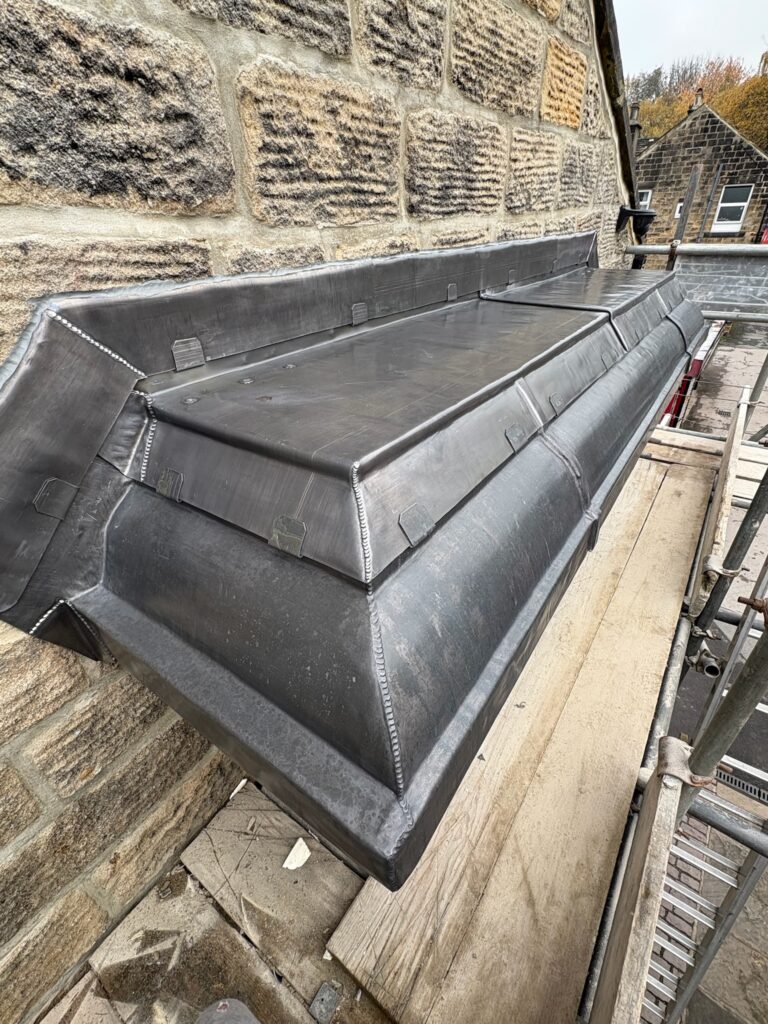
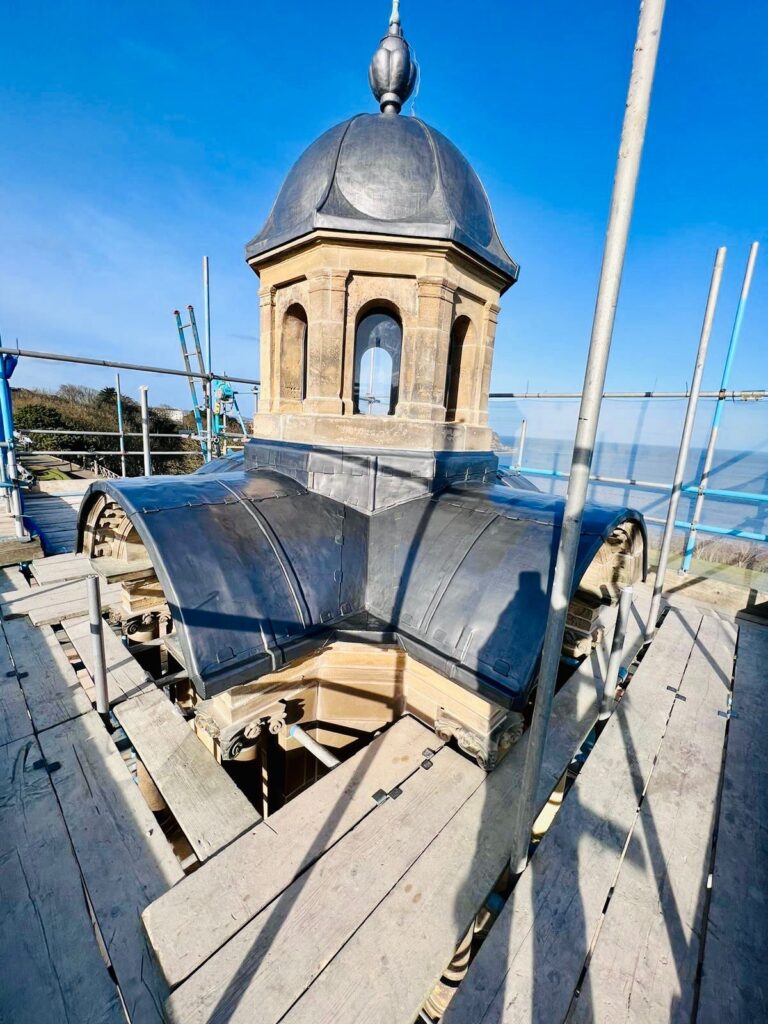
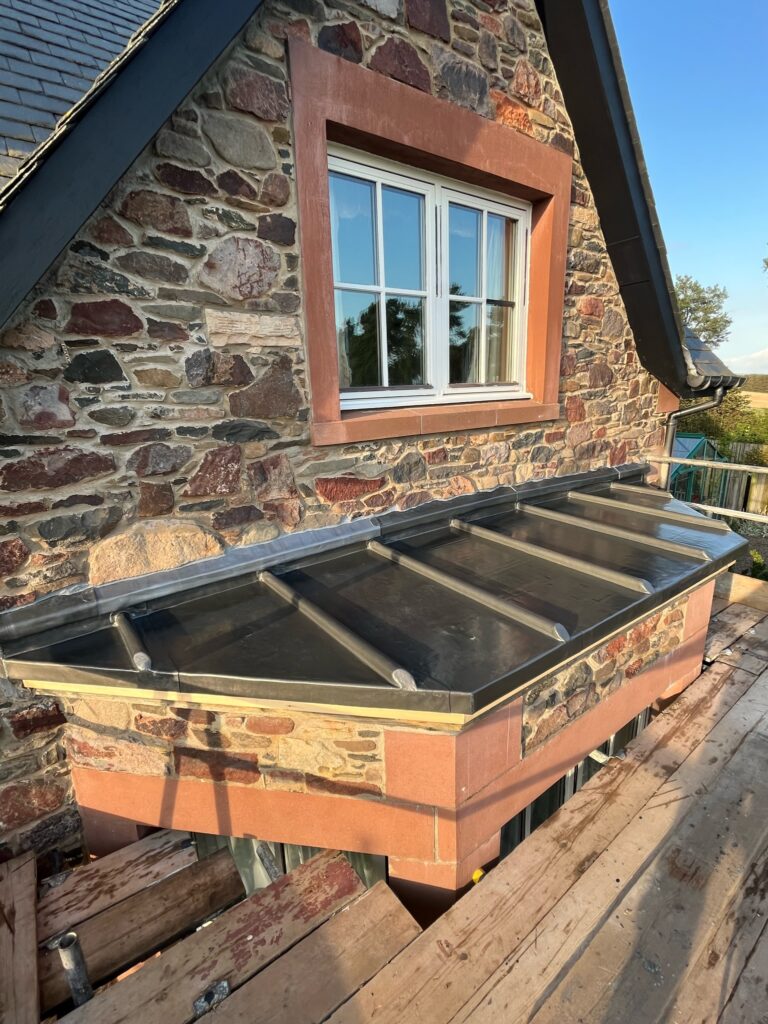
Code 3 Lead
 Code 4 Lead
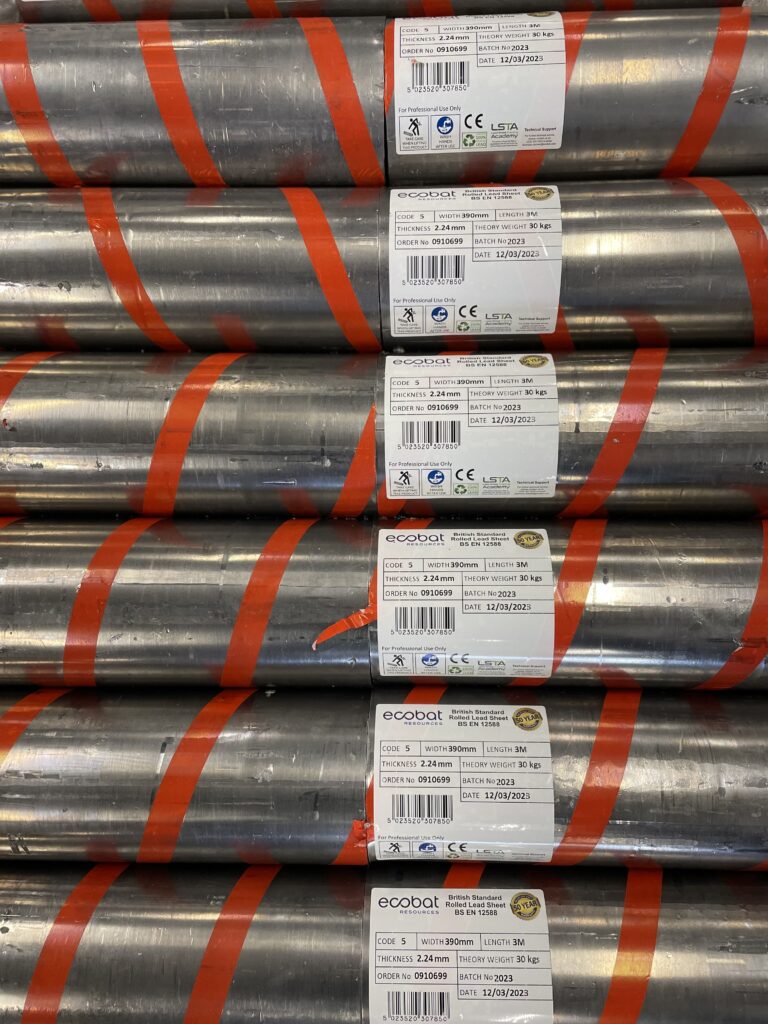
 Code 5 Lead
 Code 6 Lead






Lead Valleys: Sizing, Codes & Detailing


Lead Valleys: Sizing, Codes & Detailing (2025)
Lead valleys do heavy lifting—collecting converging roof water, shedding debris and surviving gales without drumming or tearing. Get the code, valley width, laps and underlay right and lead valleys will run clean and quiet for decades. This is the practical sequence for sizing, forming and ordering—built by lead workers for lead workers.
Want a pro to install or troubleshoot lead valleys? Get a quote via The Lead Lads service pricing or our heritage partner GNR Roofing. Training & standards: Lead Sheet Training Academy.
In this guide
- What makes lead valleys different
- Choosing codes for lead valleys
- How to size valley width
- Laps, joints & piece length
- Welts, drip edges & tile interfaces
- Underlay & noise control
- Fixings, clips & movement
- Step-by-step workflow
- Common mistakes with lead valleys
- Buying guide & quick basket
- FAQs
- Structured data
What makes lead valleys different
Lead valleys concentrate run-off at the join of two pitched planes. Water volume is higher, debris collects in autumn, and wind can drive rain upslope. That means lead valleys need more width, stiffer codes and smarter detailing than small abutment flashings. The job is to move water fast, avoid pinching at tile/ slate interfaces, and keep the sheet quiet and stable through temperature swings.
Choosing codes for lead valleys
As planning values for lead valleys on domestic roofs, Code 5 is a strong baseline and Code 6 is common on exposed sites or where spans/traffic demand extra stiffness. Code 4 is usually too light for main valleys except on very small, sheltered roofs. If in doubt, step up a code—then respect bay length and movement rules.
| Scenario | Recommended Code | Notes |
|---|---|---|
| Sheltered terrace, modest roof area | Code 5 | Balance of dressability and stiffness for most lead valleys. |
| Exposed gable or coastal site | Code 6 | Extra rigidity, better against wind uplift and chatter. |
| Wide valley or heavy debris load | Code 6 | Stands up better to seasonal loads and cleaning. |
Need thickness/weight numbers for codes 3–8? See Lead Codes Explained (BS EN 12588).
How to size valley width
The width of lead valleys must accommodate volume and splash without capillary creep into the covering. Use these planning values, then adjust for pitch, covering type and exposure:
| Roof Condition | Planning Valley Width | Why |
|---|---|---|
| Typical domestic, moderate pitch | 300–360 mm | Room for flow and debris without pinching under tiles/slates. |
| Low pitch or large catchment | 360–420 mm | Extra width reduces splash and overtopping in storms. |
| Exposed/coastal | 360–450 mm | Wind-driven rain/upslope needs depth and side margin. |
Remember side cover: tiles/slates must land cleanly without choking the water path. If the covering crowds the centre, widen the valley or introduce welts to keep edges crisp.
Laps, joints & piece length
Like all sheet work, lead valleys move. Control piece length and lap direction.
- Piece length: Keep individual valley lengths sensible (often ≤1.5 m). Use tidy overlap joints in the fall direction.
- Laps: Plan generous end laps—more at low pitch or exposed sites. Side laps are governed by the covering set-out and welt choice.
- Joint location: Avoid joints at the foot of dormers or where water converges; stagger if possible.
Welts, drip edges & tile interfaces
Welts give lead valleys crisp edges, resist capillary creep and stop tiles from “walking” into the water path.
- Single or double welt: Choose based on covering and exposure; double welts add stiffness and a cleaner line.
- Drip at eaves: Form a neat drip so water clears the fascia/gutter junction without tracking.
- Tile clearance: Leave consistent gaps from tile/slate arrises to the wetted centre; never pinch the valley throat.
Underlay & noise control
Wider sheets in lead valleys benefit from a continuous slip layer to reduce abrasion and drumming.
- Slip layer: Add compatible lead underlay under the valley trough.
- Bedding: Keep bedding uniform at the shoulders; avoid hard points that telegraph through the sheet.
- Debris management: Specify leaf-guards if the valley loads up; the quietest valley is the clean one.
Fixings, clips & movement
Fix lead valleys where allowed and let the sheet move elsewhere.
- Clips: Use copper/stainless clips and nails at the shoulders as appropriate.
- No choke points: Don’t trap the trough with fixings or mortar; the water path must stay clear.
- Sealants: Use to tidy, not to glue sliding zones. Movement is non-negotiable.
Step-by-step workflow for lead valleys
- Scope & measure: Catchment size, pitch, exposure and covering type. Decide planning width for your lead valleys.
- Choose code: Code 5 baseline; step to Code 6 for exposure/width. Confirm with Lead Codes Explained.
- Underlay plan: Specify continuous underlay under the valley trough.
- Piece plan: Lay out joints (≤1.5 m lengths), fall, and lap positions away from high-flow pinch points.
- Form welts & drip: Single/double welts as needed; tidy eaves drip.
- Fix shoulders/clips: Use copper/stainless fixings; never choke the trough.
- Hose-test: From above the detail (never upward). Check flow through the whole run.
- Finish: Wipe down; apply patination oil to visible edges on day one.
Common mistakes with lead valleys (and the easy fixes)
- Valley too narrow: Tiles/slates pinch the throat—widen and add welts to protect the water path.
- Code too light: Chatter and denting; jump to Code 6 for exposed/wide lead valleys.
- Joints in the wrong place: Laps set at high-flow areas; move joints upslope and increase lap.
- No underlay: Drumming and abrasion; add a continuous slip layer under the trough.
- Fixings in the water path: Screws/nails in the trough guarantee leaks—relocate to shoulders.
- Skipping patination oil: Early white staining on light fascias; oil edges the same day.
More field errors and their fixes: 11 Lead Flashing Mistakes & Fixes.
Buying guide & quick basket
From spec to checkout in minutes (mobile-first)
- Open the tool: Use the shoppable lead chart to convert lead valleys into codes, widths and roll lengths.
- Select rolls: Rolled Lead Sheet — Code 5–6 for valleys.
- Add underlay: Lead Underlay & Tapes for the valley trough.
- Fixings: Copper/Stainless fixings & clips for shoulders.
- Finish: Patination oil for visible edges and drips.
Prefer a contractor? Book via The Lead Lads service pricing or GNR Roofing. Training & reference: Lead Sheet Training Academy.
Related internal reading
Lead Codes Explained (BS EN 12588) 11 Lead Flashing Mistakes & Fixes Lead for Chimneys Patination Oil Guide
FAQs
Which code is best for lead valleys?
Code 5 is a strong default for domestic lead valleys; step up to Code 6 on exposed sites, wider troughs or heavy debris loads.
How wide should lead valleys be?
Plan 300–360 mm for typical roofs; 360–420 mm for larger catchments or low pitch; up to 450 mm in exposed/coastal settings. Adjust for covering and keep the throat clear.
Do I need welts on lead valleys?
Welts help control capillary creep and keep tiles/slates off the water path. Use single or double welts depending on exposure and covering.
How long can each piece be?
Keep pieces sensible (often ≤1.5 m) with generous laps in the fall direction. Avoid joints at high-flow pinch points.
Why underlay under lead valleys?
Continuous underlay reduces drumming, abrasion and long-term wear—especially on wider Code 6 valleys. Pair with tidy bedding at the shoulders.
Conclusion & buying links
Lead valleys thrive on three habits: size them wide enough, choose Code 5–6 with a continuous underlay, and keep piece lengths and joints sensible. Add welts to secure clean edges, hose-test before you point, and finish with patination oil. Do that, and your valleys will run clean and quiet for years.