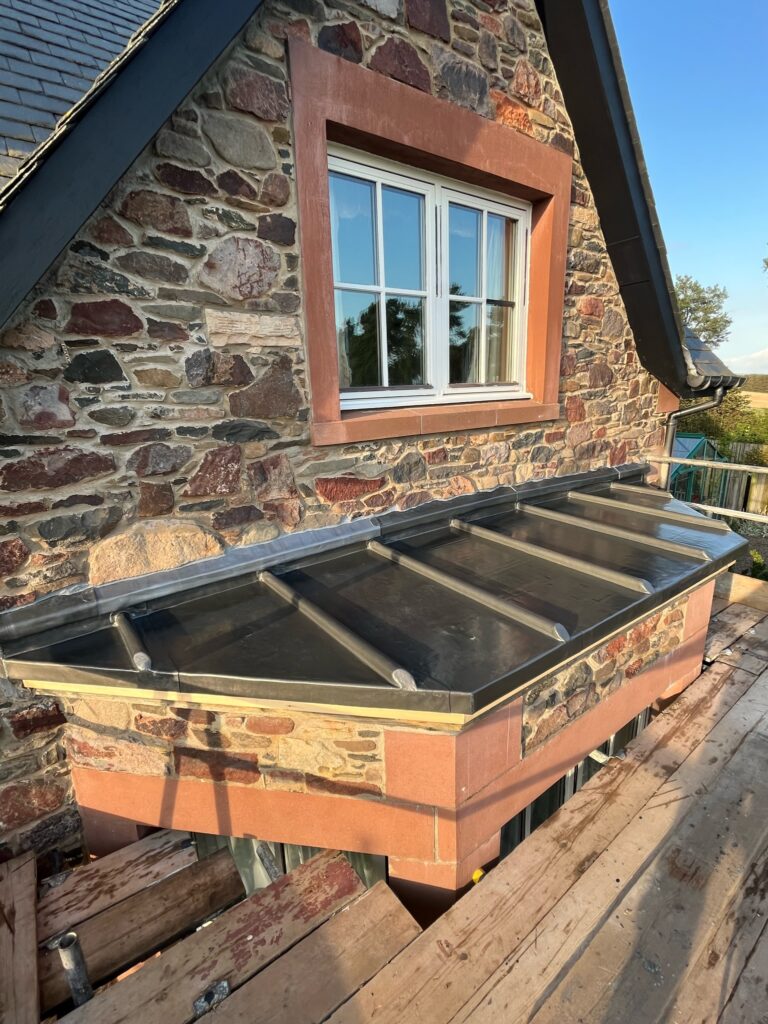
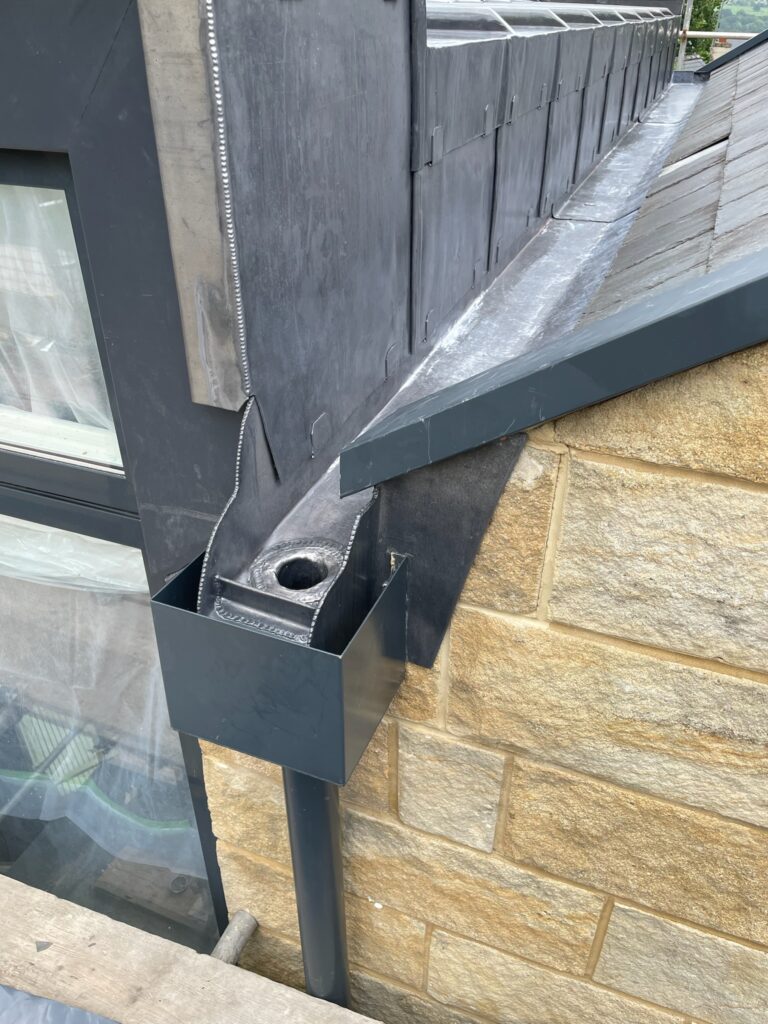
Code 3 Lead
 Code 4 Lead
 Code 5 Lead
 Code 6 Lead






Lead for Parapet and Box Gutters | Codes, Design & Detailing

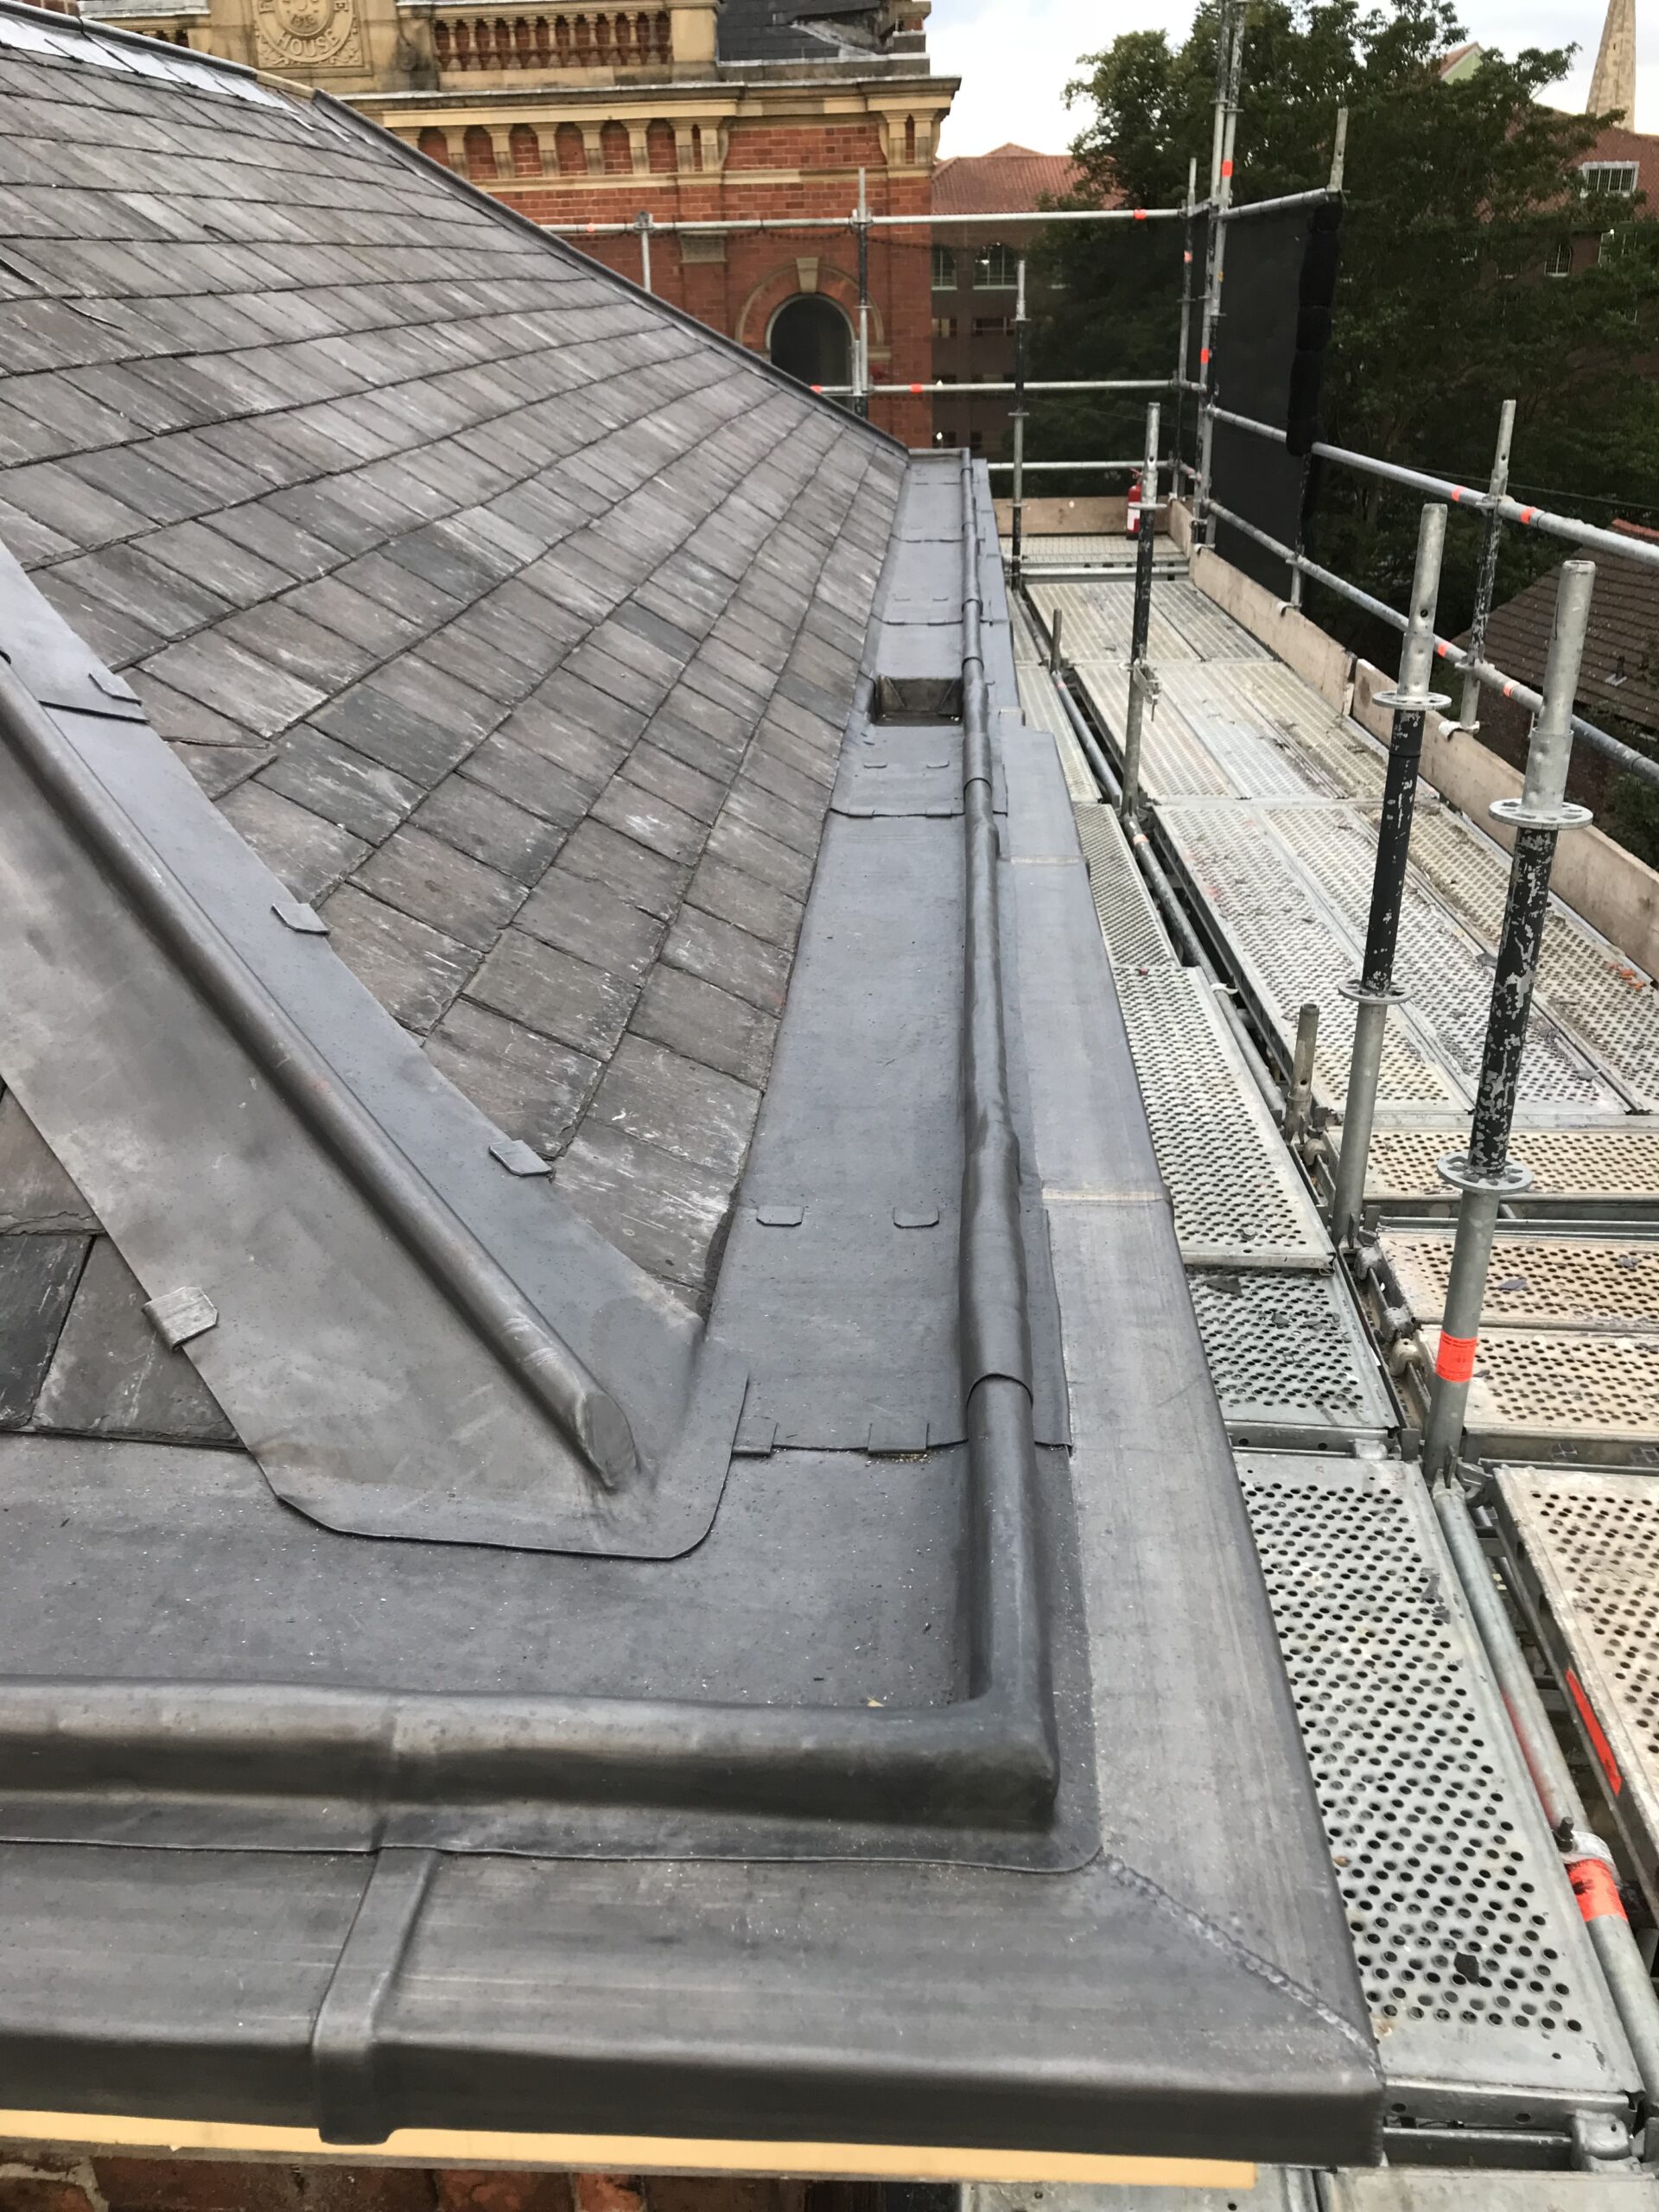
Lead for Parapet and Box Gutters: Codes, Design & Detailing
Parapet and box gutters are high-load, high-risk parts of the roof where water concentrates and movement is significant. Specifying the correct lead for parapet and box gutters — and detailing it properly — prevents early failure, leaks, and expensive call-backs. This guide covers code selection, bay sizing, drips, outlets, support, movement, and how to order rolled lead sheet online with nationwide delivery.
👉 Shop Lead for Parapet & Box GuttersWhy Lead is the Benchmark for Parapet & Box Gutters
Gutters at parapets and within roof valleys collect large volumes of water and debris, experience thermal swing, and often carry snow loads. The best material must be durable, repairable, and workable. Lead for parapet and box gutters excels because it is:
- Durable: Service life measured in decades when detailed correctly.
- Workable: Bossing and welding allow bespoke joints, drips, and outlets.
- Sustainable: 100% recyclable in a robust UK loop.
- Heritage-ready: Accepted by conservation officers for listed buildings.
Choosing the Right Code (Thickness) of Rolled Lead
Parapet and box gutters demand thicker sheet than flashings. In most cases you’ll specify Code 6 or Code 7. Use Code 5 only for smaller domestic gutters with modest spans and loads.
| Gutter Type | Recommended Codes | Notes |
|---|---|---|
| Domestic parapet gutter (short runs) | Code 5, Code 6 | Code 6 preferred if exposure/snow load is significant. |
| Large parapet / commercial box gutter | Code 6 | The default choice for strength and movement control. |
| Heritage, churches, monumental parapets | Code 7 | Heavier gauge delivers longevity and authenticity. |
Need to up-spec further? For very large spans or exceptional exposure, speak to a specialist before considering Code 8.
👉 Browse Code 5 / 6 / 7 Lead SheetDesign Fundamentals for Parapet & Box Gutters
Good design is non-negotiable. Focus on bay sizing, support, falls, drips, and movement. These fundamentals turn heavy weathering into long service life.
+ Bay sizing & joints
Split gutters into bays so each panel can move without stress. Introduce drips between bays to step water and break capillary action. Where spans are wide, use wood-cored rolls or welted seams at junctions. Keep bays symmetrical where possible.
+ Falls, cross-falls & outlet strategy
Provide continuous fall toward outlets (and cross-fall from the parapet if needed). Align bay drips with outlets to avoid ponding behind steps. Place outlets/overflows before long internal corners where debris can build up.
+ Movement & fixing
Lead expands/contracts. Use clips and copper/stainless fixings that permit slip — never fix rigidly across the sheet. Provide laps/welts that remain weather-tight during movement.
+ Substrate & underlay
Use a smooth, ventilated timber deck with an appropriate slip layer/underlay. Avoid rough or resinous surfaces that may abrade the underside. Ventilated voids beneath long runs help moderate condensation risk.
+ Upstands, check-kerbs & terminations
Form upstands to adequate height; use check-kerbs to corral water away from vulnerable edges and direct it toward drips/outlets. Finish into chases with Code 4 flashings where required.
Installation Overview (Step by Step)
If your project is complex, or heritage-listed, partner with The Lead Lads or Neal Roofing. For competent roofing teams, the workflow below helps deliver consistent results.
+ 1) Set-out, measure, and mark bays
Confirm bay widths, drip positions, and outlet locations. Mark centre lines and square across the deck to keep seams/plants straight.
+ 2) Prepare deck & slip layer
Fix the timber substrate flat and smooth. Lay the slip layer uniformly with laps in the direction of water flow. Provide ventilation where specified.
+ 3) Form drips & rolls
Pre-form drips on the bench for accuracy. For long runs, use wood-cored rolls to control movement. Dress lead carefully with bossing tools to avoid work-hardening and splits.
+ 4) Fixing & clipping
Fix perimeters and clips to allow expansion. Do not nail tight through the field of the sheet. Ensure fixings do not create stress points at drips or outlets.
+ 5) Outlets, overflows & terminations
Dress lead into outlet sumps and secure mechanically where necessary. Provide secondary overflows to prevent back-up in extreme events. Finish into masonry chases with appropriate flashings.
Case Studies
+ Domestic parapet gutter (Code 6)
A townhouse parapet gutter was re-lined in Code 6. Bays were divided with two drips aligned to downpipes. The roofer reported fast installation due to pre-formed drips and trouble-free movement through the first heatwave.
+ Commercial box gutter (Code 6)
A light-industrial unit had long box gutters with historic ponding. The team re-set falls, added intermediate drips, and re-lined in Code 6. Palletised delivery from The Lead Lads Shop simplified handling on a tight programme.
+ Heritage parapet (Code 7)
A listed church parapet required Code 7 for longevity and conservation acceptance. Wood-cored rolls controlled movement; outlets and emergency overflows were added discretely to avoid façade staining.
Common Mistakes (and How to Avoid Them)
+ Oversized bays
Large, uninterrupted sheets will fatigue and split. Always break into bays with drips/rolls and keep sizes within recommended limits.
+ Wrong code for load/exposure
Using Code 5 where Code 6 is warranted (or Code 6 where Code 7 is required) shortens lifespan. Up-spec for high rainfall, long spans, or heritage work.
+ Rigid fixing (no allowance for movement)
Never pin the sheet rigidly. Use clips and perimeter fixings that permit thermal movement and preserve weather-tightness.
+ Poor falls and outlet planning
Ponding accelerates oxidation and invites leaks. Design clear falls; align drips to outlets; add overflows where needed.
+ Rough/abrasive substrate
Uneven or abrasive decks damage the underside of lead. Use smooth timber and a suitable slip layer to protect the sheet during movement.
Ordering Online & Nationwide Delivery
- Identify runs, spans, and bay count; confirm codes (usually Code 6 or Code 7).
- Choose roll widths/lengths to suit bay modules and drip spacing.
- Order securely from The Lead Lads Shop with standard or palletised delivery.
- Schedule handling (forklift/tail-lift) and plan storage out of direct heat.
Need installation support? Partner with The Lead Lads or Neal Roofing for complex or listed projects.
Frequently Asked Questions
+ What code of lead is best for parapet gutters?
+ Can I use Code 5 in box gutters?
Only for small domestic runs with moderate spans. For larger/commercial gutters, specify Code 6; for heritage or extreme exposure, use Code 7.
+ How do I avoid ponding and staining?
Design positive falls, add intermediate drips, align them with outlets, and include emergency overflows to prevent back-ups in storms.
+ Do you deliver lead for parapet and box gutters nationwide?
Yes — order rolls of Code 5, 6, or 7 online with UK-wide delivery from The Lead Lads Shop, including palletised options.
+ Who can install complex or listed parapet gutters?
For intricate detailing and heritage compliance, use The Lead Lads or Neal Roofing.