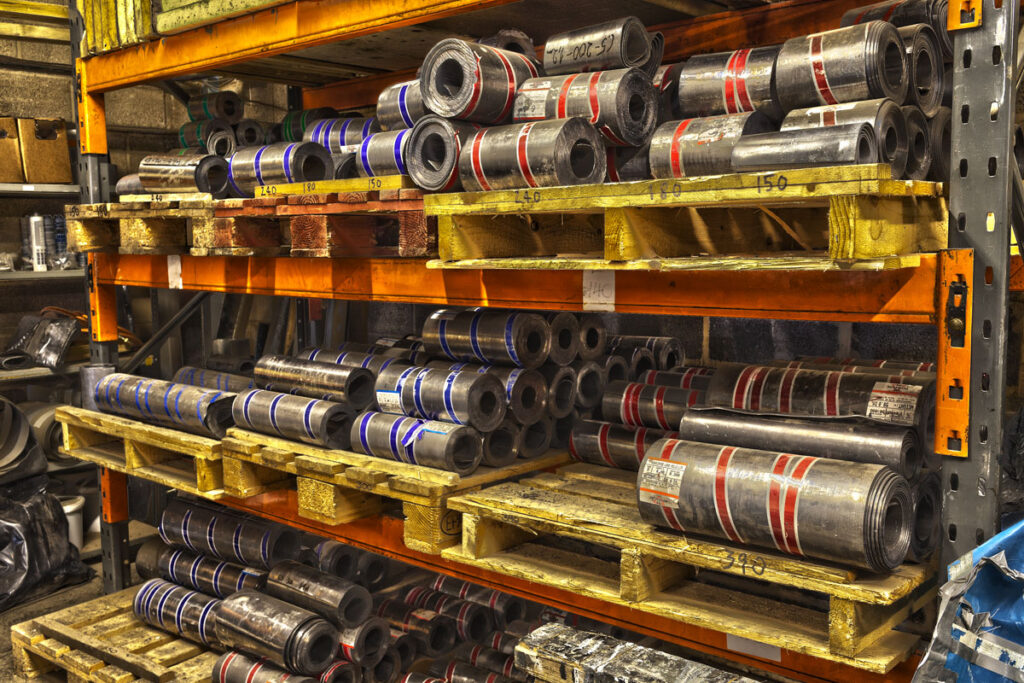
Code 3 Lead
 Code 4 Lead
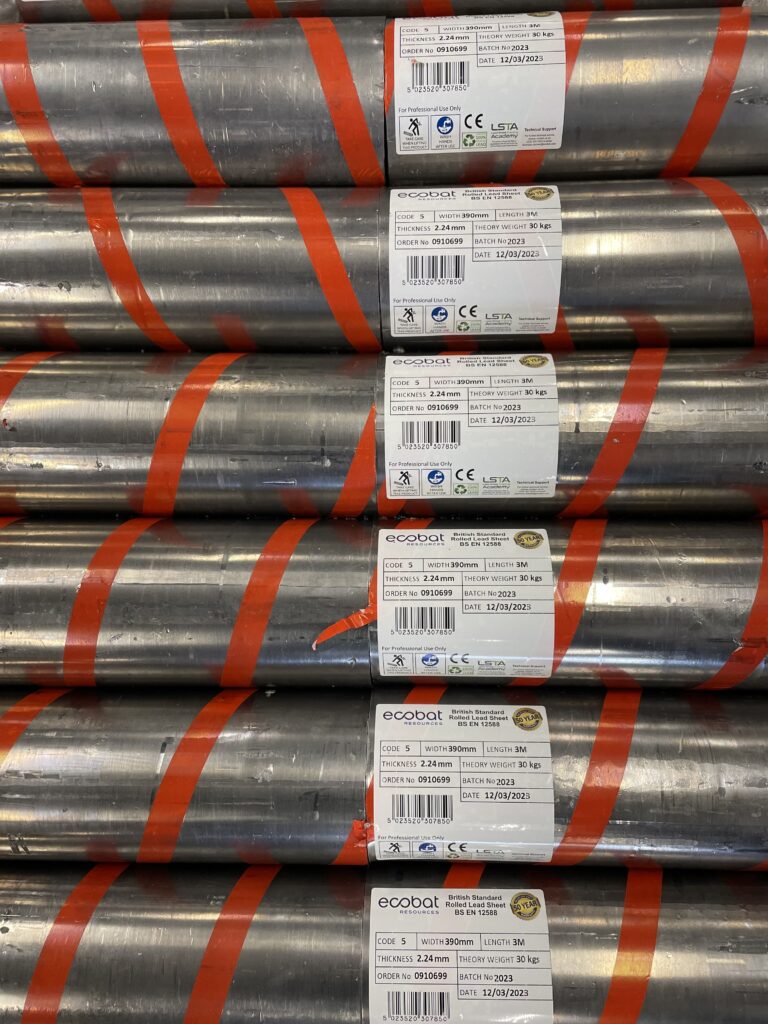
 Code 5 Lead
 Code 6 Lead






7 Critical Lead Flashing Mistakes Roofers Still Make (and How to Avoid Them)


7 Critical Lead Flashing Mistakes Roofers Still Make (and How to Avoid Them)
Across thousands of building surveys undertaken annually in the UK, a recurring pattern emerges: premature roof failure almost always links back to detailing errors rather than material defects. Lead, when specified and installed in accordance with BS 6915 and the Lead Sheet Association (LSTA), can provide service life well beyond 80 years. Yet surveyors frequently identify installations that fail within only a fraction of their theoretical lifespan. These failures typically stem from identifiable lead flashing mistakes, each associated with predictable moisture pathways, stress patterns, and long-term deterioration mechanisms.
From a building pathology perspective, defective lead flashings manifest in damp staining, internal plaster deterioration, fungal decay to roof timbers, and progressive breakdown of masonry interfaces. These symptoms represent the consequences of underlying design or workmanship failures. Understanding the cause-and-effect relationship between detailing errors and moisture ingress is essential for accurate diagnosis and for preventing recurrence. This long-form technical article examines the seven principal categories of lead flashing mistakes encountered by surveyors, installers, architects, and conservation specialists, and provides authoritative guidance to ensure durable roof performance.
Avoid Lead Code Specification Errors
Incorrect code selection remains one of the most common lead flashing mistakes. Use our online tool to specify the correct thickness for your project.
Shop The Lead Chart1. Understanding Why Lead Flashing Mistakes Occur: Material Behaviour and Roof Dynamics
Surveyors regularly encounter cases where competent roofing work is undermined by a single misjudgment in lead detailing. Many lead flashing mistakes originate from misunderstanding how lead behaves in situ. Lead’s coefficient of thermal expansion is significantly higher than more rigid metals like zinc or copper. On a sun-exposed south or west elevation, temperatures can rise rapidly, producing measurable dimensional changes within minutes.
If detailing does not accommodate this movement, the material is subjected to cyclic stress. Over months or years, this creates visible symptoms:
- Buckling in the centre of long bays
- Migratory creep toward the lower roof edge
- Stress fractures near fixings or corners
- Mortar joint failure where the lead exerts outward pressure
As per BS 6915 and LSTA guidance, these effects are predictable, measurable, and preventable. The challenge is ensuring that installers appreciate the distinction between materials that require movement allowance (lead) and those that do not. Many lead flashing mistakes arise from treating lead as a static element rather than a thermally reactive one.
From a diagnostic standpoint, building surveyors can often identify these issues by observing deformation patterns, looking for tidemarks, or assessing the condition of adjacent masonry. This reinforces the importance of understanding the fundamental material behaviour that underpins compliant detailing.
2. Incorrect Lead Code Specification
This category of lead flashing mistakes remains one of the most pervasive. Incorrect code selection directly affects service life. BS EN 12588 defines the uniformity and thickness of rolled lead sheet, and LSTA tables provide application-specific code guidance. Problems arise when installers choose codes based on habit rather than requirement.
Common patterns observed by surveyors include:
- Code 3 used for flashings instead of limiting it to soakers, resulting in rapid fatigue.
- Code 4 used universally, even in high-exposure settings requiring Code 5 or 6.
- Overly thick codes used where unnecessary, increasing load without improving performance.
These lead flashing mistakes have predictable consequences. Underspecified lead deforms and splits; overspecified lead can restrict movement and place stress on fixings. In heritage settings, incorrect code specification often causes failures that require carefully planned conservation repairs, particularly where historic masonry is affected.
The NHBC technical manuals (NHBC Standards) highlight code selection as a recurrent cause of early-stage moisture penetration claims, reinforcing the role of correct specification in long-term roof performance.
3. Incorrect Lap Dimensions and Moisture Pathways
Undersized laps are among the most frequently observed lead flashing mistakes during roof inspections. Laps are fundamental to controlling water displacement, capillary action, and wind-driven rain resistance. BS 6915 specifies minimum lap requirements for different flashing types, yet deviations remain common.
Typical problems include:
- Laps below 75mm on step flashings
- Cover flashings with insufficient overlap to resist driving rain
- Chimney back gutters with inadequate upstands and insufficient lap depth
From a pathology perspective, moisture tracking behind lead due to inadequate laps is easy to misdiagnose as condensation or masonry absorption. However, the staining patterns, moisture probe readings and water pathway behaviour almost always indicate a lap-related failure.
Over-sized laps represent a different type of lead flashing mistakes. While intended as “extra protection,” these longer laps can inhibit thermal movement. Surveyors often detect buckling or creep in areas where oversized laps create mechanical binding, preventing the flashing from expanding uniformly.
4. Fixing Errors: Over-Restraint, Under-Restraint and Mechanical Failure
Improper fixing remains a central cause of lead flashing mistakes and contributes heavily to long-term deterioration. BS 6915 mandates that lead must never be fixed in a manner that prevents natural movement. Unfortunately, survey evidence consistently shows over-driven nails, tight restraint, fixing through the flashing tail, or the use of non-appropriate fixings.
Over-restraint leads to:
- Fatigue cracking at nail holes
- Distortion and lifting due to restricted slip
- Mortar displacement at chase lines
Under-restraint leads to:
- Wind uplift and noise vibration
- Progressive detachment of the flashing
- Ingress pathways under drying mortar joints
Both forms of lead flashing mistakes are commonly revealed during intrusive roof surveys. Movement-related deterioration is easily distinguishable from material failure, as stress lines, nail pull-through and deformation patterns are highly characteristic of mechanical restraint issues.
5. Expansion Control Errors: The Most Overlooked Source of Latent Defects
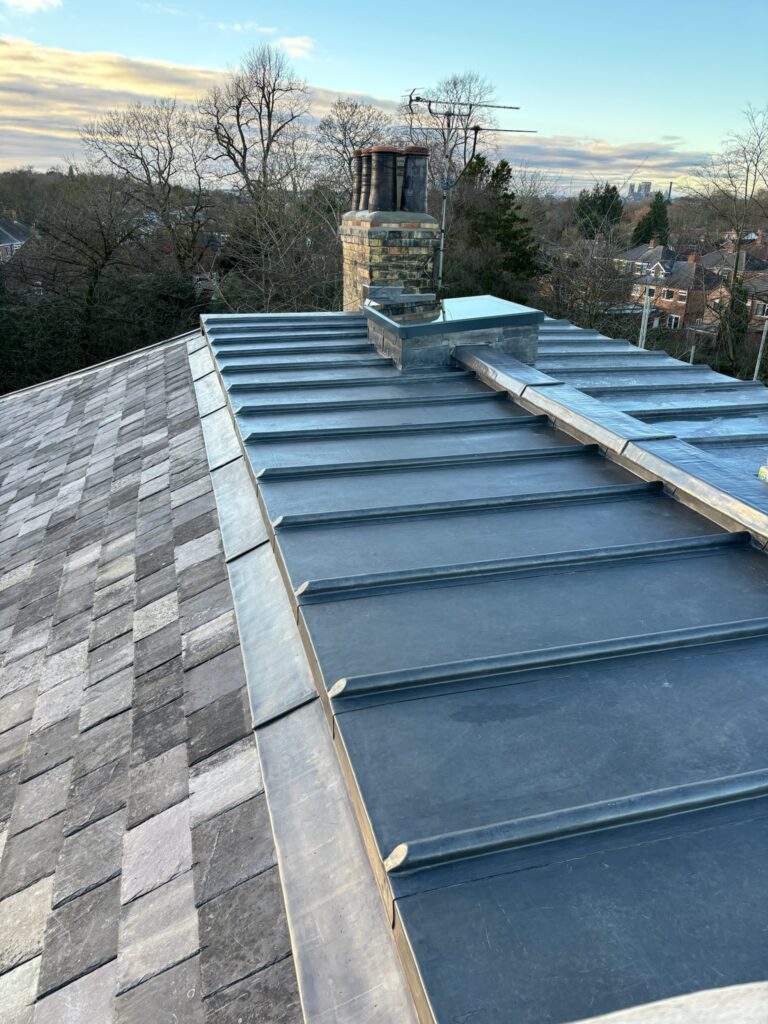
Failure to accommodate thermal movement represents one of the most structurally damaging lead flashing mistakes. Lead expands considerably with temperature change; thus, exceeding the LSTA’s maximum bay dimensions almost guarantees future deformation. Expansion-related issues often remain hidden for months or years after installation, only becoming apparent when visual defects emerge.
Typical long-term symptoms include:
- Symmetrical buckling across the bay centre
- Fracture lines forming at restrained edges
- Progressive creep down pitched surfaces
- Mortar fractures along chase lines
Surveyors often describe these failures as “design–performance gaps” because the installed detail is nominally functional but lacks compliance with thermal allowance standards. The root cause is invariably a failure to follow bay sizing guidance or a deliberate attempt to create continuous lengths for visual convenience—an understandable but unacceptable form of lead flashing mistakes.
The Planning Portal provides further context on moisture control and external detailing: https://www.planningportal.co.uk/info/200135/approved_documents/74/approved_document_f
6. Chase Formation and Incorrect Pointing
Poor chase detailing is another widespread category of lead flashing mistakes. A chase that is too shallow prevents the lead from seating correctly; a chase that is too deep or uneven compromises the stability of the masonry. Equally, a chase cut at the wrong angle may promote water tracking or weaken the mortar bed.
Correct chase formation requires:
- A minimum depth of 25mm
- Uniform width and clean cutting
- Lead wedges installed at 450mm intervals
- Flexible, movement-compatible pointing materials
Building pathology reports often highlight staining patterns around defective chases. Mortar displacement or cracking provides early visual evidence that the flashing has exerted pressure due to thermal movement or incorrect restraint. These symptoms are closely associated with lead flashing mistakes involving chase preparation and anchoring.
7. Complex Junction Failures: Chimneys, Parapets and Abutments
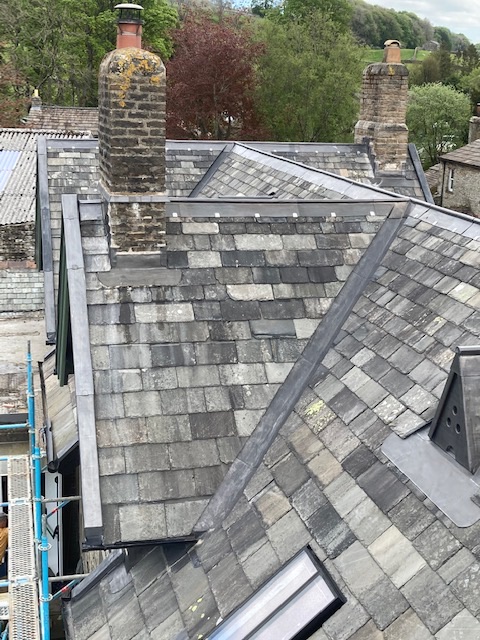
Complex roof junctions remain the most common sites where lead flashing mistakes are identified. Chimneys, parapets and side abutments require precise sequencing and integration of multiple components—soakers, step flashings, back gutters, front aprons, and saddle pieces.
Common errors surveyed include:
- Missing or undersized back gutters
- Incorrect saddle formation where pitches intersect
- Step flashings installed in the wrong order
- Insufficient upstand heights to resist wind-driven rain
- Inappropriate lead codes for exposed or elevated locations
Surveyors frequently identify moisture ingress around chimneys where detailing deviates from BS 6915. Even with otherwise correct workmanship, a single misaligned step flashing can allow years of intermittent moisture penetration. These lead flashing mistakes often require full reconstruction rather than isolated repair due to the interdependent nature of the components.
Buy Technical-Grade Rolled Lead Sheet
Correcting lead flashing mistakes often requires replacing the material entirely. All our lead rolls meet BS EN 12588 manufacturing standards.
Shop Rolled LeadAccess Leadwork Guides
Conclusion: Eliminating Lead Flashing Mistakes Through High-Quality Design and Execution
Roof longevity depends on strict adherence to BS 6915, LSTA detailing standards, and sound understanding of lead’s behaviour under thermal loading. The seven categories of lead flashing mistakes outlined above represent the root causes of most moisture ingress and failure patterns recorded by surveyors. By applying evidence-based design principles, selecting the correct materials, and avoiding common detailing errors, installers can deliver leadwork that performs for decades rather than years.
A comprehensive understanding of these mechanisms is essential not only for installers but also for architects, surveyors, conservation officers, and property owners. By addressing these technical pitfalls proactively, buildings achieve significantly greater resilience and reduced maintenance expenditure over their service life.