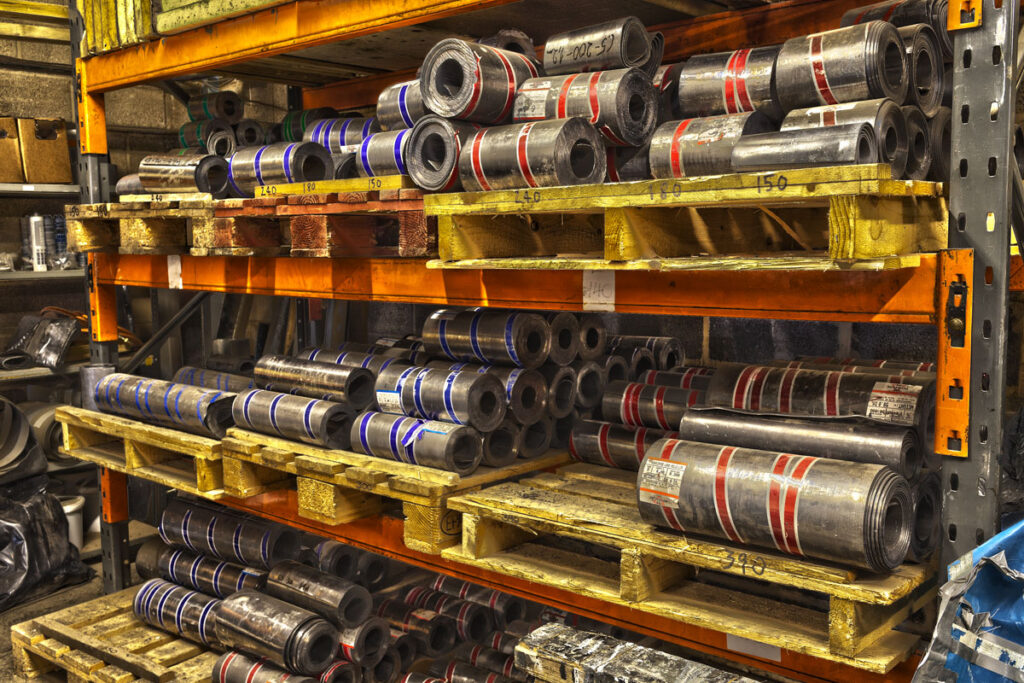
Code 3 Lead
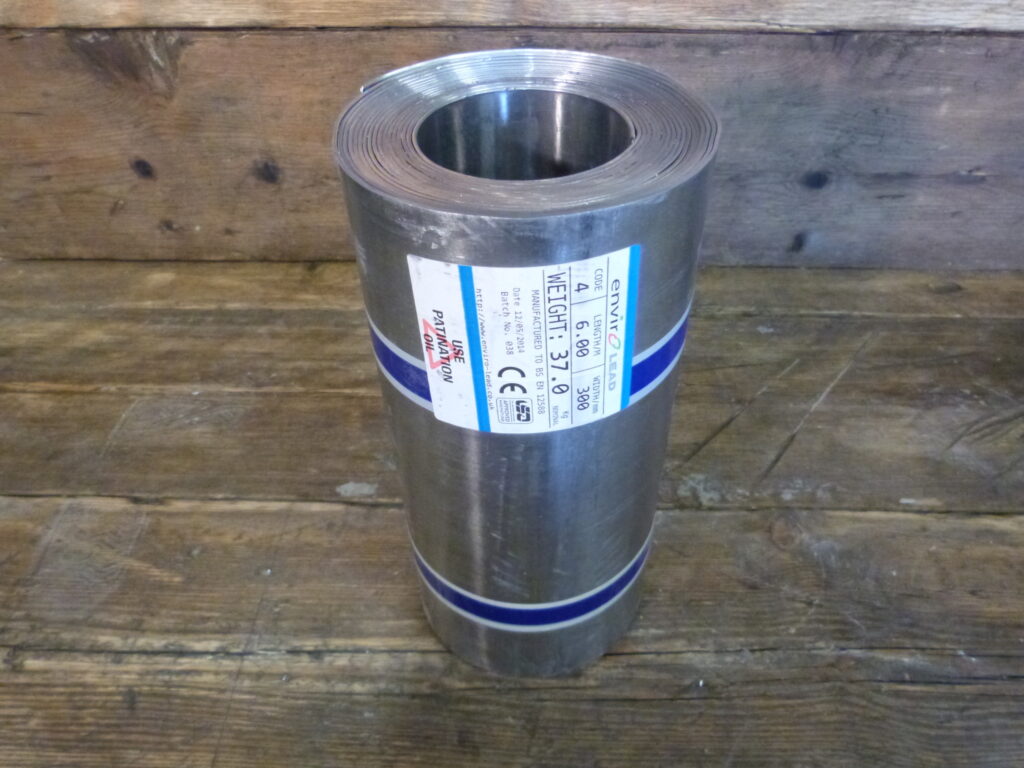
 Code 4 Lead
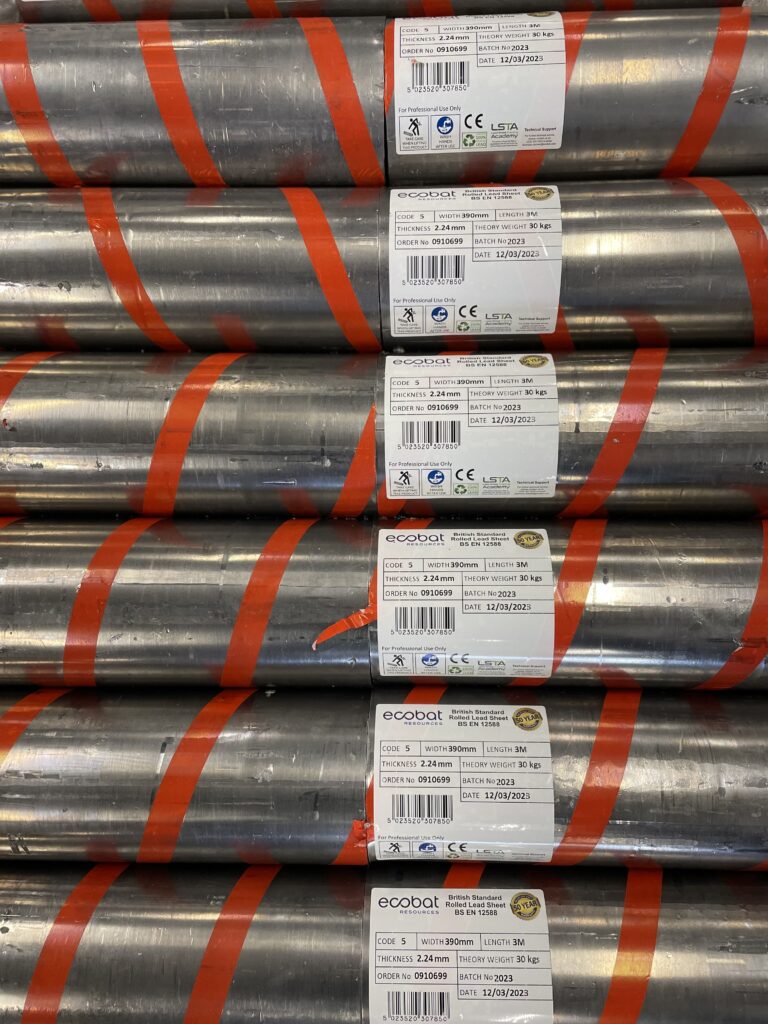
 Code 5 Lead
 Code 6 Lead






17 Pro Lead for Chimneys Tips: Aprons, Soakers & Back Gutters Explained


Lead for Chimneys — Overview
Lead for chimneys is all about controlling where water goes as it hits brickwork, mortar joints and roof coverings. The four classic parts — front aprons, step soakers, back gutters and saddles — combine to shed water cleanly and allow thermal movement. When lead for chimneys is sized and dressed properly, chimneys stop being leak magnets and become quiet, reliable details for decades.
Unlike a generic flashing roll, lead for chimneys is a system: each piece overlaps the next in the direction of flow and each interface is generous enough for exposure and pitch. That’s why this guide focuses on the anatomy, code choices and a simple installation workflow you can follow every time. Use our shoppable lead chart to pick codes and quantities quickly for your chimney set.
Anatomy of Lead for Chimneys (Simple Diagram in Words)
- Front apron: The lower piece across the downslope face. Directs water onto the covering below.
- Step soakers: Interleaved with each course on the sides to steer water back onto the roof and into the back gutter.
- Back gutter (secret gutter): A wide catchment piece behind the stack, turning water to the sides.
- Saddle / cricket: A small ridged diversion where the ridge meets the chimney or on large stacks behind the back gutter to split flow.
Each component in lead for chimneys laps the next piece below it. The brickwork chase or stepped chase locks the weathering against the wall; the laps over the roof covering ensure water always finds the safe path down the slope.
Codes & Sizing for Lead for Chimneys
Choosing the right code of rolled sheet keeps lead for chimneys durable without being so stiff that it cracks at bends. Code 4 is often used for soakers on many slating jobs; Code 5 is a popular choice for aprons and back gutters where extra stiffness and life are wanted; Code 6 is commonly used for larger spans or exposed sites. Use the table as a quick planning cue, then refine to site and exposure.
| Component | Typical Code | Typical Dimensions | Notes |
|---|---|---|---|
| Front apron | Code 5 (Code 4 in sheltered) | Cover 150–200 mm on tiles/slates; 25–40 mm into chase | Add a small welt/drip; keep laps generous at low pitch |
| Step soakers (side) | Code 4 | Upstand 75–100 mm; cover 100–150 mm | One per course; interleave with slates/tiles |
| Back gutter (secret) | Code 5–6 (exposure dependent) | Width often 300–500 mm | Give it proper fall and side upstands |
| Saddle / cricket | Code 5–6 | Width to span stack; ridge or peaked form | Diverts water; mandatory behind wide stacks |
Need a quick pick list for lead for chimneys? Use our shoppable lead chart to choose codes and quantities for aprons, soakers and back gutters in a single pass.
Front Aprons: The First Line of Defence
The front apron is the most visible part of lead for chimneys. It should land neatly on the covering with a small drip/welt so water cannot creep back. Into the brickwork, chase depth and wedge spacing matter; the goal is a tight, even line that sheds onto the next course of covering without ponding.
- Keep the apron cover generous at low pitches or exposed sites.
- Form a crisp drip; avoid thin knife-edges that fatigue.
- Chase: clean cut, consistent depth, suitable wedges; point neatly.
Step Soakers: Side Protection that Works
Step soakers interleave with each course to steer water off the chimney cheek and back onto the roof. In lead for chimneys, soakers do the quiet, essential work that prevents wind-driven rain from entering joints. Each piece has an upstand, a cover over the slate/tile and a small lap to the piece below.
- One soaker per course; never try to “stretch” spacing.
- Upstand high enough to stay out of splash zones; dress to brick profile if required.
- Keep laps aligned with the fall; avoid reverse laps at step changes.
Back Gutters: Where Most Leaks Begin (and End)
The back gutter catches water behind the stack and turns it to the sides. If undersized or flat, it ponds and overflows. For robust lead for chimneys, give the back gutter enough width and upstand, a real fall, and clear pathways to the side courses.
- Set fall toward one or both sides; never dead-flat.
- Side upstands must be tall enough and continuous into the soaker line.
- On big stacks or shallow pitches, add a saddle or cricket to split the flow.
Saddles / Crickets: Small Features, Big Wins
A saddle is a small pitched piece behind the stack that divides water and reduces debris build-up. On long ridges or wide stacks, this upgrade transforms the reliability of lead for chimneys. Fabricate in Code 5–6, lap into the back gutter and into the covering up the slope.
Lead for Chimneys — Step-by-Step Workflow
- Survey & set-out: Confirm pitch, exposure, covering type and chimney dimensions. Sketch the apron/soaker/back gutter plan.
- Chases: Mark and cut chases or stepped chases to consistent depth. Vacuum dust for a clean bond.
- Front apron first: Form drip/welt, dress to covering, set generous cover; wedge and point the chase neatly.
- Step soakers: Install one per course, interleaving with the covering. Maintain upstand height and lap direction.
- Back gutter: Size for flow, set real fall, ensure continuous side upstands. Tie into the soakers at both cheeks.
- Saddle/cricket (if used): Fabricate to span the stack; lap into the back gutter and up the slope.
- Fixings: Use copper/stainless in designated zones only. Don’t pin where movement is needed.
- Finish: Consider patination oil to control early carbonate staining on visible faces.
- Checks: Hose-test from above the detail (never upwards). Confirm no reverse laps or capillary paths.
Common Mistakes with Lead for Chimneys
- Too small a back gutter: Leads to ponding/overflow. Increase width, upstands and fall.
- Skipping soakers: Single long pieces can trap water. Use one soaker per course.
- Reverse laps: Happens at step transitions — always lap with the fall.
- Over-fixing: Traps movement; causes splitting at bends.
- Shallow upstands: Splash-back defeats the weathering; raise heights to suit exposure.
Maintenance & Lifespan
With good practice, lead for chimneys performs for decades. Clear debris from back gutters, check mortar pointing in chases, and inspect after storms. A light coat of patination oil at install keeps early run-off marks off light stone/render. Most call-backs trace to undersized gutters, reverse laps or failed pointing — not the lead itself.
Buying Guide — Everything You Need for Lead for Chimneys
Codes 3–8 for aprons, soakers & gutters Fixings, Clips & Nails
Copper/stainless for durable work Lead Underlay & Tapes
Protects the deck and helps airtightness Sealants & Patination Oil
Finish cleanly, reduce staining
Speed up specifying lead for chimneys with our shoppable lead chart — add codes and quantities for aprons, step soakers, back gutters and saddles in one go.
Cost & Value: Why Good Leadwork Wins
Chimney details are small but high-risk. Investing in properly sized lead for chimneys reduces leak risk dramatically. Material cost is a small slice of the overall job; labour quality and correct codes dominate long-term value. On heritage and visible roofs, lead is the finish surveyors expect and buyers notice.
5-Minute Site Checklist (Lead for Chimneys)
- Front apron cover generous enough for pitch/exposure?
- One lead for chimneys soaker per course, correct upstand and lap?
- Back gutter sized with real fall and continuous side upstands?
- Saddle/cricket installed behind wide stacks or shallow pitches?
- Chases cleanly cut, wedged and pointed? No reverse laps anywhere?
Case Study: Red-Brick Stack with Slate Roof
On a 38° natural slate roof with a 700 mm wide red-brick stack, we specified lead for chimneys as follows: Code 5 front apron with a neat drip, Code 4 step soakers at every slate course, a Code 6 back gutter at 420 mm overall width with 90 mm side upstands, and a Code 6 saddle to split flow. Chases were cut to a consistent depth and wedged; pointing finished cleanly. A light application of patination oil across exposed edges controlled early run-off marks. Hose-testing from above confirmed clean flow paths with zero back-wash — a strong example of reliable lead for chimneys.
Need accredited installers? Get a quote from The Lead Lads — leadwork pricing & services or our heritage partner GNR Roofing.
Further reading: the Rolled Lead Sheet Manual (LSTA) is an industry mainstay for lead for chimneys principles and detailing.
Lead for Chimneys: Frequently Asked Questions
What does the back gutter do in lead for chimneys?
It collects water behind the stack and diverts it to the sides, preventing ponding and leakage where flow concentrates.
Which code should I use for aprons and soakers?
Many jobs use Code 5 for aprons and Code 4 for soakers; step up to Code 6 on exposed sites or wide spans.
Do I need a saddle/cricket with lead for chimneys?
On wide stacks or shallow pitches, a saddle splits the flow and keeps the back gutter from overloading — strongly recommended.
Can I install one continuous side flashing instead of soakers?
Best practice is one soaker per course interleaved with the covering; long continuous pieces can trap water and fail sooner.
Should I use patination oil on lead for chimneys?
It isn’t structural but helps control early white staining and keeps visible faces tidy during the first weathering period.