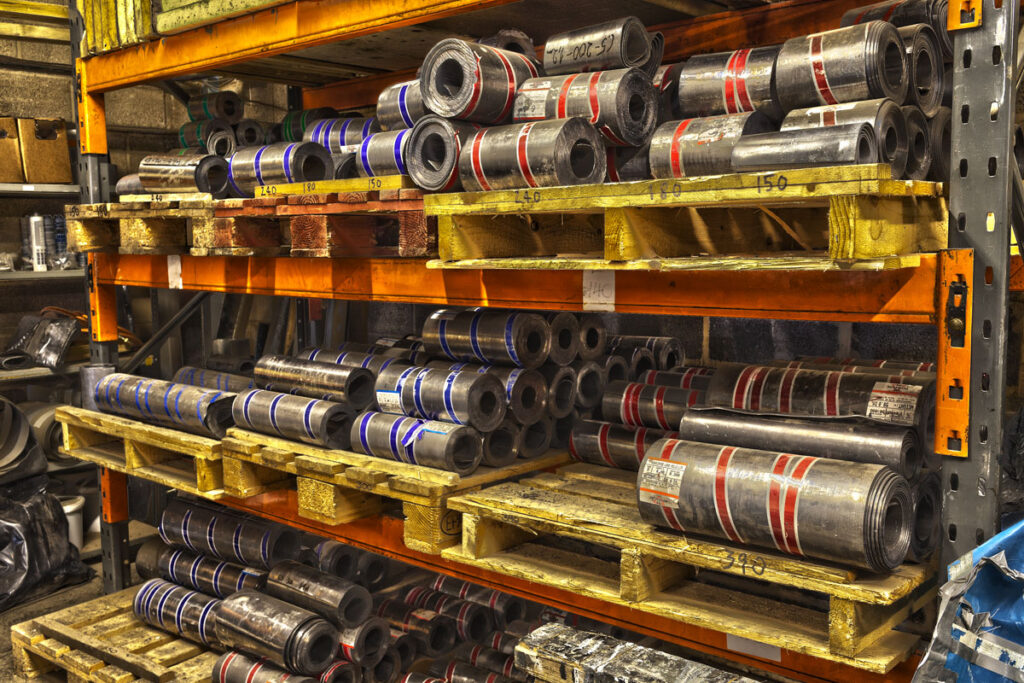
Code 3 Lead
 Code 4 Lead
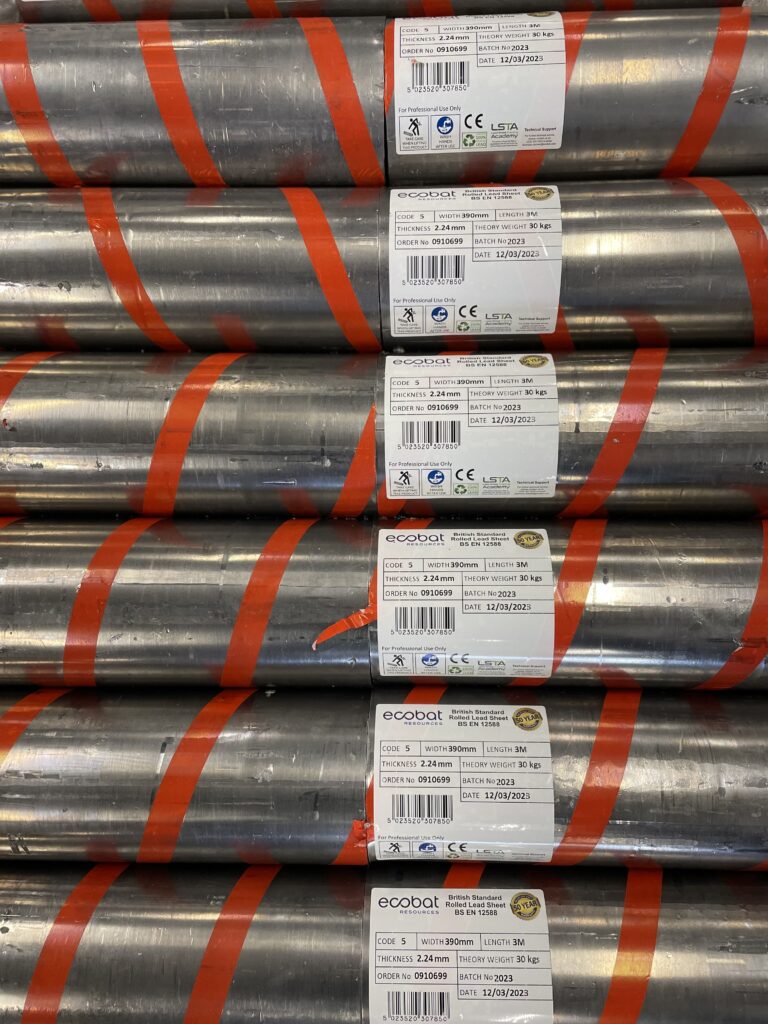
 Code 5 Lead
 Code 6 Lead






Lead Drips & Clips: Copper vs Stainless (BS 5534)


Lead Drips & Edge Clips — Copper vs Stainless
Correctly formed lead drips and well-placed copper or stainless steel clips at free edges are what keep façades clean and dry. This guide shows how to set oversail so water sheds clear of stone and brick, and compares roof verge oversail context from BS 5534 (min ~50 mm) with good practice in leadwork detailing.
Further reading: LSTA training resources and NFRC technical guidance for BS 5534/roof verge good practice.
In this guide
Why lead drips matter for façades
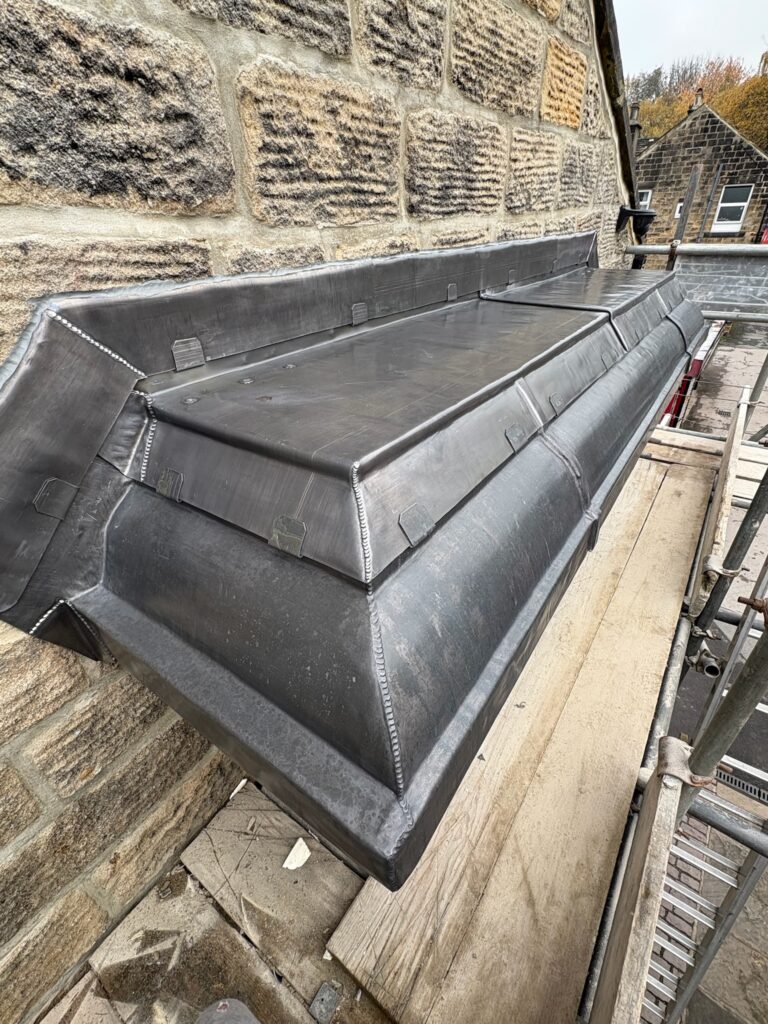
On heritage stone and modern brick alike, the first defence against damp staining is water control. Properly sized lead drips create a clean “break” in surface tension so runoff leaves the building, rather than tracking back into a joint or smearing contaminants down a wall. When you pair the drip with correctly tensioned edge clips, you control flutter, limit capillary creep and keep the sightline sharp.
Getting oversail right: throw, shadow line & BS 5534 context
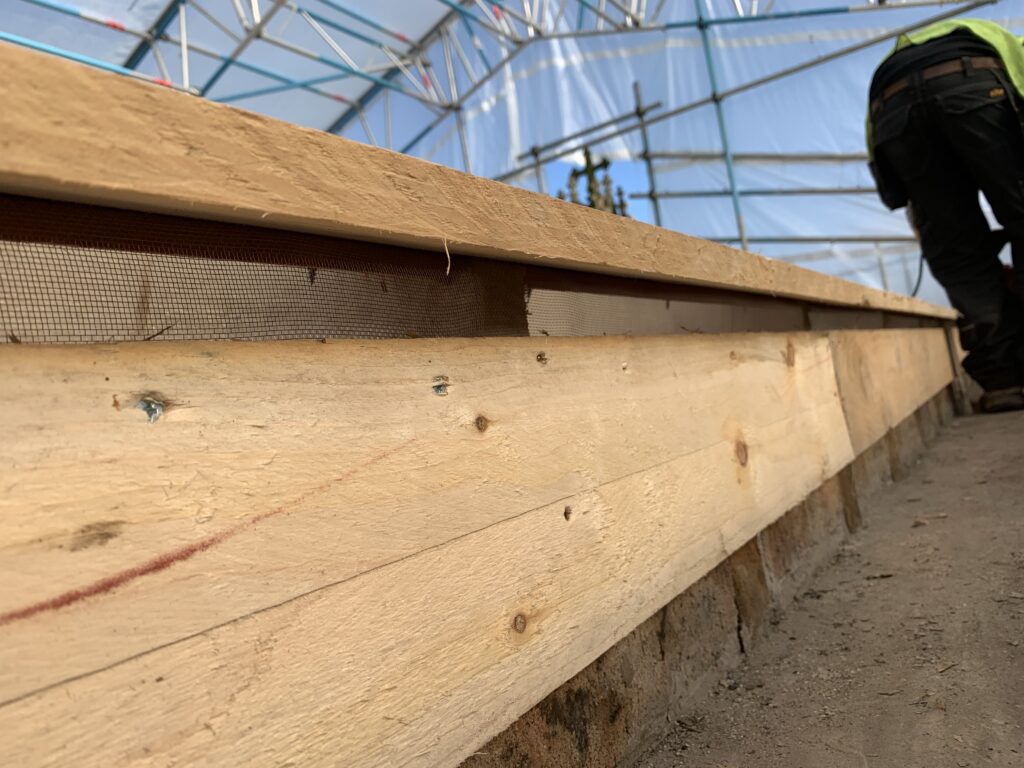
For slates and tiles, BS 5534 guidance for verge detailing commonly references a minimum oversail (often around 50 mm) to throw water clear at the edge. While BS 5534 is a pitched roofing standard rather than a leadwork code, the principle is instructive for sheet metal too: you need enough oversail to break surface tension and form a consistent throw line away from masonry.
- Lead drips over masonry: aim for a decisive shadow line and a drip edge that clears the face. Avoid micro-oversails that rely on perfection to work.
- Wind-driven rain: exposed sites need a deeper throw and tighter control of free edges via clips or continuous restraint.
- Maintenance reality: moss, dust and pollution blunt a fine drip; generous oversail keeps performance robust over time.
Copper vs stainless clips at free edges
Edge restraint is not about pinning the sheet rigid; it’s about controlled freedom. Clips should resist wind uplift while letting the metal expand and contract. Here’s how copper and stainless compare for supporting lead drips and free edges:
| Clip material | Strengths | Use cases | Notes |
|---|---|---|---|
| Copper | Workability; compatible with lead; traditional; great for discrete perimeter restraint. | Heritage details; curved cornices; subtle clip-and-strip restraint behind lead drips. | Pair with copper nails/screws where appropriate; avoid galvanic conflicts with adjacent metals. |
| Stainless (strip/clip) | High tensile strength; coastal durability; resists deformation under wind cycling. | Exposed parapets; long free edges; modern cappings where a crisp line under the drip is essential. | Use our Stainless Fixing Strip for continuous restraint below the drip line. |
In both cases, clip spacing and tension matter. Too tight and you choke movement; too loose and the edge chatters, flattening the drip and inviting back-tracking water.
How to form lead drips step by step
- Set the oversail: mark a clear throw—often 40–60 mm depending on exposure and façade geometry. Use BS 5534 verge oversail (min ~50 mm) as a comparative check for throw efficacy.
- Prepare the edge: install underlay to reduce drag; plan any continuous restraint (stainless strip) just back from the drip line so the lip can project freely.
- Pre-form the drip: dress the outer 20–25 mm over a former to create a crisp arris. Lead drips work by breaking surface tension—sharp beats mushy.
- Clip placement: position copper or stainless clips at calculated centres (closer on exposed edges). Allow sliding where needed; avoid fixing through the field of the sheet.
- Test with water: before final clean, run a light flow over the edge. Water should break cleanly off the drip. Adjust tension or arris angle if you see tracking.
- Finish: deburr edges, clean and apply Patination Oil to the exposed face to reduce early staining around the drip.
Edge details: cappings, cornices, flashings
Parapet & cornice cappings
Use a continuous stainless fixing strip beneath the lead drips on windward edges; add discrete copper clips at intervals on leeward edges. Keep the throw unbroken past mouldings so water clears the façade.
Aprons & cover flashings
At an apron finishing over stone, consider a deeper oversail with a sharper arris; use copper clip restraint to prevent lift under gusts without pinching movement.
Chimney back gutters
Back gutters need a decisive discharge. Form lead drips to throw water to the sides; use stainless strip to tame turbulence on exposed stacks.
Balcony & coping flashings
Urban wind shear flattens weak drips. Go stiffer on the lip and closer on clip centres; keep the underside clean so water breaks off reliably.
Common errors & quick fixes
- Drip too small: water tracks back. Re-form with a larger oversail and sharper arris; add stainless strip just behind the lip for edge stability.
- Over-clipped edge: movement locks and ripples appear. Reduce clip tension/quantity; let the sheet slide while keeping uplift in check.
- Galvanic mismatch: mixed metals corroding. Use compatible fixings and isolate dissimilar metals where needed.
- No underlay: drag at the edge blunts the drip effect. Fit underlay/building paper and refinish the arris.
- Early staining: apply Patination Oil correctly after clean down; confirm runoff has a clear path off the lead drips.
Quick-buy links
FAQs — lead drips
How much oversail should I allow on lead drips over stone?
Enough to create a clear throw and shadow line—often 40–60 mm depending on exposure. Use the BS 5534 verge concept (min ~50 mm oversail on tiles/slates) as a reality check, then tune for your lead detail and site conditions.
When should I choose copper clips vs stainless strip?
Copper clips are discreet and highly workable for traditional details. Stainless strip adds strength and is ideal for long, exposed free edges where you need a very stable drip line.
Do clips stop movement?
No—clips restrain uplift while allowing sliding. Over-tight restraint is a common cause of ripple and premature fatigue near lead drips.
Will patination oil improve drip performance?
It improves appearance and reduces early staining; performance still depends on a crisp arris, correct oversail and balanced clip restraint.
Any training resources?
Yes—see LSTA for courses and NFRC for general standards guidance.