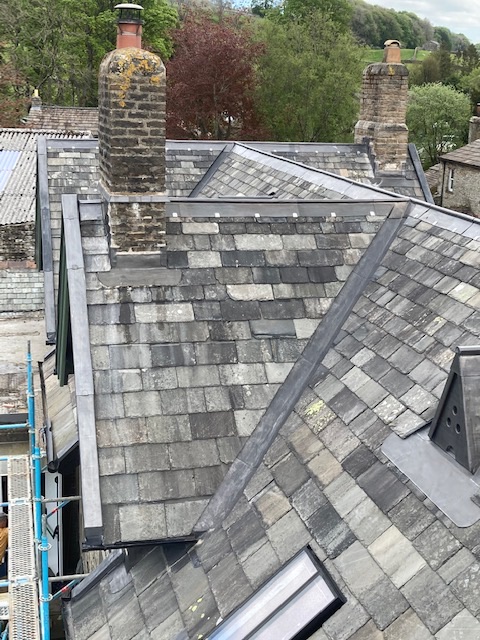
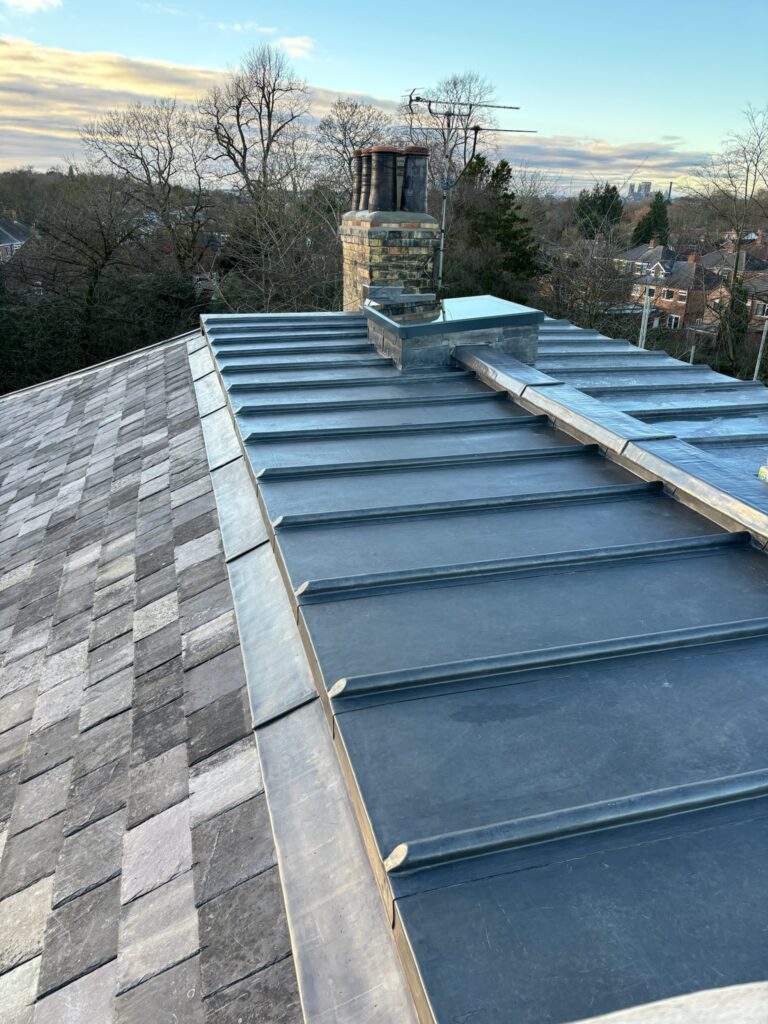
Code 3 Lead
 Code 4 Lead
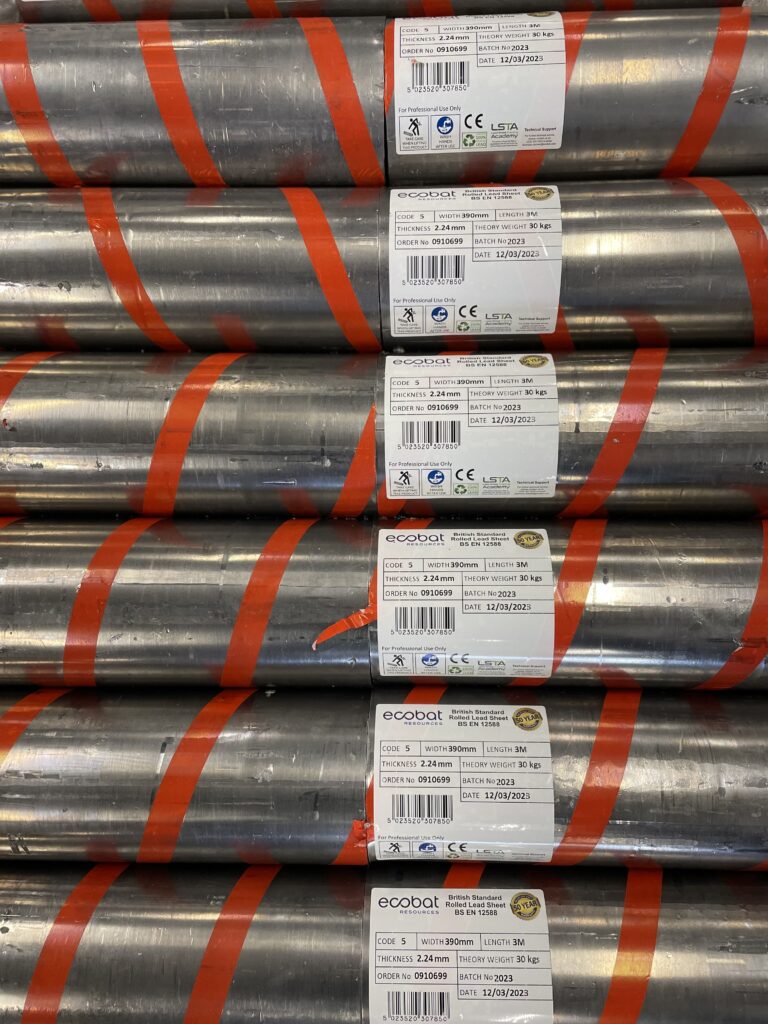
 Code 5 Lead
 Code 6 Lead






Lead Parapet Cappings: The Complete Guide (BS 6915)


Lead Parapet Cappings — The Complete Guide (BS 6915)
Lead parapet cappings protect the most vulnerable edge on a façade. Get the oversail and drips right, provide movement joints, and restrain edges intelligently and the copes will shed water cleanly for decades. This guide sets out a practical approach aligned to BS 6915 principles—then gives you fast, trade-ready buying links.
In this guide
- Why lead parapet cappings fail (and how to prevent it)
- Oversail & drip strategy for clean façades
- Movement joints: roll caps, cover strips & centres
- Restraint without lock-down: clips, strips & spacing
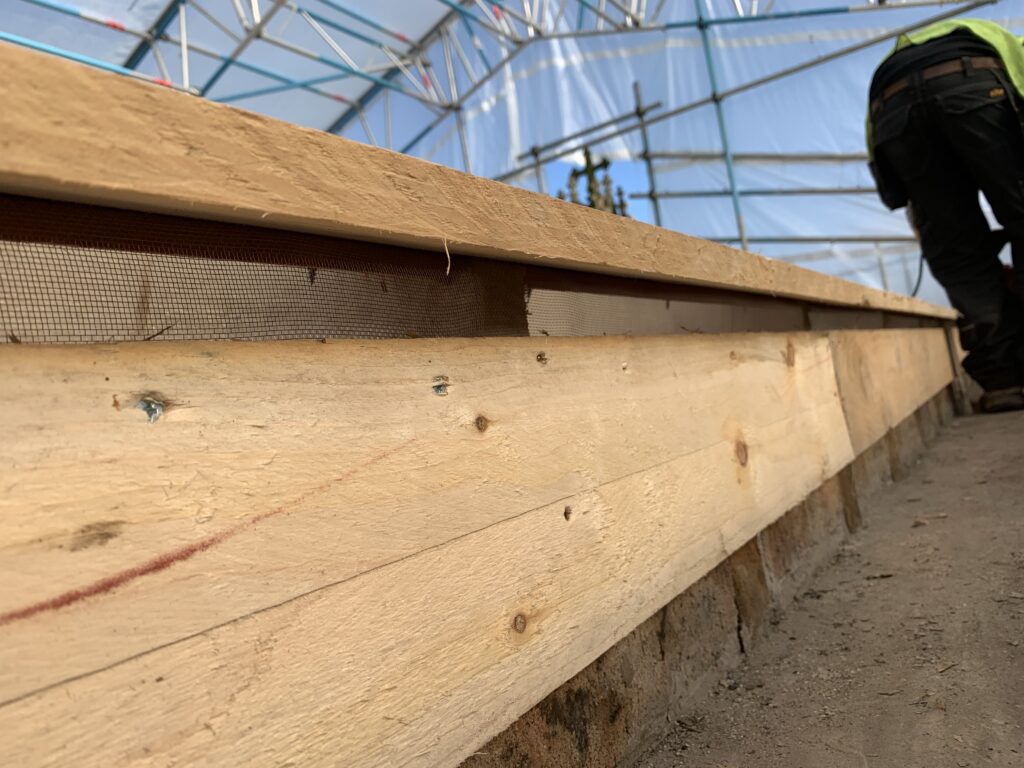
- Substrate, falls & underlay
- Detail patterns that just work (heritage & modern)
- On-site checks & troubleshooting
- Quick-buy grid
- FAQs
Why lead parapet cappings fail (and how to prevent it)
Common failures have the same root causes: inadequate oversail so water tracks into the wall; no drip arris so moisture clings to the underside; missing or over-wide movement joints that concentrate stress; and rigid restraint that traps thermal movement. Designing lead parapet cappings is simple when you respect four ideas—throw the water, allow the metal to move, restrain uplift intelligently, and separate the lead from the substrate.
Oversail & drip strategy for clean façades
Water must break cleanly away from the cope. Aim for an oversail and crisp drip arris that throws water clear of the masonry profile—mouldings, cornice steps and rough faces increase the risk of back-tracking. On exposed sites, choose a bolder oversail and a stiffer lip.
- Arris geometry: a sharp 20–25 mm drip arris outperforms a soft turn; it breaks surface tension decisively.
- Shadow line: set a consistent shadow line on both sides of the cope; avoid “micro-oversail”.
- Wind-driven rain: deeper throw and closer clip centres help maintain a clean break in gusts.
Movement joints: roll caps, cover strips & centres
Lead moves with temperature. Long, uninterrupted sheets tend to ripple or fatigue at the first restraint. Break the capping into bays with movement joints at repeatable centres:
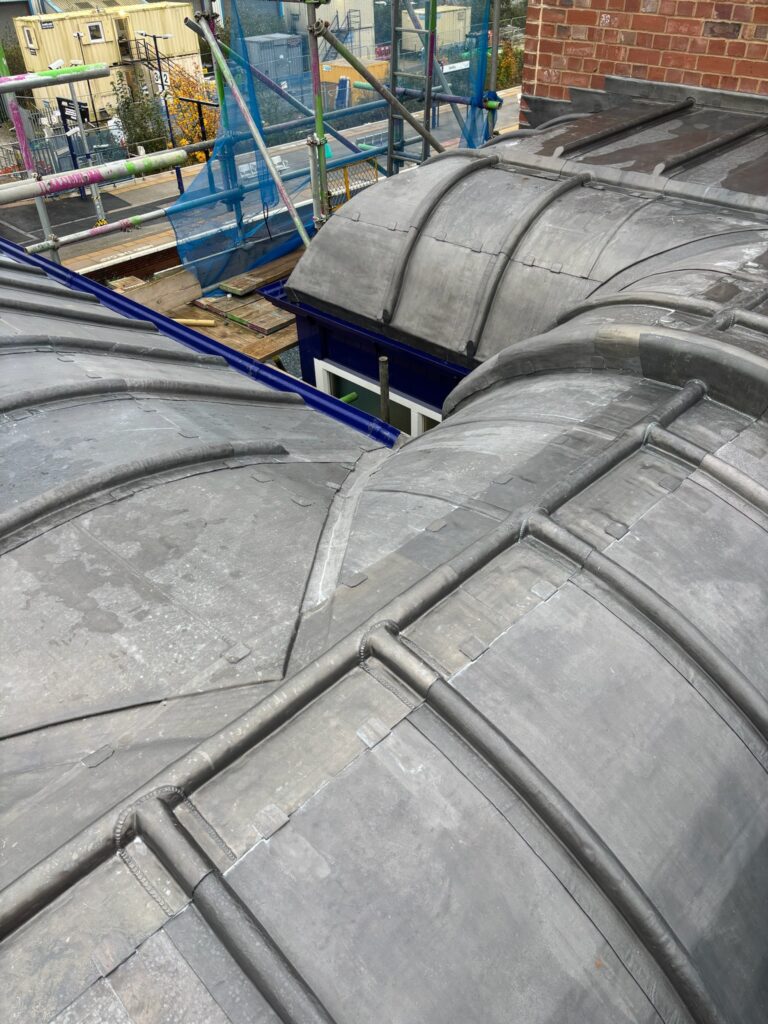
- Wood-cored roll caps: classic look, generous movement, excellent drainage over the crown. Shop: Wood-Cored Roll.
- Butt joints with cover strips: lower profile for modern façades; ensure the cover sheds properly and the gap accommodates expansion.
- End joints & stop ends: always allow for expansion at returns and stop ends; never hard-pin the field.
Choose bay width/length to balance handling, wind exposure and thermal gain (dark façades get hotter). Movement joints keep lead parapet cappings flat and quiet over time.
Restraint without lock-down: clips, strips & spacing
Restraint prevents wind uplift and flutter but must allow sliding. Think “control, not clamp”:
| Restraint | Where it shines | Notes |
|---|---|---|
| Stainless fixing strip | Long, exposed edges; coastal sites; modern crisp profiles. | Continuous restraint just behind the drip line—use our Stainless Fixing Strip. Do not choke movement; keep the lip free. |
| Copper clips/strips | Heritage mouldings; curved cornices; discreet restraint. | Workable and compatible with lead. See our guide: Copper Strips in Lead Roofing. |
| Discrete clip pairs | Localised uplift zones (corners, returns). | Set closer centres on windward sides; allow sliding in the field. |
Over-restraint is a chief cause of ripples and noise. Under-restraint flattens the drip and invites back-tracking water. Find the balance and keep the movement path clear.
Substrate, falls & underlay
Substrate quality and separation make or break performance:
- Falls: provide a slight fall to one side where feasible; water should never “sit” behind a roll.
- Underlay: reduce drag and isolate the lead from resinous timber; underlay keeps movement smooth and protects the underside finish. Shop: Lead Underlay & Building Paper.
- Fixings: choose compatible nails/screws; fix high and where details allow sliding. Shop: Leadwork Fixings.
Detail patterns that just work (heritage & modern)
Heritage cornice with roll caps
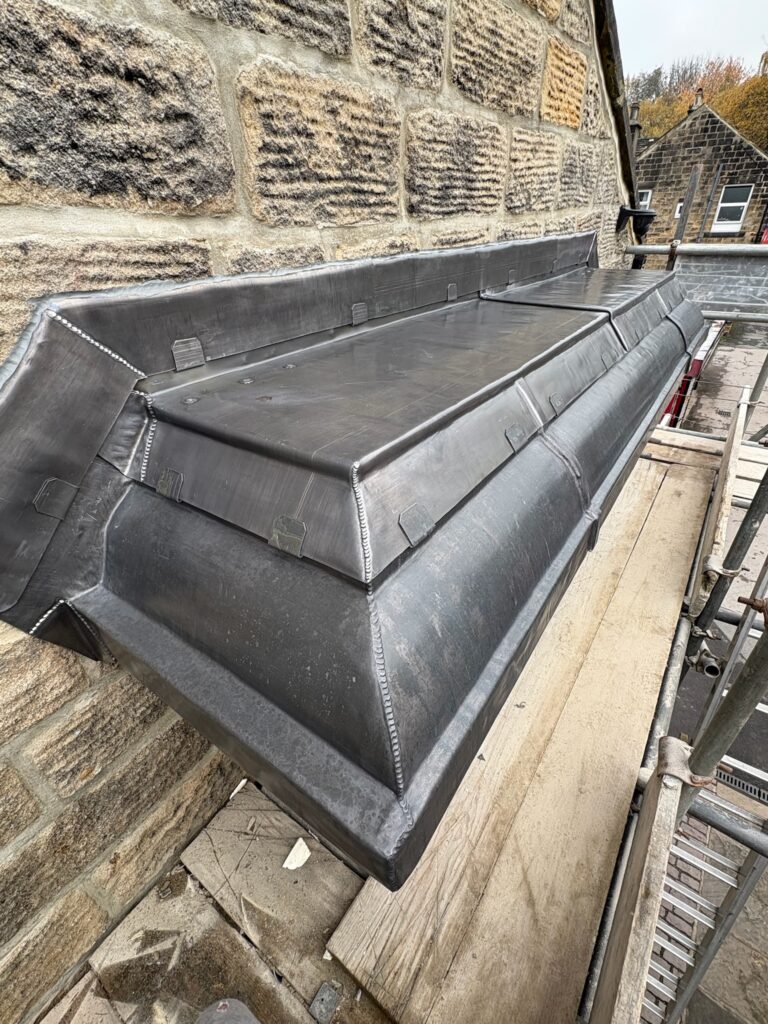
Use wood-cored rolls at regular centres; form decisive drips over mouldings with generous oversail. Pair copper clips on the leeward side and a stainless strip just back from the windward lip.
Modern parapet with low-profile covers
Butt bays under a low cover strip; maintain a crisp 20–25 mm drip. Continuous stainless restraint improves edge stability under gusts without locking movement.
Returns & stop ends
Stop ends need expansion space and a clean discharge path. Never hard-pin the last bay—lead parapet cappings should slide as temperatures swing.
Interface with roof membranes
Coordinate with waterproofing layers; ensure laps and terminations do not block the drip under-face or the movement path.
On-site checks & troubleshooting
- Water test: run a light hose along the cope; flow should break cleanly off both drips with no back-tracking on mouldings.
- Movement freedom: on a warm/cool cycle, observe slight sliding at joints; if not, review restraint points.
- Noise/hum: increase clip density where chatter occurs; keep the lip free so the drip doesn’t flatten.
- Early staining: clean down and apply Patination Oil to faces and drips after installation.
Quick-buy grid
Dimensioning Cheatsheet for Lead Parapet Cappings (Quick Reference)
This quick reference helps you set oversail, arris depth, joint centres and restraint spacing so lead parapet cappings shed water cleanly and stay quiet through hot/cold cycles.
| Detail | Typical Range | Why it matters |
|---|---|---|
| Oversail (each side) | 40–60 mm (exposed/coastal: 55–70 mm) | Creates a decisive throw and shadow line to keep façades clean. |
| Drip arris (lip depth) | 20–25 mm with a sharp break | Breaks surface tension—weak lips let water track back under the capping. |
| Movement joint centres | Set by code, width, exposure; keep bays manageable | Controls thermal movement and prevents rippling/fatigue at restraints. |
| Restraint spacing | Closer on windward edges; looser on leeward edges | Stops uplift without “locking” the field—movement must remain free. |
Use this with our related guides on lead drips & clips and lead expansion joints to finalise the detail.
Case Study A — Heritage Cornice (Limestone)
A conservation reroof required lead parapet cappings with pronounced oversail to protect soft stone. We used wood-cored roll joints at regular centres, a crisp 25 mm arris, and copper clip pairs on the leeward face with a stainless fixing strip set just behind the windward drip. A hose test showed clean discharge with no back-tracking across mouldings.
- Oversail: ~60 mm each side for deeper shadow line on profiled stone.
- Movement: roll caps at even centres to avoid stress at returns.
- Finish: wipe down and apply patination oil after cleaning.
Case Study B — Modern Parapet (Brick & Membrane)
A low-profile aesthetic favoured cover strips. To keep edges crisp, we combined continuous stainless fixing strip just inside the drip with tighter clip centres on the windward side. The lead parapet cappings retained a sharp 20 mm arris and shed rain cleanly across a season of high winds.
- Oversail: 45–55 mm tuned to brick course and coping width.
- Edge control: stainless strip for stability without choking movement.
- Compatibility: confirm fixings and isolate dissimilar metals where needed.
Buyer Playbook — Build Your Basket in Minutes
- Choose sheet: pick codes/widths for lead parapet cappings in Rolled Lead Sheet (BS EN 12588).
- Set lengths & mass: confirm quantity via the Lead Weight Chart.
- Movement components: add wood-cored roll or plan cover strips.
- Restraint: add stainless fixing strip and/or copper clips from Leadwork Fixings.
- Isolation & finish: include underlay/building paper and patination oil to protect the façade.
- Fast ordering: build the sizes in our Shoppable Lead Chart (mobile-first for on-site teams).
Want a standards refresher while you buy? See LSTA training and NFRC technical guidance.
More FAQs — Lead Parapet Cappings
How do I decide between roll caps and cover strips?
Roll caps suit heritage lines and permit generous movement; cover strips suit minimalist façades. Choose based on exposure, bay size and the visual brief—both protect lead parapet cappings when detailed correctly.
What’s a good oversail on rough-faced stone?
Lean towards the high end (55–70 mm) so the drip clears the irregular surface. Maintain a sharp arris and stable edge restraint.
Do continuous stainless strips stop the sheet from moving?
No—installed a little back from the drip, they resist uplift while letting the field slide. Avoid over-tightening and never fix through the field.
FAQs — lead parapet cappings
What oversail should I use on a windy, coastal site?
Aim for a bolder oversail with a sharp 20–25 mm drip and closer clip centres. Keep restraint just behind the lip so the drip edge stays free to project.
Roll caps or low-profile cover strips?
Roll caps are classic, forgiving and excellent on heritage cornices. Cover strips are discreet for modern lines. Both are valid if movement and drainage are respected.
Do continuous stainless strips stop movement?
No—when positioned just back from the drip they resist uplift but still allow sliding. Avoid over-tightening and never fix through the field of a bay.
Why underlay on copes?
Underlay reduces drag and isolates the lead from resinous timber so thermal movement stays smooth, reducing ripple risk.
How do I avoid early staining on a pale façade?
Use a decisive oversail and crisp drip; clean down and apply Patination Oil. Confirm discharge paths aren’t blocked by mouldings.