Code 3 Lead
 Code 4 Lead
 Code 5 Lead
 Code 6 Lead






Lead Valley Gutters: Complete #1 Design Guide (BS 6915)


Lead Valley Gutters — Complete Design Guide (BS 6915)
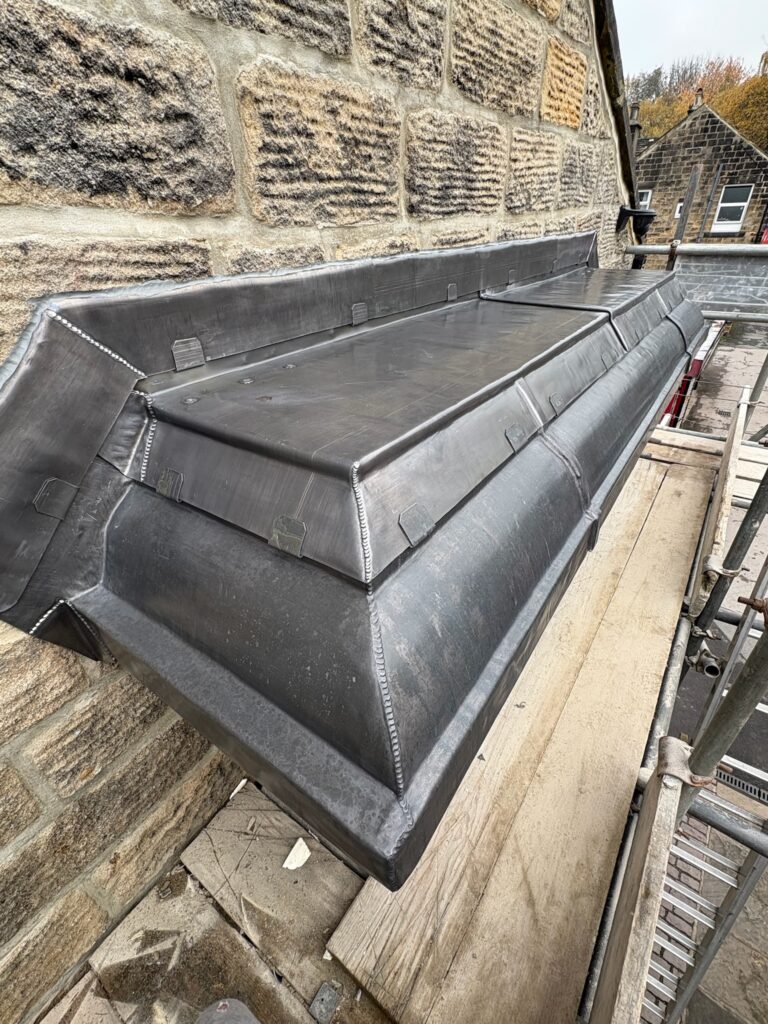
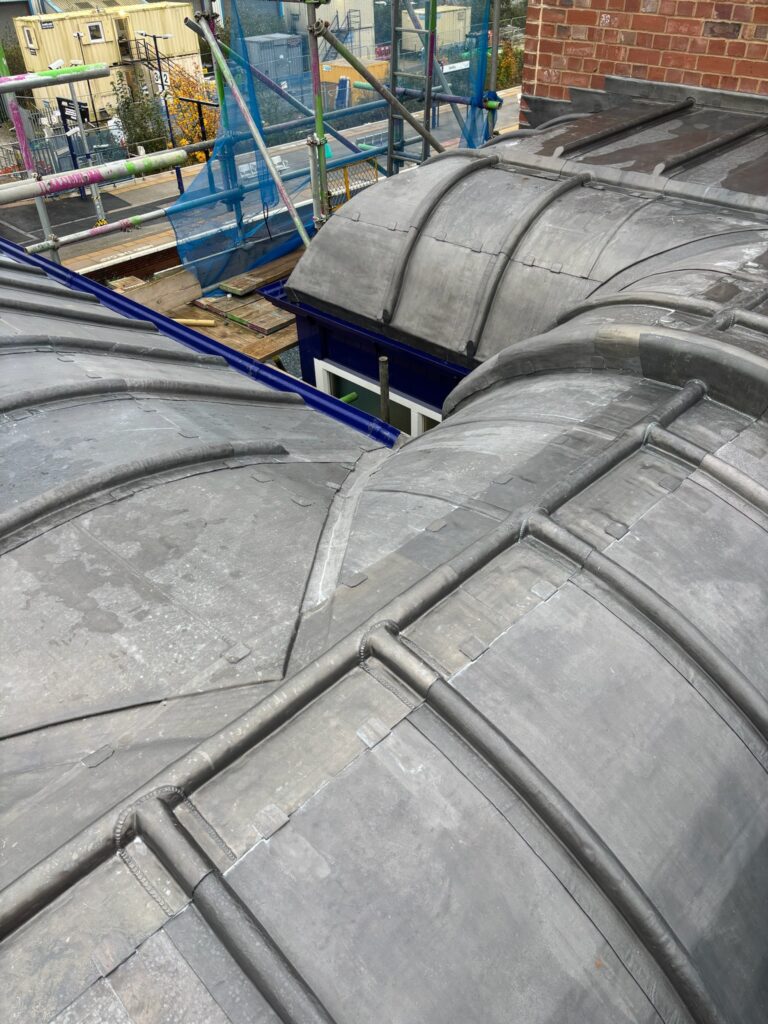
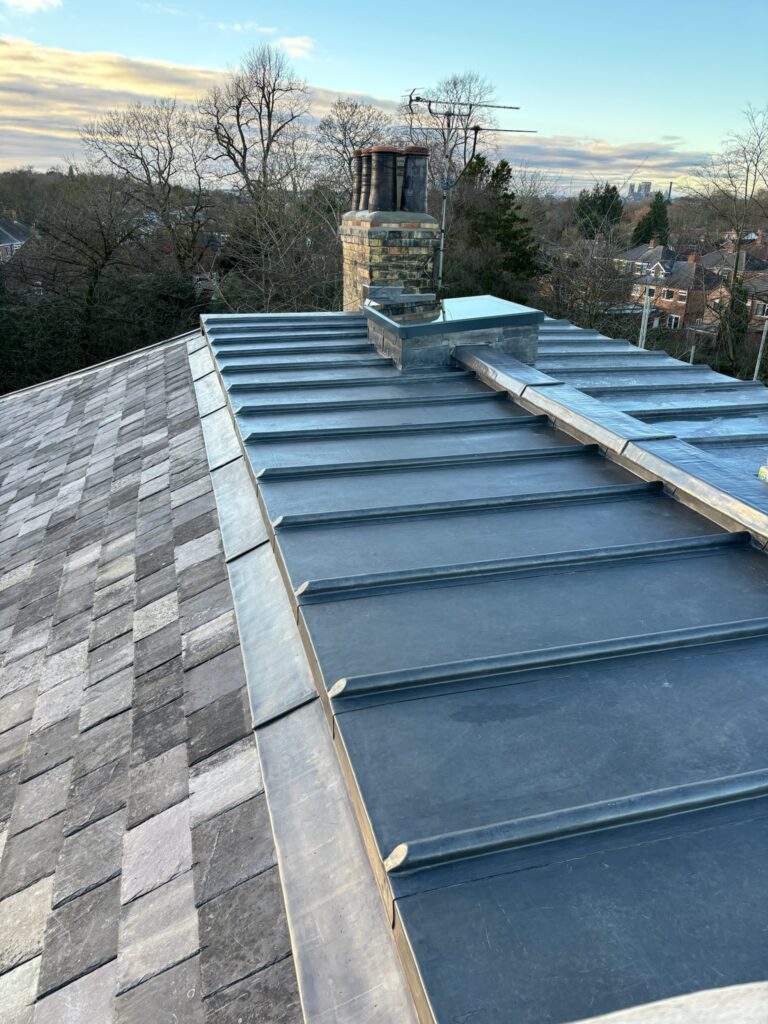
Lead valley gutters carry the highest concentrated flows on pitched roofs. Get the channel size, splash laps, step heights, fillets and outlets right—and valleys run quietly for decades. This guide turns BS 6915 principles into a practical build sequence, with fast, mobile-first ordering for materials.
In this guide
- Why lead valley gutters fail (and how to prevent it)
- Sizing the channel: width, depth & falls
- Splash laps, step heights & margin control
- Tilt fillets, soakers & arris geometry
- Outlets, weirs & debris strategy
- Secret gutters at abutments & dormers
- Movement, restraint & joint centres
- Substrate, underlay & fasteners
- Common errors & quick fixes
- Two mini case studies
- Quick-buy links
- FAQs
Why lead valley gutters fail (and how to prevent it)
Most issues trace back to undersized channels, weak splash laps, low step heights or poor outlet design. Add rigid restraint and missing underlay and you’ll see fatigue ripples, overflow, and staining. The fix is simple: size the trough for peak flow, elevate water paths, control turbulence at the margins, and let the metal move.
Sizing the channel: width, depth & falls
Practical sizing aligns with BS 6915 principles and the plan geometry of the roof:
- Width: dimension for peak design flow and add margin where hips, dormers or converging planes increase turbulence. Wider is safer on complex plans.
- Depth & falls: maintain a steady fall to the outlet; deepen the central trough with rising sides so splash stays inside the valley.
- Returns: modest returns at margins help contain spray but never replace correct splash laps.
Use our Lead Weight Chart and Lead Codes Explained to pick the correct code/widths for span and duty, then build your basket in the Shoppable Lead Chart.
Splash laps, step heights & margin control
Splash control is the heart of reliable lead valley gutters. Where high-velocity runoff meets oncoming courses, spray wants to leave the trough. Your response is deliberate elevation and sharp geometry:
- Splash laps: dress margins so water rises under coverings and returns to the trough; extend laps on exposed roofs.
- Step heights: small, repeatable steps break lateral flow; sharp beats soft here.
- Edge stiffness: keep margins crisp—weak edges flutter, flicking spray outward.
Tilt fillets, soakers & arris geometry
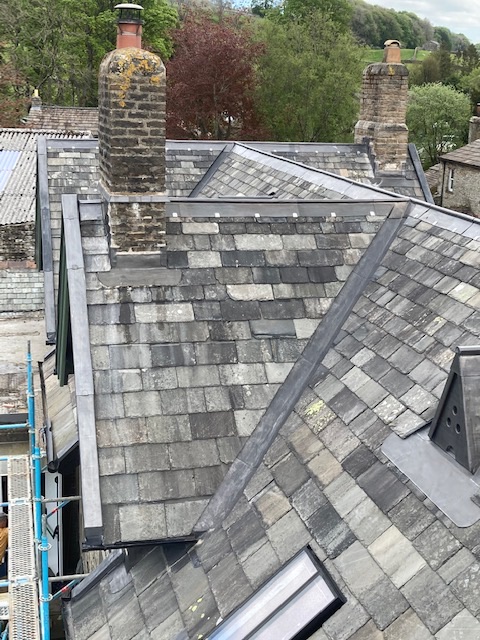
Tilt fillets lift the tails of slates/tiles beside the valley so water commits to the channel. With close mitres and secret details, soakers bridge coverings and keep capillary paths out of the roof. A crisp arris at the margin persuades water into the valley rather than across it.
Outlets, weirs & debris strategy
Outlets set capacity—don’t choke a well-sized channel at the final step. Good practice for lead valley gutters includes:
- Generous outlet area: keep transitions smooth; avoid sudden necking into small weirs.
- Leaf management: design access for cleaning or fit guards appropriate to local debris; guards must not halve the free area.
- Weir height: control ponding; standing water shortens life and exploits weak laps.
Secret gutters at abutments & dormers
Secret gutters concentrate flow beside upstands and dormer cheeks. They’re less forgiving: a small sizing error causes staining and ingress. Apply the same logic as for lead valley gutters, but assume stronger cross-winds and more turbulence. Keep inspection routes and confirm discharge at both ends before covering.
Movement, restraint & joint centres
Valleys run hot and cold; never hard-pin the field. Break lengths into bays and balance restraint so the channel stays quiet:
- Movement joints: coordinate with your overall movement design so stress dissipates evenly.
- Restraint: use copper clips for discreet control or a stainless fixing strip a little back from the margin where uplift is high (see Copper Strips and Lead Drips & Clips).
- Finish: clean down and apply Patination Oil at laps and margins.
Substrate, underlay & fasteners
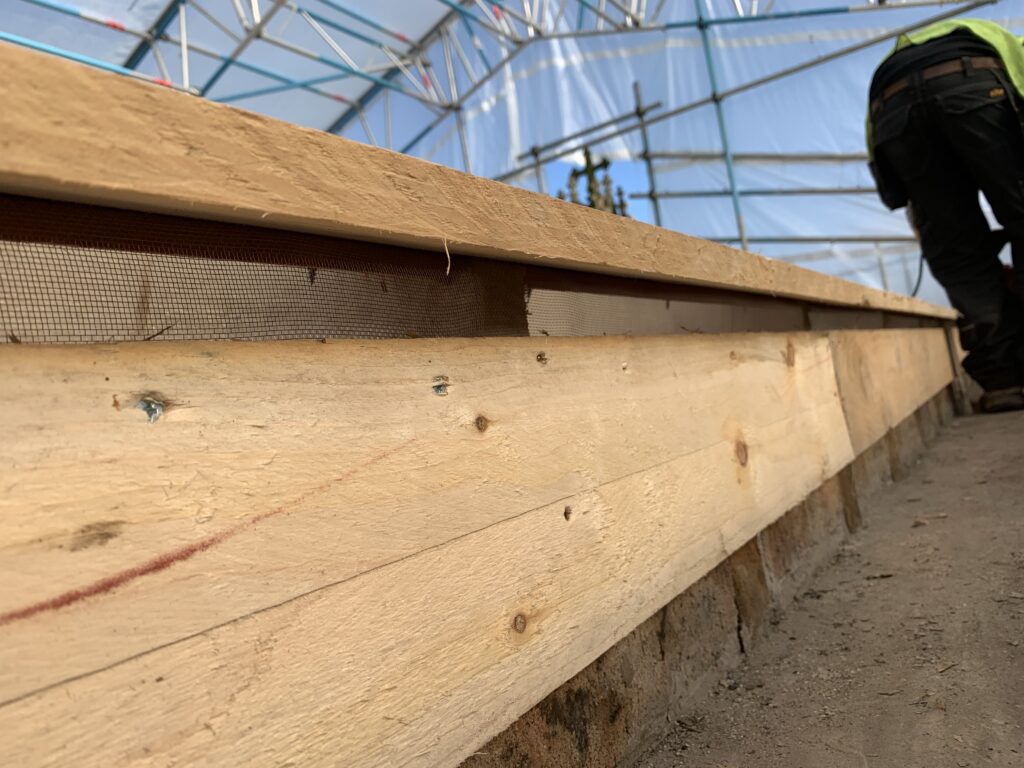
A smooth, continuous deck and separation layer are non-negotiable. Resinous or rough substrates increase drag and telegraph lines into the sheet. Underlay allows movement without scuffing the underside.
Underlay
Fit lead underlay/building paper across the full width. It reduces friction, supports movement and protects the finish.
Fasteners
Use compatible nails/screws in approved zones—never fix through the high-movement trough. Shop: Leadwork Fixings.
Common errors & quick fixes
- Undersized trough: overflow and staining. Widen the channel and raise step heights; upsize the outlet.
- Flat spots: encourage falls; re-bed low areas; remove obstructions.
- Weak splash laps: extend lap length; sharpen step geometry and edge stiffness.
- Rigid restraint: remove hard pins; add movement joints; re-clip with sliding allowed.
- Debris choke at outlet: enlarge transitions; fit the right guard; preserve free area.
Two mini case studies
Case A — Complex hip/valley plan
Intersecting planes created turbulence and surge at the lower third. We widened the centre section, increased step heights through the mid-run, and enlarged the outlet transition. The upgraded lead valley gutters passed oblique hose tests without spray loss.
Case B — Dormer cheek secret gutter
Cross-winds were driving spray over the margin. We increased lap lengths, added tilt fillets and tightened clip centres. The secret gutter—sized like a small valley—now discharges cleanly with no staining.
Quick-buy links
Hydraulics Primer — Turning Roof Geometry into Reliable Valley Flow
Designing a dependable valley channel is about managing concentration of flow. Where two pitched planes converge, the discharge width narrows and velocity rises. Add wind shear, dormer intersections or hips and you get turbulence. The cure is simple: prioritise a clear water path, accept that peak events drive the specification, and use deliberate details to keep spray inside the channel.
- Catchment thinking: sketch the plan area that feeds the trough. Larger area and steeper pitch both increase peak discharge.
- Velocity vs. splash: higher speed kicks spray over margins; counter with decisive laps, stiffer edges and a deeper central run.
- Transition discipline: every reduction (to an outlet, sump or chute) should be gradual—no pinched necks that throttle capacity.
- Inspection realism: if a detail can’t be inspected or cleaned, make the free area bigger and keep guards from halving the opening.
For training and refresher modules covering these principles in detail, see the Lead Sheet Training Academy (LSTA) and industry updates at the NFRC.
Worked Example A — Medium Roof, Simple Plan
A modest semi with two equal roof planes feeds a central trough. The plan area is straightforward, the pitch is moderate, and there are no dormers. We size the channel with a comfortable margin, set crisp splash laps under the coverings and keep outlet transitions smooth. Hose tests confirm that spray remains contained, even at oblique angles.
- What we changed: raised step heights near the lower third and sharpened the margin arris.
- Materials: rolled sheet (BS EN 12588), underlay, compatible fixings, patination oil.
- Basket build: Rolled Lead Sheet · Underlay · Fixings · Patination Oil
Worked Example B — Complex Hipped Plan with Dormer
Intersecting planes increase turbulence and raise peak discharge at the mid-run. We widened the central section, extended laps, added tilt fillets, and enlarged the outlet transition. With those tweaks the trough ran quietly across heavy test flows, with no splash loss onto the covering margins.
- What we changed: wider centreline, longer laps, closer clip centres at windward margins.
- Movement strategy: break runs into manageable bays; never rigidly pin the field.
- Helpful links: Movement Design · Drips & Clips
Secret Gutters in Lead — Dormers, Cheeks & Upstands
Secret channels behave like narrow valleys with less visual forgiveness. Because they run beside an upstand, any overflow becomes staining or ingress. Size them with the same discipline as a full trough; assume more turbulence from cross-winds, and give yourself inspection routes before covering in.
- Shape the channel: a defined bed with a modest rise at margins keeps flow central.
- Splash control: longer laps and stiffer edges on exposed sites; crisp arris beats soft folds.
- Outlets: transitions must not choke; design for cleaning access and preserve free area with any guard you choose.
Installation Sequence — Step-by-Step for Valleys that Run Quiet
- Prepare the deck: smooth, continuous support; remove high spots and plane edges so the metal can sit without tension.
- Lay underlay: install lead underlay/building paper across the full channel to reduce drag.
- Offer up the sheet: form the central run and rising sides; avoid forcing the metal to hold a kink.
- Set laps & steps: dress margins under coverings with deliberate steps; sharpen the arris to persuade water back into the channel.
- Movement & restraint: plan bay breaks; use copper clips or a stainless fixing strip set back from margins—control uplift without locking the field.
- Outlet transition: flare gradually to the weir or chute; ensure access for cleaning.
- Finish: clean down and apply patination oil to exposed faces and laps.
- Proof test: hose at oblique angles; adjust step heights or lap length until spray consistently returns to the trough.
Quality Assurance & Maintenance Checklist
- Falls confirmed: no flat spots; water moves under its own weight to the outlet.
- Margins: crisp and stable; no flutter that could flick spray outward.
- Laps & steps: repeatable geometry; no soft folds.
- Restraint: edge control without rigid pinning; joints placed at practical centres.
- Outlet area: no sudden necks; guard (if fitted) preserves free area.
- Service plan: schedule seasonal debris checks and post-storm inspections.
Buyer’s Bill of Materials (BOM) — Build the Basket in Minutes
- Sheet selection: choose code/width for duty using the Lead Weight Chart and Codes Explained, then add sizes via the Shoppable Lead Chart.
- Separation layer: add underlay/building paper for the full width of the channel.
- Restraint & fixings: pick compatible fixings; consider copper strips or a stainless fixing strip set back from margins.
- Finishing: include patination oil to protect the appearance at laps and margins.
FAQs — lead valley gutters
How wide should lead valley gutters be on complex roofs?
Allow extra width for turbulence from hips/dormers and cross-winds. Balance width with step heights and outlet capacity; verify with a hose test.
Do I need tilt fillets on both sides of the valley?
Yes—fillets lift tails so flow commits to the channel and doesn’t track into nail holes.
What’s the best strategy to stop debris blocking outlets?
Use generous transitions, maintain access for cleaning, and fit guards that preserve free area. Keep weir heights from causing ponding.
How often should movement joints occur in a valley run?
Set centres according to code, exposure and length; coordinate with your movement design so the channel can expand/contract quietly.
Does patination oil help in valleys?
It improves appearance and reduces early staining at laps and margins. Hydraulics still depend on sizing, splash control and outlet design.