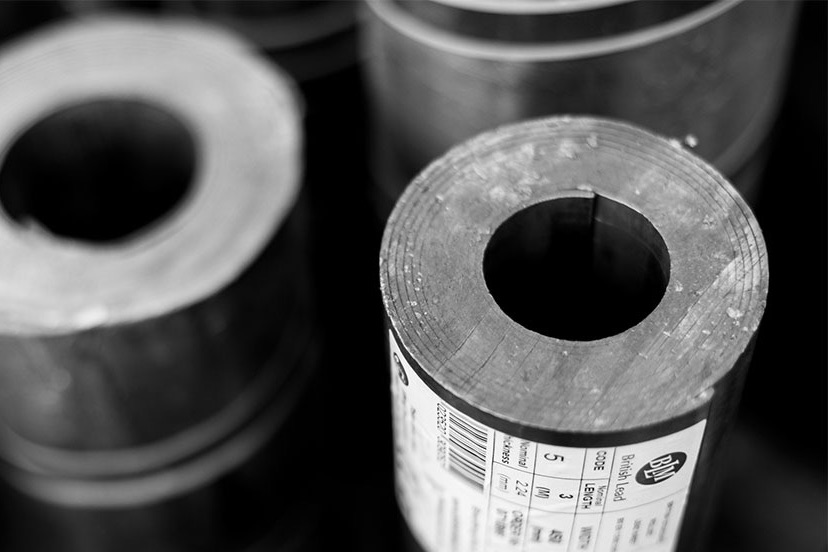
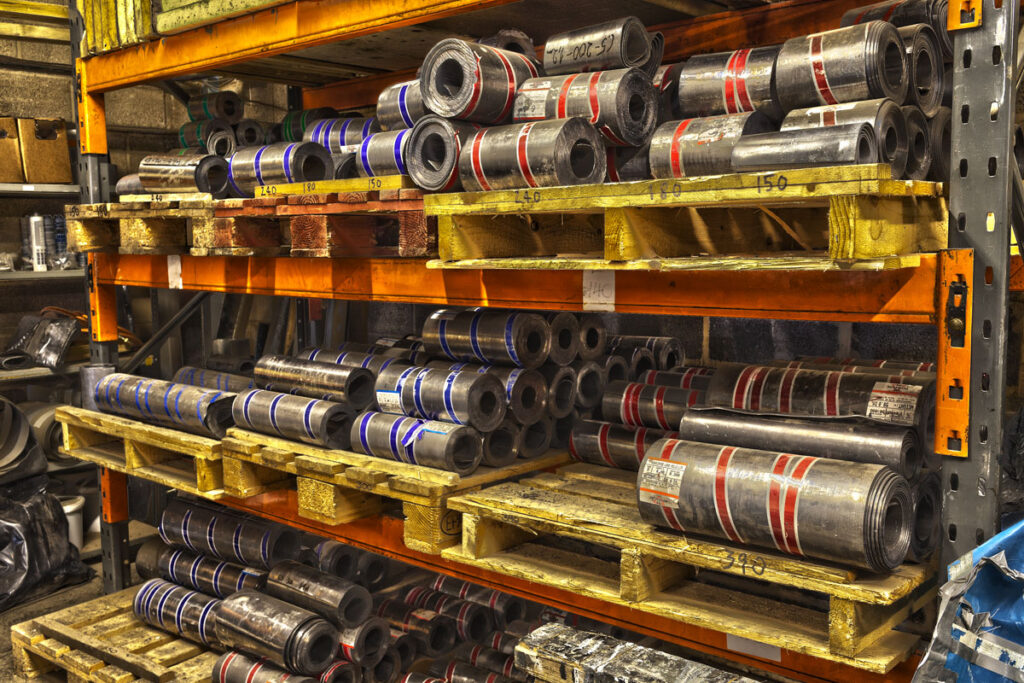
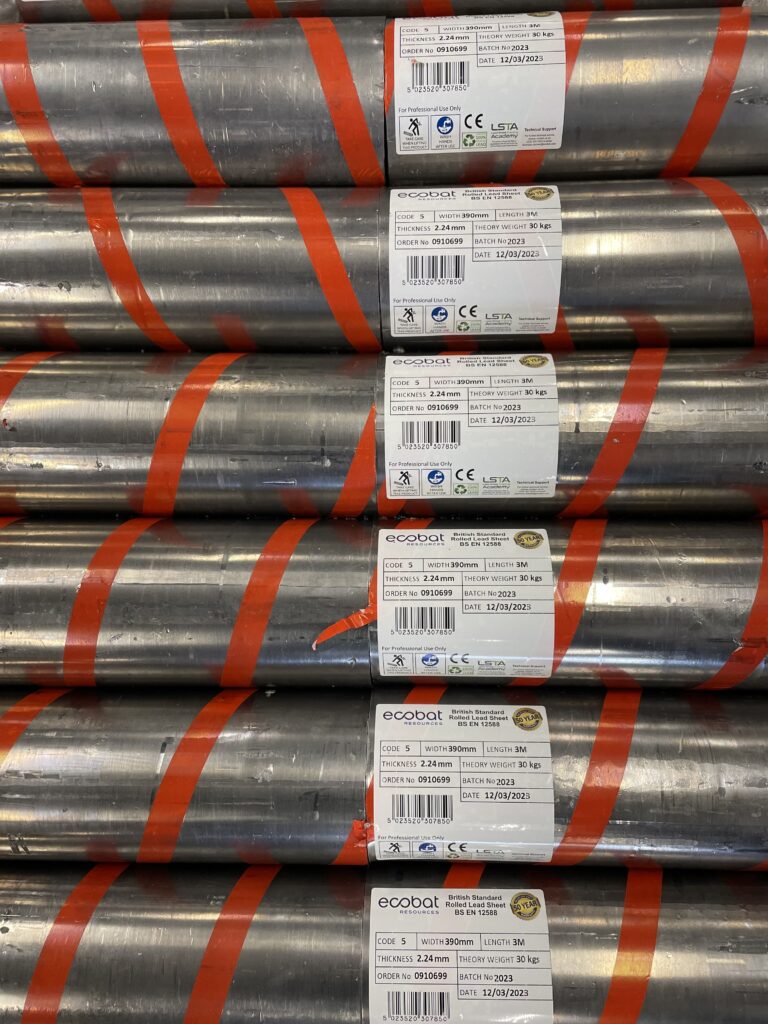
Code 3 Lead
 Code 4 Lead
 Code 5 Lead
 Code 6 Lead






Nails for Lead Flashings: Copper vs Stainless

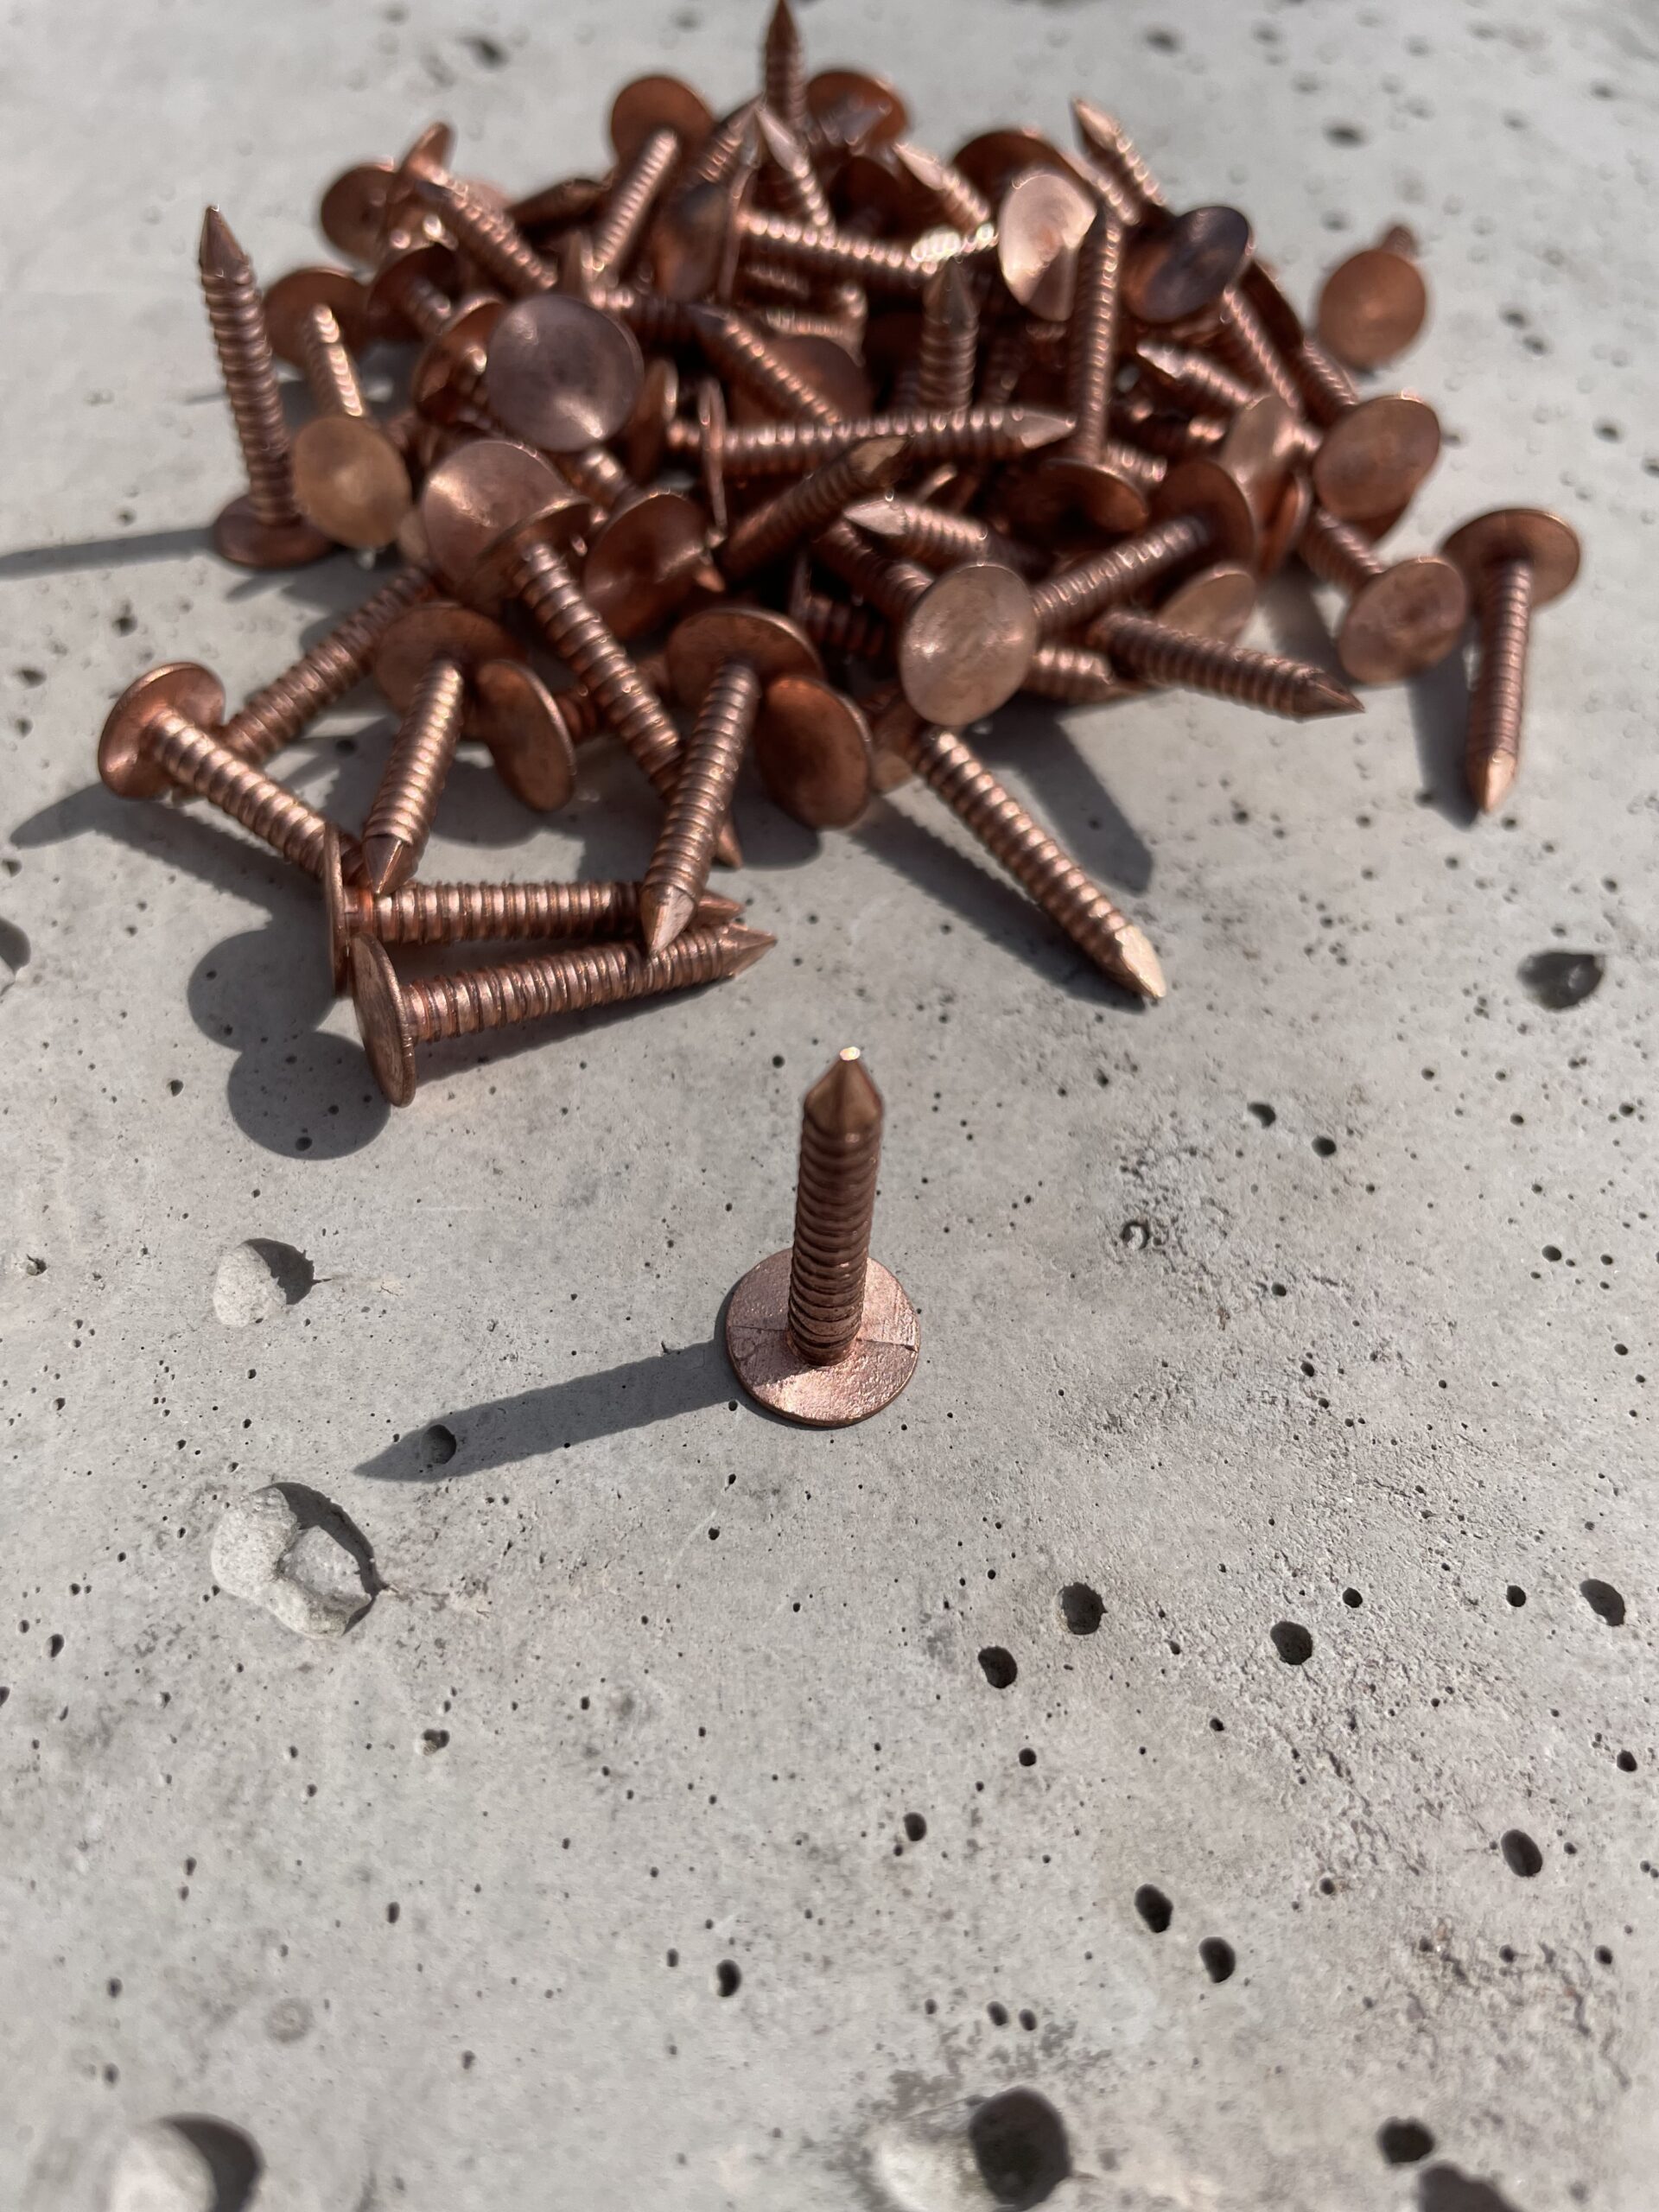
Nails for Lead Flashings: Copper vs Stainless (2025)
Choosing the right nails for lead flashings is the difference between tidy, movement-friendly work and splits that come back under warranty. This guide compares copper vs stainless, sets out lengths and gauges, explains spacing and fixing zones, and shows how nails, clips and wedges work together—built by lead workers for lead workers, with a fast, shoppable basket.
Need an installer to supply & fit with the correct nails for lead flashings? Book via The Lead Lads service pricing or our heritage partner GNR Roofing. Training & best practice: Lead Sheet Training Academy.
In this guide
- Why nails for lead flashings matter
- Copper vs stainless: which nails for lead flashings?
- Lengths, gauges & annular ring shank
- Fixing zones, spacing & movement
- Clips, chase wedges & sealants
- Substrates, corrosion & coastal sites
- Step-by-step flashing workflow
- 11 mistakes with nails for lead flashings
- Buying guide & quick basket
- FAQs
- Structured data
Why nails for lead flashings matter
Lead moves. Flashings expand and contract with temperature, and the substrate moves differently again. Using the right nails for lead flashings—in the right places—lets the sheet slide where it should and stay put where it must. Wrong nails, wrong length or over-fixing = fatigue cracks, blown chases and callbacks.
Copper vs stainless: which nails for lead flashings?
Both copper and stainless work for nails for lead flashings, but they behave differently:
- Copper nails for lead flashings: Traditional, highly compatible with lead, easy to dress over, and excellent grip in timber when annular ring shank. Ideal inland; watch for aggressive coastal atmospheres or treated timbers with copper-reactive salts.
- Stainless nails for lead flashings: Grade 304/316 for corrosion resistance; stiffer shanks for hard timbers and exposed/coastal sites. Slightly less forgiving to dress over; choose appropriate head style where aesthetics matter.
- Head styles: Small head/annular ring shank is common for discrete fixing; clout heads for concealed zones under laps/soakers.
Rule of thumb: If in doubt on a windy/coastal job, stainless annular ring shank wins for durability. For heritage work inland, copper annular ring shank nails for lead flashings remain the default.
Lengths, gauges & annular ring shank
Length must bite the substrate without punching through finishes or locking the sheet. Gauge must resist pull-out yet avoid splitting battens.
| Use case | Typical Length | Shank / Gauge | Notes |
|---|---|---|---|
| Soaker laps (chimney cheeks) | 25–30 mm | Annular ring | Fix soakers to battens; one per course; don’t over-nail the lead field. |
| Apron flashing into chase (temporary pin) | 25 mm | Smooth or annular | Temporary fix while wedging/sealing; remove/relieve as needed for movement. |
| Step flashing turn-ins | 25–32 mm | Annular ring | Fix hidden returns; keep out of sliding zones. |
| Clips at laps/edges | 25–30 mm | Annular ring | Use with stainless/copper clips to retain edges without pinning the sheet. |
| Parapet cover returns (concealed) | 30–38 mm | Annular ring | Fix only to upstand/cover boards; allow crown to move. |
Annular ring shank provides superior withdrawal resistance—especially valuable where nails for lead flashings are close to edges or in older timbers.
Fixing zones, spacing & movement
The golden rule for nails for lead flashings: fix where movement is minimal; leave sliding zones free.
- Spacing: At laps/edges, clips or nails typically at ~400 mm centres (tighten in high exposure). Don’t pepper the sheet—each extra fix risks lock-in.
- Sliding zones: The visible face of aprons and the field of bays should slide freely over a continuous slip layer. Don’t drive nails through the field to “flatten” it.
- Turns & returns: Fix on the vertical where it won’t impede horizontal movement; avoid pinning both planes.
- Chases: The chase is not a fixing strip. The wedge seals the turn-in; don’t “stack” extra nails that lock the flashing to masonry.
Clips, chase wedges & sealants
Nails for lead flashings are only part of the system. Combine with the right accessories:
- Lead flashing clips: Stainless or copper clips retain the edge at laps/steps without over-nailing. They share the load and reduce flutter.
- Chase wedges: Non-ferrous wedges lock the turn-in; used with a compatible sealant for weather-tightness. Don’t rely on sealant as structural fixing.
- Sealants & mortars: Use compatible pointing; never glue sliding zones. The job of sealant is weathering, not restraint.
Field tip: Pre-cut a batch of clips and wedges before you start. You’ll use fewer nails for lead flashings, work faster, and keep the sheet free to move.
Substrates, corrosion & coastal sites
Where your nails for lead flashings land matters:
- Timber battens/boards: Copper or stainless annular ring nails bite well. Avoid reactive treated timbers if using copper; go stainless if unsure.
- Masonry chases: Your “fix” is the turn-in + wedge + pointing. Use temporary pins only while you wedge and seal.
- Coastal & industrial atmospheres: Stainless (preferably 316) nails for lead flashings and stainless clips are the safe default; copper can tarnish aggressively.
- Bi-metal contact: Avoid odd mixes (e.g., galvanised steel with lead in wet zones). Stick to copper + lead or stainless + lead combinations.
Step-by-step flashing workflow
- Set out: Mark steps, soakers and lap rhythm. Decide copper vs stainless nails for lead flashings based on exposure and substrate.
- Prep chases: Snap a straight line; cut clean, consistent chases; blow out dust.
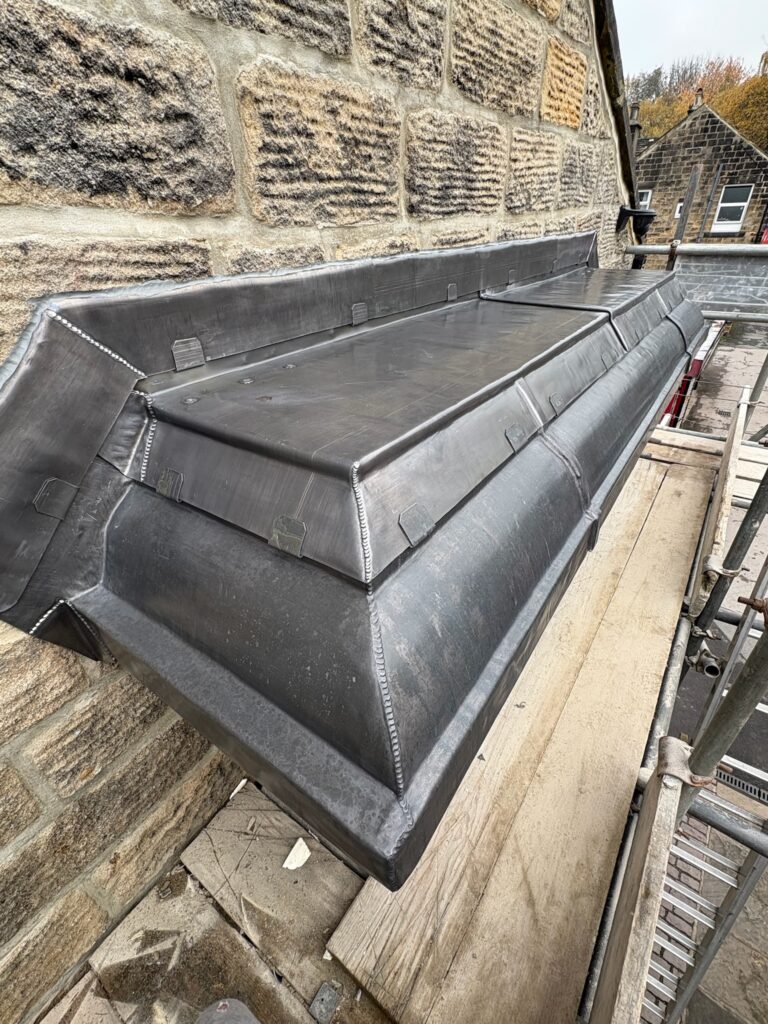
- Soakers & steps: One soaker per course. Fix soakers to battens with annular ring nails; don’t nail the lead field.
- Aprons: Form turn-in, temporarily pin, wedge and point; remove/relieve pins so the apron can slide. Clip edges at ~400 mm centres.
- Abutments/returns: Fix hidden returns on verticals; keep horizontal sliding zones clear of nails.
- Finish: Wipe and apply patination oil fine on visible edges; don’t flood joints with sealant.
- Check: Gentle hose-test above the detail; confirm laps and water paths before sign-off.
11 mistakes with nails for lead flashings (and quick fixes)
- Over-nailing the field: Remove rogue nails; rely on clips/wedges; allow movement.
- Wrong length: Nails punching through thin substrates—swap to correct length and re-fix.
- Smooth shank in old timber: Upgrade to annular ring shank for withdrawal resistance.
- Galvanised with lead: Replace with copper or stainless nails for lead flashings to avoid corrosion risk.
- Stacked nails in chases: Remove extras; wedge properly; re-point neatly.
- Ignoring exposure: Inland spec on the seafront—go stainless 316 for nails/clips.
- Fixing both planes: Don’t pin vertical and horizontal together—relieve one side.
- No clips at edges: Add stainless/copper clips; reduce reliance on nails.
- Missing slip layer: Add compatible underlay beneath flashing fields to reduce abrasion.
- Proud nail heads: Dress out; refix if needed; proud heads telegraph and collect water.
- Sealant as glue: Re-do with wedges/clips; keep sealant for weathering only.
See also: 11 Lead Flashing Mistakes & Fixes for wider error patterns.
Buying guide & quick basket
From spec to checkout in minutes (mobile-first)
- Open the tool: Use the shoppable lead chart to translate your flashing set-out into codes, widths and roll lengths.
- Select nails & fixings: Leadwork Fixings — copper or stainless annular ring shank nails for lead flashings, plus clips and chase wedges.
- Add lead rolls: Rolled Lead Sheet (BS EN 12588) per the detail—see Lead Codes Explained.
- Underlay: Lead Underlay & Tapes for a continuous slip layer behind fields and aprons.
- Finish: Patination oil for even early appearance on visible edges.
Prefer supply & fit with warranty? Book via The Lead Lads or GNR Roofing. Skills & standards: Lead Sheet Training Academy.
Related internal reading
Lead for Chimneys Lead Bay Roofs Lead Valleys 11 Lead Flashing Mistakes & Fixes Lead Codes Explained (BS EN 12588)
FAQs
Which are best—copper or stainless nails for lead flashings?
Inland heritage work: copper annular ring shank is ideal. Coastal/exposed sites or hard timbers: stainless (304/316) annular ring shank is safer long-term.
What length should I choose?
Most flashing work uses 25–32 mm annular ring nails. Choose the shortest length that bites fully without risking breakthrough or locking movement.
How often should I fix?
Clip or nail at ~400 mm centres on edges/laps, tightened in high exposure. Keep the field free; fix returns/verticals, not the sliding face.
Do I need clips and wedges as well as nails for lead flashings?
Yes. Clips share retention without pinning the sheet; wedges secure chases. Nails alone often cause lock-in and later fatigue.
Conclusion & buying links
Pick the right nails for lead flashings, then place them wisely: copper or stainless annular ring shank, correct lengths, sparse spacing, and no fixing in sliding zones. Add clips and wedges, keep chases neat, and finish edges cleanly. That’s how you deliver flashing details that last.