Code 3 Lead
 Code 4 Lead
 Code 5 Lead
 Code 6 Lead






Lead Box Gutters & Sumps: Complete Guide (BS 6915)


Lead Box Gutters — The Complete Guide (BS 6915)
Lead box gutters collect and move the heaviest roof discharges across flat and pitched interfaces. Size them correctly, set reliable falls, design generous sumps, outlets and weirs, and allow movement—and your channels run quietly for decades. This guide turns BS 6915 principles into a buildable sequence, with a video, worked examples and fast ordering.
In this guide
What lead box gutters do
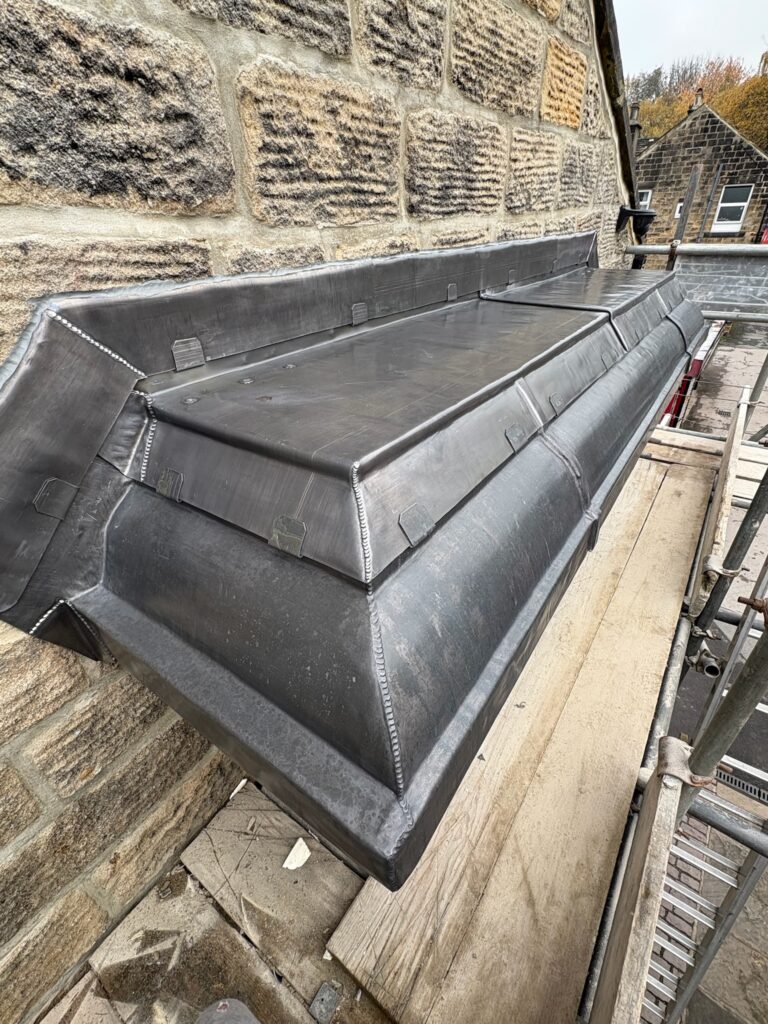
Lead box gutters are linear channels that collect runoff between roof planes or beside upstands; sumps locally deepen the channel to calm velocity before discharge. Designed well, they smooth peaks, resist splash over margins and hand water to outlets without throttling free area.
Sizing & setting falls
Sizing starts with catchment—plan area, pitch, convergence count—and exposure. Practical rules aligned with BS 6915 principles:
- Width: dimension for the peak event; where multiple slopes converge or wind exposure is high, add safety width to lead box gutters.
- Depth: a deeper central run with rising sides contains turbulence; shallow trays with weak edges invite splash loss.
- Falls: set a consistent fall to outlets; remove flat spots—standing water shortens life and exploits weak laps.
- Returns: modest returns can help contain spray but never replace deliberate lap geometry at interfaces.
Pick code/width using the Lead Weight Chart and Lead Codes Explained, then build sizes fast with the Shoppable Lead Chart.
Sumps, weirs & outlets
A sump calms velocity and spreads flow before an outlet or chute. The aim is generous free area and smooth transitions:
- Geometry: deepen locally with sloped entries rather than a sudden step; keep side walls rising to contain splash.
- Weir shaping: avoid pinched necks—flare down to the outlet gradually; maintain thickness at critical edges.
- Outlet capacity: match the outlet to the trough—don’t neck a broad channel into a tiny outlet; preserve cleaning access.
- Guards: choose patterns that keep free area; guards that halve the opening defeat the design.
Movement, restraint & bay breaks
Lead box gutters run hot/cold and expand significantly. Don’t hard-pin the field. Break runs into bays and balance restraint:
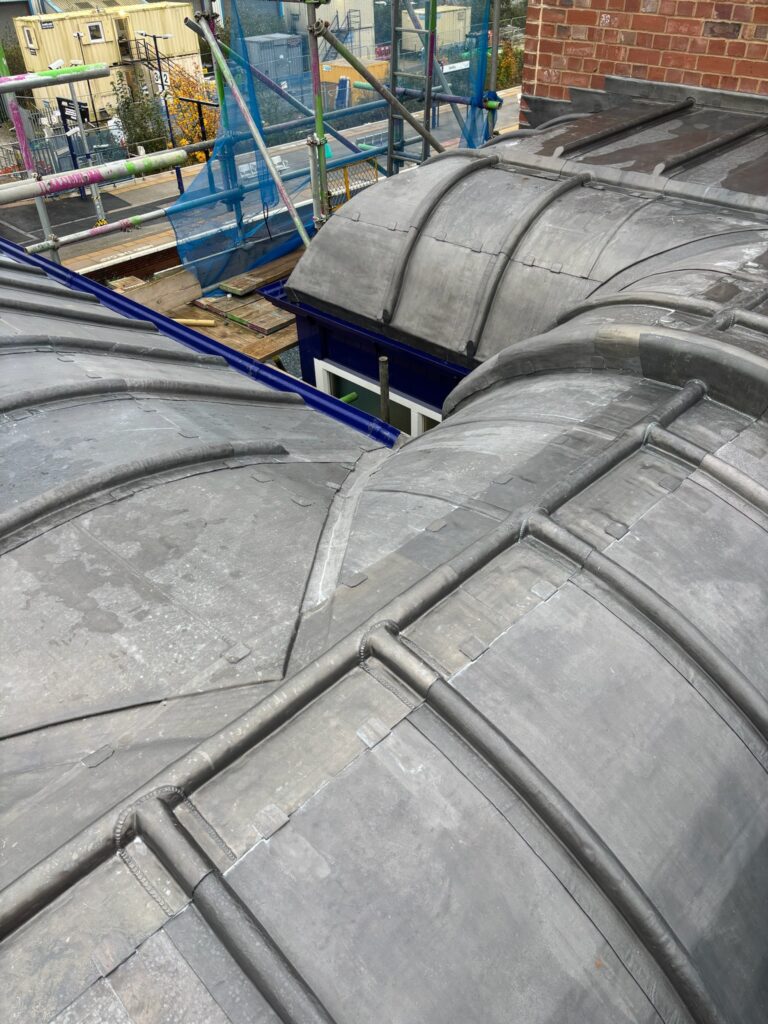
- Movement joints: coordinate bay centres with your movement design; rolls or cover strips both work when detailed correctly.
- Restraint: use copper clips or a stainless fixing strip set back from margins to resist uplift without choking movement (see Copper Strips and Drips & Clips).
- Finish: clean down and apply Patination Oil to exposed faces and joints.
Substrate, underlay, fixings & isolation
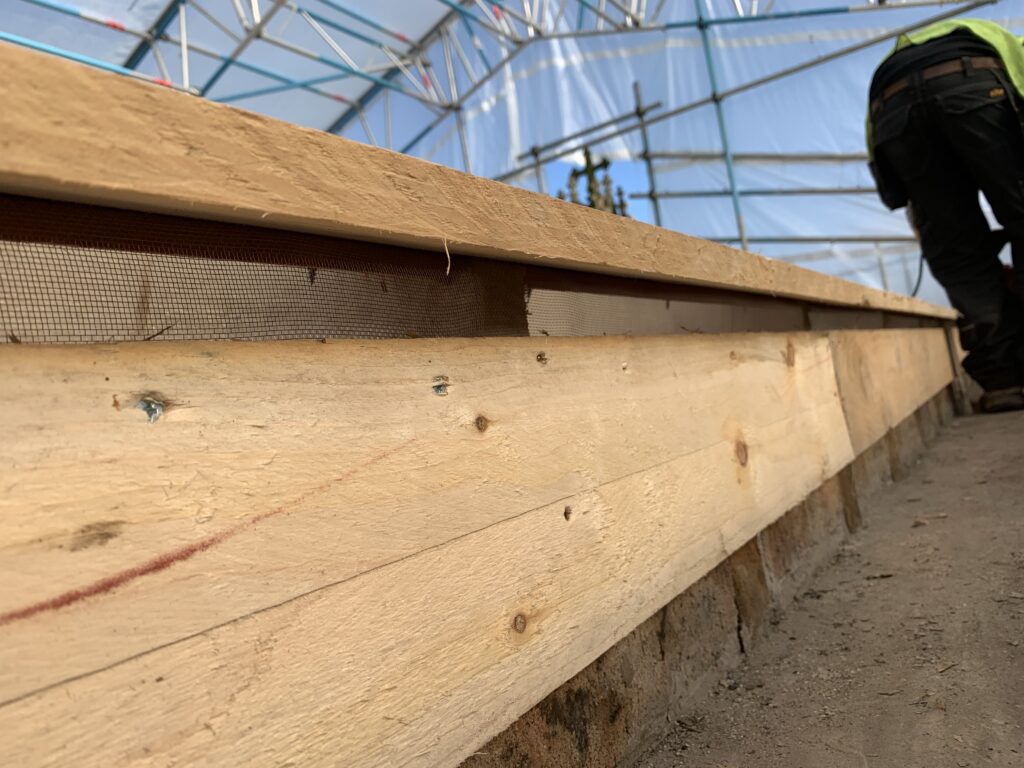
A smooth, continuous bed is non-negotiable. Underlay separates lead from resinous timber and reduces drag so the sheet can move freely.
Underlay
Install lead underlay/building paper across the full width. It protects the underside finish and lets lead box gutters adjust to temperature swings.
Fixings & isolation
Use compatible fasteners in approved zones—never through the high-movement bed. Isolate dissimilar metals near outlets and weirs to avoid galvanic issues. Shop: Leadwork Fixings.
Interfaces and transitions
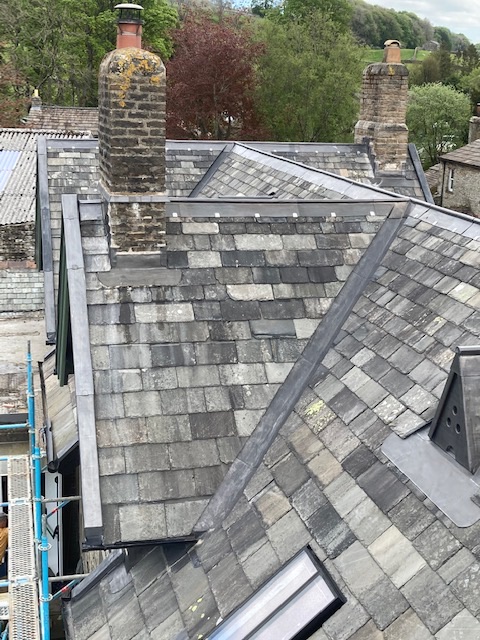
These channels live at junctions—valleys running into a parapet, around rooflight aprons, behind dormer cheeks. Each interface needs deliberate geometry:
- Valley to box gutter: widen the receiving zone; sharpen lap geometry and stiffen margins so turbulence returns to the channel.
- Parapet returns: form decisive drips on copes feeding the gutter; restrain edges without flattening the lip.
- Rooflights & dormers: secret channels behave like narrow lead box gutters—size for peak and maintain inspection routes before covering in.
Video: Good Practice for Lead Box Gutters, Sumps & Outlets
What to look for in the video
- Sump shaping: gradual deepening with smooth flare to the outlet—no pinched necks.
- Weir transitions: generous free area and clean discharge without vortices or choke points.
- Margin control: crisp arris and stiff edges to keep splash inside the channel.
- Movement strategy: bay breaks and restraint set back from the lip (no hard pinning).
- Underlay & finish: separation layer under the sheet and clean down with patination oil.
Build your basket (fast)
Common errors & quick fixes
- Ponding: re-grade to restore continuous fall to sump/outlet; remove flats and obstructions.
- Outlet choke: enlarge the transition; select a larger outlet; ensure guards preserve free area.
- Edge flutter/splash loss: stiffen margin geometry; move restraint back from the lip; add clip density on windward sides.
- Rigid restraint: remove hard pins; add bay breaks; re-clip to allow sliding.
- Early staining: clean down and apply patination oil; ensure drips/oversails discharge clear of façades.
Worked examples
Example A — Long parapet channel with twin outlets
A long run suffered ponding mid-span and outlet choke during leaf fall. We re-graded the bed, inserted a deeper sump to calm flow, and enlarged both outlet transitions. Clip density increased on the windward margin. The upgraded lead box gutters passed hose tests with no splash loss and cleared peak discharge.
- Continuous fall, no flats
- Deeper sump, generous weirs
- Stainless restraint set back from the drip line
Example B — Valley into box gutter at a dormer field
A lively valley discharged into a short channel before a chute, causing spray across coverings. We widened the receiving zone, sharpened laps, added tilt fillets and lengthened the outlet flare. Result: quiet flow and stain-free margins.
- Wider entry, stiffer margins
- Longer flare to outlet; guard preserving free area
- Movement joints coordinated with bay centres
QA & maintenance checklist
- Falls proven: water moves under its own weight to the sump/outlet—no flats.
- Margins crisp: no flutter under wind; splash stays contained.
- Sump depth & flare: transitions are smooth; no pinched necks.
- Restraint balanced: uplift control without locking the field; joints at sensible centres.
- Debris strategy: cleaning access is realistic; guards chosen for local leaf type.
Quick-buy links
FAQs — lead box gutters
How deep should a sump be and how close to the outlet?
Deep enough to calm velocity before discharge, and close enough to prevent re-acceleration. Shape entries and weirs so transitions are smooth and free area isn’t throttled.
Do I need movement joints in a short run?
Where temperature swings are high or runs collect from multiple planes, yes—break the channel into manageable bays and coordinate with your movement design.
What causes splash loss at the margins?
High velocity plus weak edge geometry. Stiffen the margins, extend laps, and if needed widen the central run so water commits to the channel.
Which fasteners should I use?
Compatible nails/screws placed in approved zones, never through the high-movement bed. Shop: Leadwork Fixings.
Does patination oil help in gutters?
It improves appearance and reduces early staining at laps and margins; hydraulics still rely on sizing, falls and outlet capacity. See Patination Oil.